Visualize, analyze, and collaborate on inspection data
Without the right data management solution, interpreting drone inspection data can be challenging.
Inspector and the Elios 3 work hand-in-hand in a continuous workflow to provide operational continuity throughout the inspection process. Flight data is organized by asset and can be instantly visualized in a digital twin of your asset—with no additional processing.
Organize inspection data
Analyze findings with context
Track asset condition over time
Collaborate on inspection results
Organize inspection data
Analyze findings with context
Track asset condition over time
Collaborate on inspection results
Desktop Features
Inspector Desktop provides the tools needed to review inspection datasets in detail and document findings with precision.
Understand where findings are located
Get a complete view of your asset condition
Inspect defects with precision
Document and organize inspection findings
Understand where findings are located
Get a complete view of your asset condition
Inspect defects with precision
Document and organize inspection findings
Online Features
Inspector Online leverages cloud computing to process inspection data and unlock advanced analysis and collaboration capabilities.
Monitor asset evolution over time
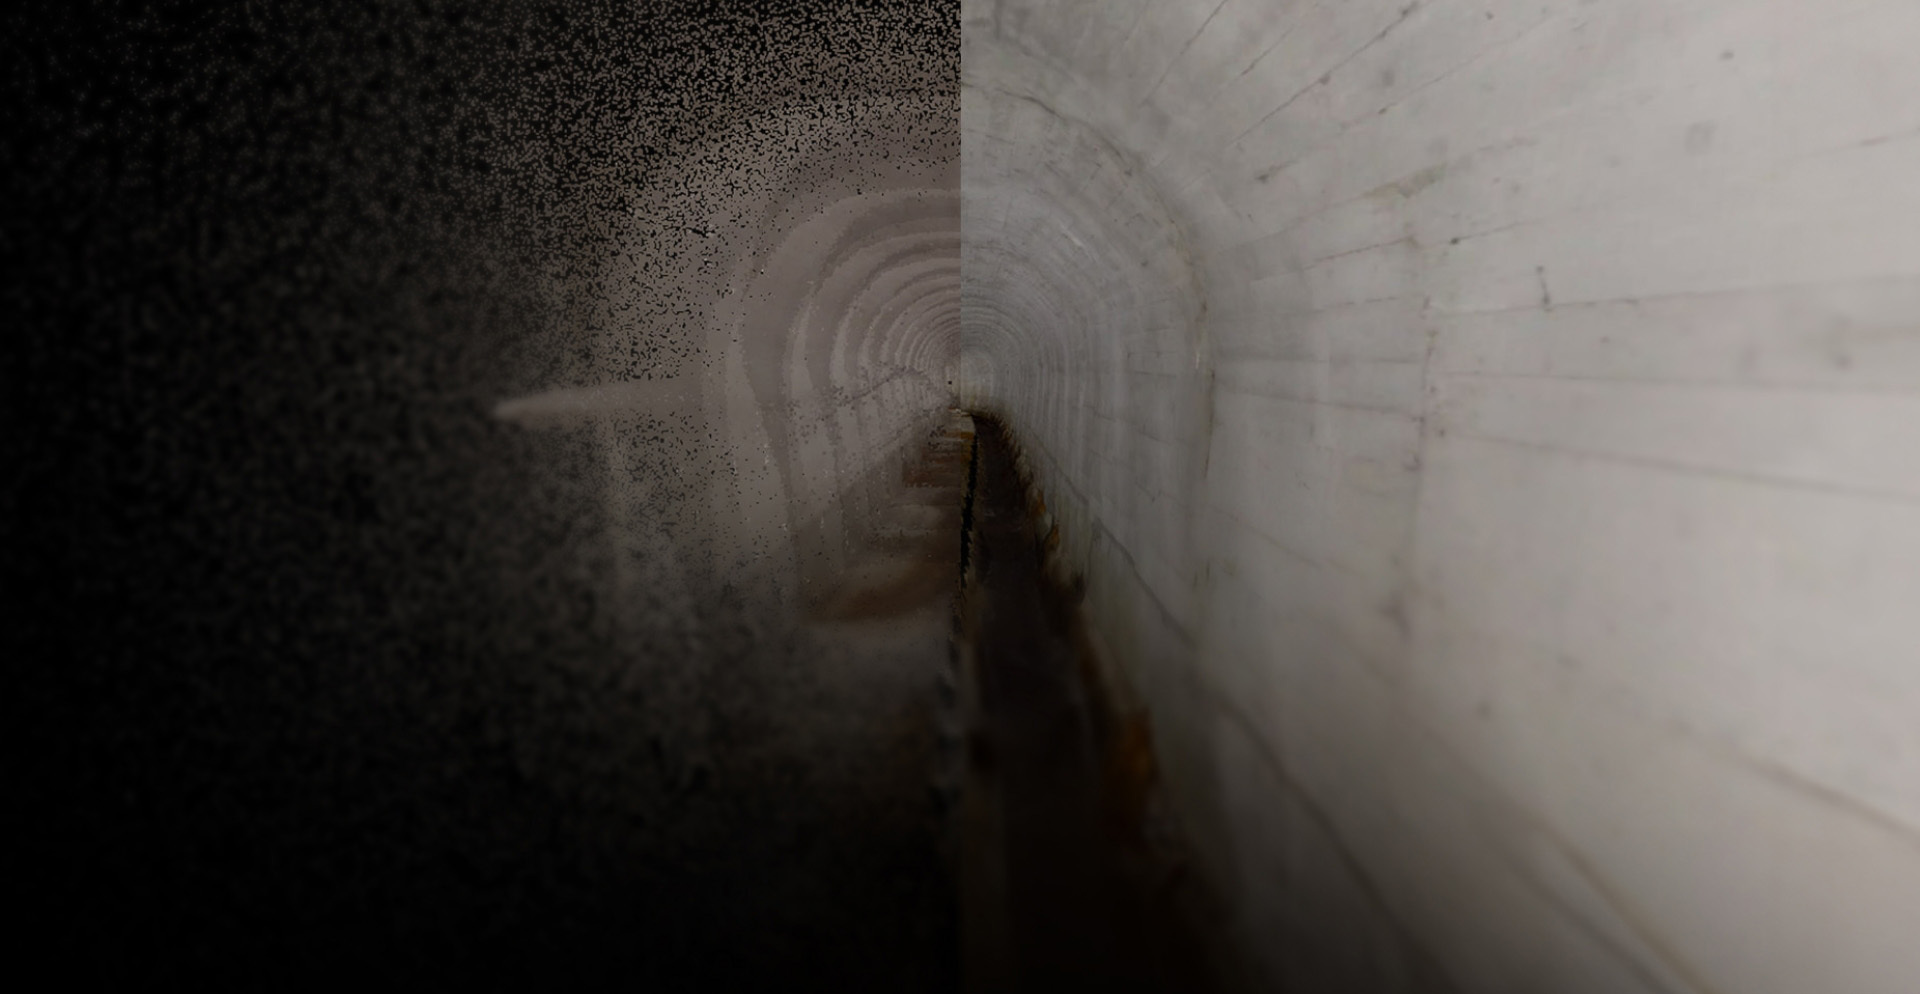
Add colorized context to your point clouds
Automatically transform Elios point clouds and videos into textured meshes, revealing details that cannot be seen on a point cloud alone and creating a more realistic view of your inspection data. Learn more about colorization feature →
Access inspection data from anywhere
Built to keep your data safe
Flyability follows industry best practices and continuously strengthens its security measures to protect customer data and ensure reliable
access to inspection information.
SOC 2 Type II compliant
Flyability's cloud platform is SOC 2 Type II compliant, meaning our security controls and operational processes are independently audited and verified over time.
Strong security practices
Your data is protected with encryption in transit and at rest, multi-factor authentication (MFA), regular backups, vulnerability scanning, and annual penetration testing.
Learn more about Inspector
What our customers say about Inspector
Daniel Jatko
Production Technician and Drone Pilot at LKAB
“Colorization adds realistic visual context to inspection data, making point clouds easier to interpret and helping teams better understand the condition of inspected assets.”
Thomas Gamma
Managing Director, TOLOGA Engineering
"Flyability Cloud has made sharing data so much simpler. We can now collaborate instantly with clients and colleagues, making sure everyone has what they need—without the hassle of big file transfers or extra software."

Daniel Jatko
Production Technician and Drone Pilot at LKAB
“Colorization adds realistic visual context to inspection data, making point clouds easier to interpret and helping teams better understand the condition of inspected assets.”

Thomas Gamma
Managing Director, TOLOGA Engineering
"Flyability Cloud has made sharing data so much simpler. We can now collaborate instantly with clients and colleagues, making sure everyone has what they need—without the hassle of big file transfers or extra software."
Unlock the full value of your inspection data
Advanced Inspector capabilities are available through our Premium Software Plan. Speak with our team to review your inspection needs and choose the plan that best supports your operations.
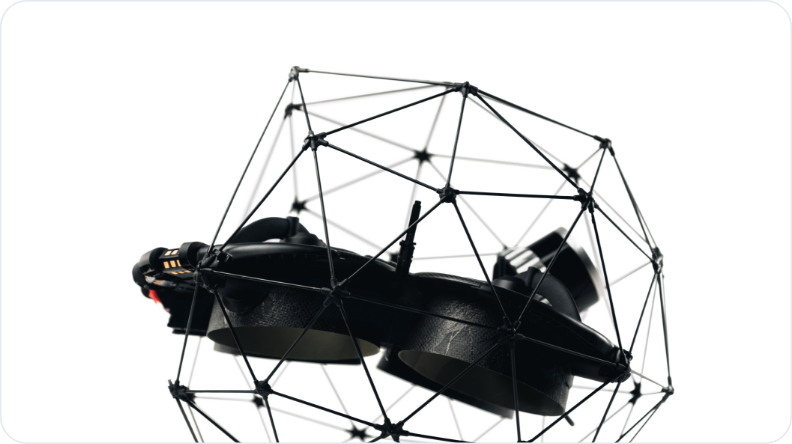
Inspector is Flyability’s inspection software designed to analyze and manage inspection data captured with the Elios 3 drone. It allows users to review inspection datasets, visualize assets in a digital twin, document findings, and share inspection results with stakeholders.
Inspector software is available in desktop and online versions. Inspector Desktop provides tools for detailed analysis of Elios 3 inspection data, while Inspector Online uses cloud computing to enable capabilities such as inspection comparison over time, asset colorization, and collaborative access to inspection data.
Yes. Inspector is Flyability’s inspection software platform designed specifically to work with Elios 3 inspection data, including images, videos, LiDAR point clouds, and inspection metadata collected during drone inspections.
Inspector organizes Elios 3 inspection data by asset and inspection. Users can navigate the inspection within a digital twin, analyze defects in inspection imagery, document findings with points of interest, and generate inspection reports.
Yes. Inspector allows inspection teams to organize inspections by asset and compare datasets captured during different inspections. This helps identify changes in asset condition and monitor degradation over time.
Yes. Inspector Online allows inspection datasets to be accessed through a centralized workspace. Engineers, asset owners, and stakeholders can review Elios 3 inspection data and collaborate on maintenance decisions.
Inspector Online is built with strong security controls and Flyability’s cloud infrastructure is SOC 2 type II compliant, ensuring that Elios 3 inspection data is protected according to rigorous security standards.
Inspector desktop is included with any drone package. Advanced cloud computing capabilities such as Comparison Over Time or Colorization are available through Flyability’s Premium Software Plan. Speak with our team to choose the plan that best supports your operations.


