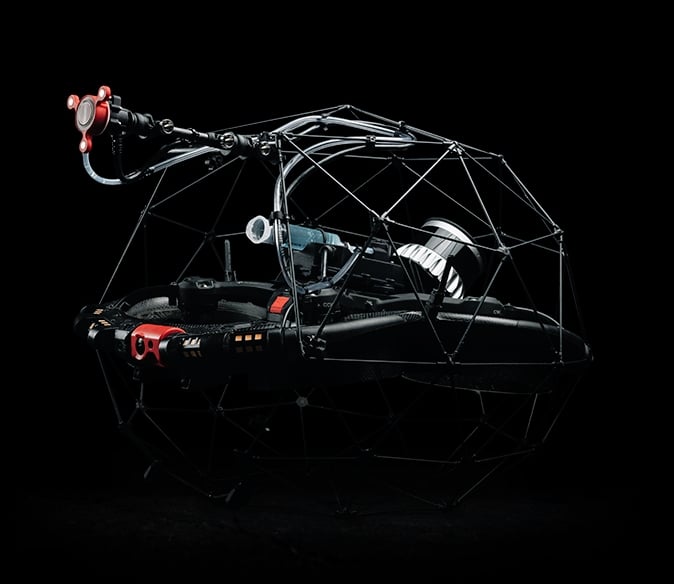
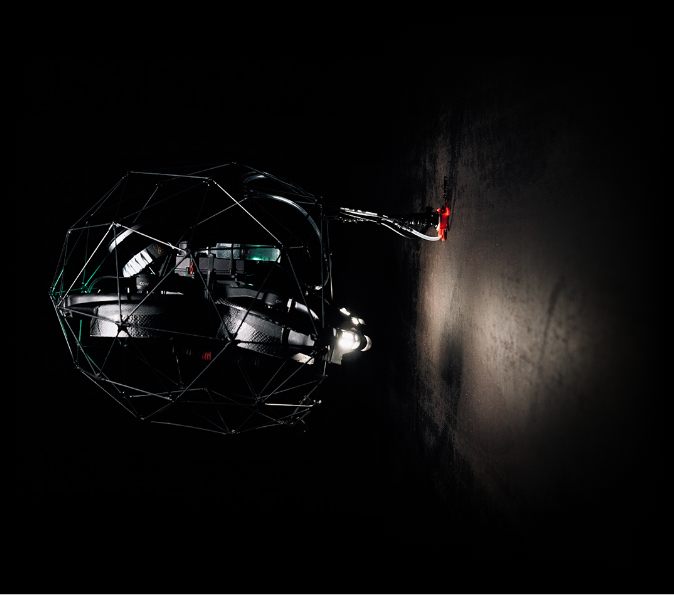
Remotely capture A-scans at height and in hard-to-reach spaces
Developed in partnership with Cygnus Instruments, the UT Payload turns the Elios 3 into a flying UTM gauge that can take accurate thickness measurements backed up with high-resolution A-scans in the most challenging areas. Equipped with the Elios 3 UT, industry professionals can perform regular integrity inspections in minutes - reducing the probability of unplanned downtimes.
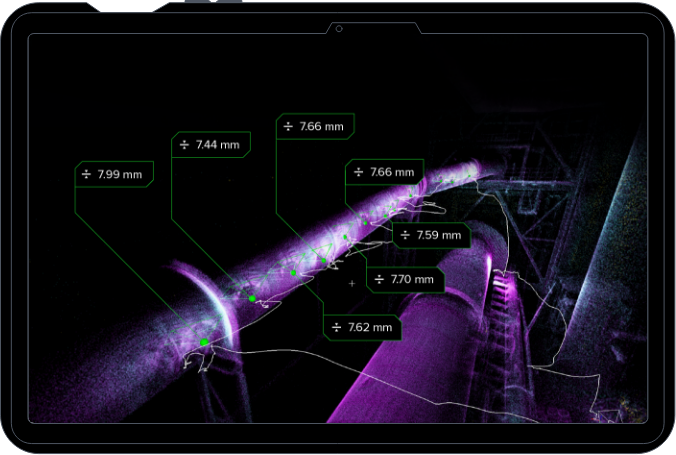
Location-Tagged UT Measurements
Live 3D data localization
The Elios 3 can accommodate the UT Payload in parallel with the LiDAR payload enabling precise localization of the measurements on a digital twin of your asset during data capture.
Combined with the relocalization feature and Cockpit’s Live Map widget, the location-tagged UT measurements provide exceptional situational awareness, allowing you to easily track the completeness of your inspection.
Smart Couplant Dispenser
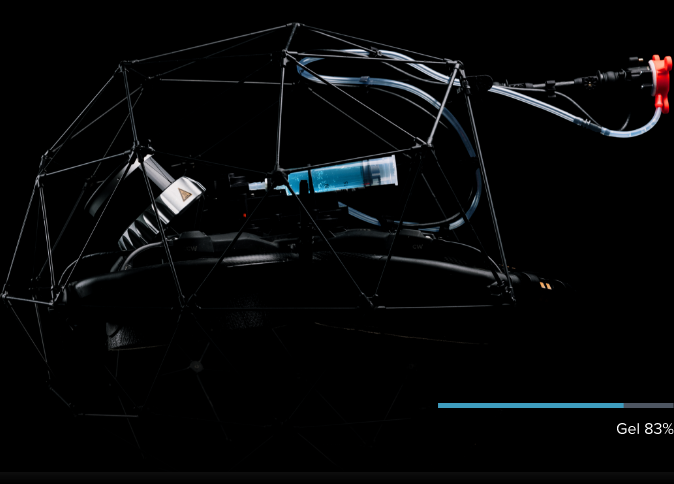
Optimal ultrasound coupling
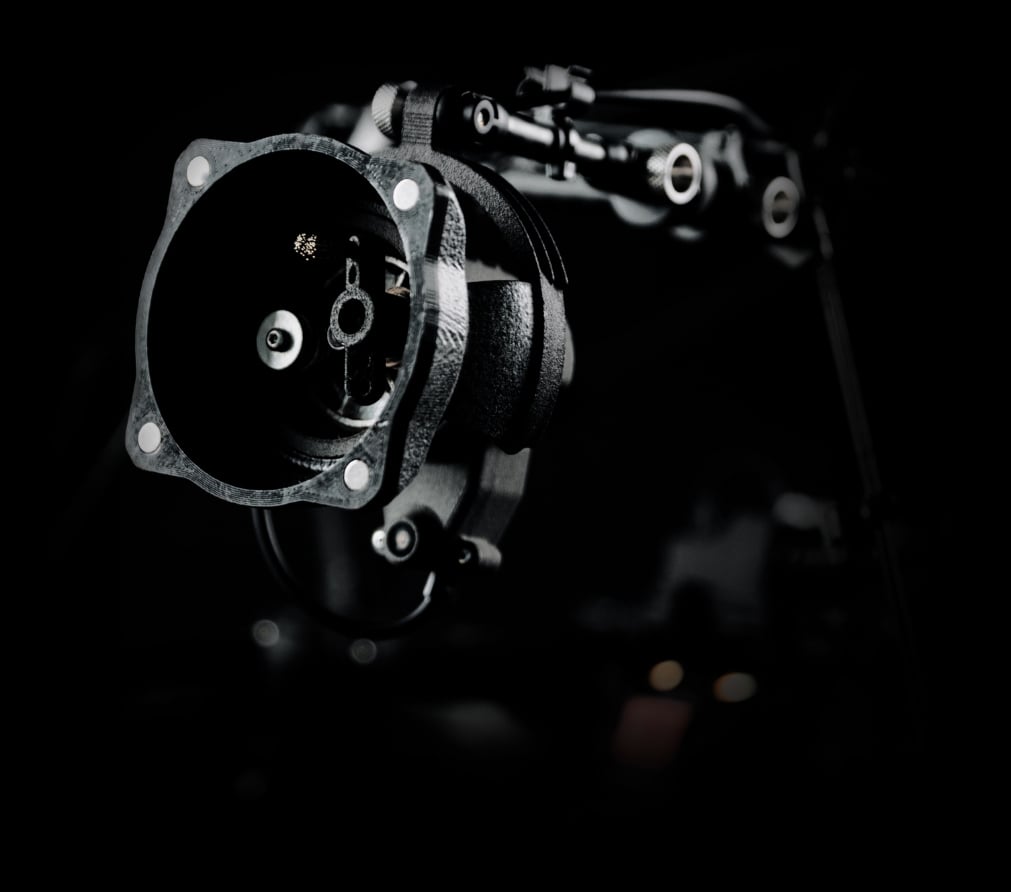
The Elios 3 UT Payload features a remotely operated couplant dispenser with the probe to ensure just the right amount of couplant is dispensed for perfect ultrasound transmission into the material under test. The operator can monitor the couplant level through Cockpit and return home for a quick refill or rapid swap of the dispenser’s syringe when running out of gel.
Smart Probe Arm
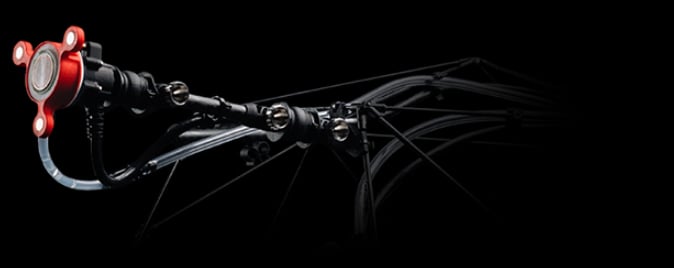
The smartest probe arm ever built on a drone.
-
Versatile orientation
The Elios 3 UT Payload can be mounted on top of, in front of, or below the drone, and the probe arm can be shaped to your needs, ensuring the necessary adaptability and accessibility to perform thickness measurements in a wide range of locations. -
Undisrupted navigation
The probe arm is designed to fold onto the drone to pass through the narrowest manholes or navigate inside the most complex spaces without disrupting the flight. -
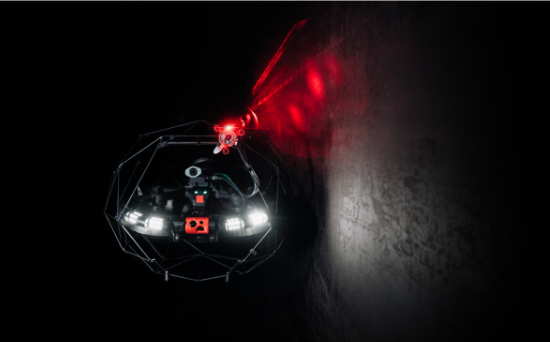
Laser-focused targeting
The UT Payload’s probe features a laser pointer for accurate targeting and aiming during flight, so you can arrive quickly at the precise spot you wish to measure.
Modular Probe Head
IACS-compliant probes for class surveys
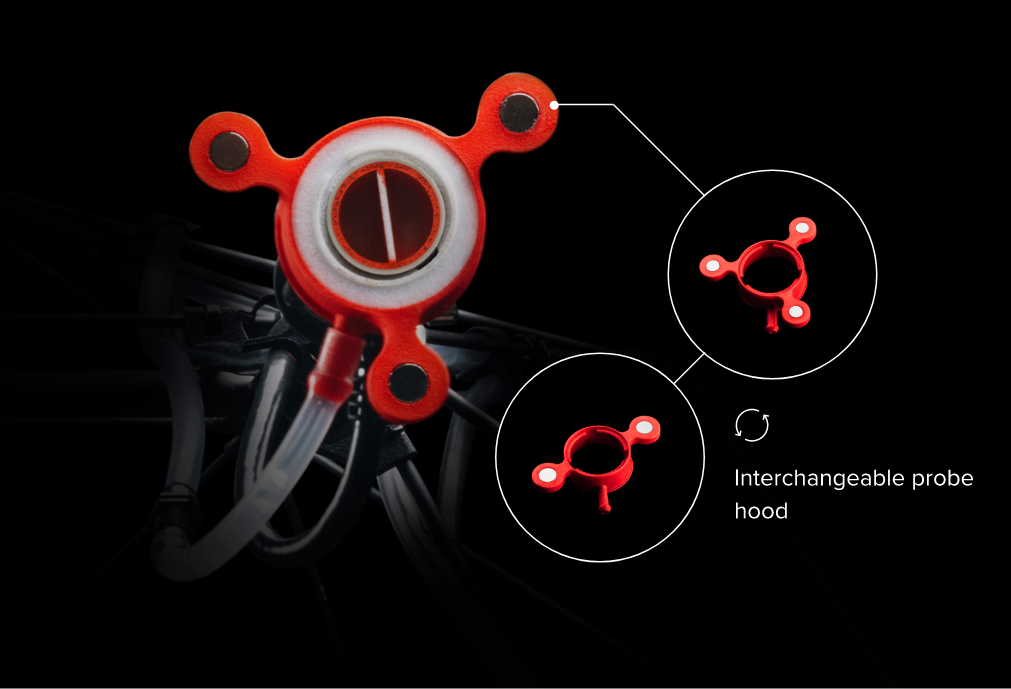
The Elios 3 UT Payload features interchangeable probes, including 2 MHz, 5 MHz, and 7.5 MHz twin crystal piezo-composite probes, as well as a 2.25 MHz single crystal probe, covering a wide range of measurement scenarios.
The Elios 3 UT Single Crystal Multi-Echo probe technology complies with IACS special equipment requirements for thickness measurements on ships and mobile offshore units, making it suitable for class surveys and maritime inspections.
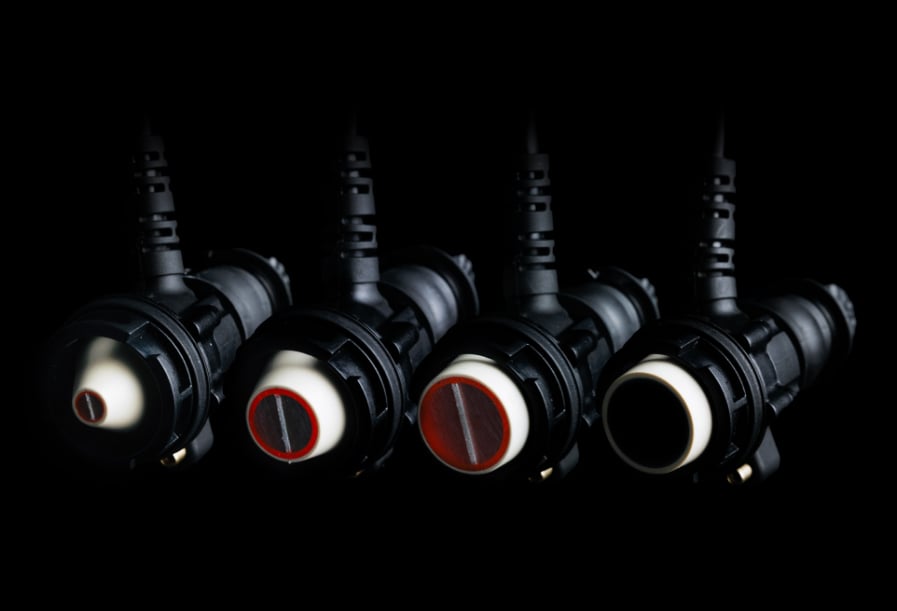
Probe specifications summary:
Choosing the right UT Probe
Learn how to select the right probe for your application in our detailed guide
Cleaning Module
Never miss a measurement
The probe head can be replaced with a cleaning module to remove deposits and prepare surfaces for measurement. Thanks to location-tagging, the user can easily return to the cleaned location to perform the measurement with the probe head attached.
Image below represents: Side-by-side comparison of a metallic surface before and after cleaning.
Live A-Scan
Refine measurements in real-time
Cockpit’s Live A-Scan widget provides operators with advanced measurement controls, enabling either fully automated or manually obtained measurements using adjustable gain and gates. This flexibility allows users to refine measurements on the spot even in less-than-ideal conditions.
SOFTWARE
Advanced Data Post-Processing
Convert UT data into actionable insights
Review your data points in post-processing using the Elios 3’s companion software, Inspector 5.
All data points quick review
Document POIs
All data points from your flights are displayed and located in a digital twin of your asset, easing navigation between points of interest.
Verifying and refining measurements
Verifying and refining measurements
During the analysis, the A-Scan is retraced in the software, allowing you to verify the measurement or refine it by re-selecting the most appropriate echo signals.
Document data points
Document data points
Data points can be documented by assigning them a criticality level and adding a description.
-
Document POIs
All data points from your flights are displayed and located in a digital twin of your asset, easing navigation between points of interest.
-
Verifying and refining measurements
During the analysis, the A-Scan is retraced in the software, allowing you to verify the measurement or refine it by re-selecting the most appropriate echo signals.
-
Document data points
Data points can be documented by assigning them a criticality level and adding a description.
Measurements by Cygnus Instruments
The Elios 3 UT Payload has been developed in partnership with Cygnus Instruments, a leading manufacturer of ultrasonic thickness gauges. Leveraging Cygnus’ 40 years of UT experience, the Elios 3 UT Payload meets the highest standards of accuracy, quality, and reliability in thickness measurements.
In partnership with Cygnus Instruments.
