Resources
Search our content by topic, type, industry, or whatever keyword you like.
Filter by Industries, Categories or Both.
Blog
|
Infrastructure
Infrastructure
207445138869
How the Maryland Department of Transportation State Highway...

News
|
Maritime
Maritime
206200291122
Flyability To Host Maritime Drone Days in Athens with...
Case studies
|
Mining
Mining
203585154711
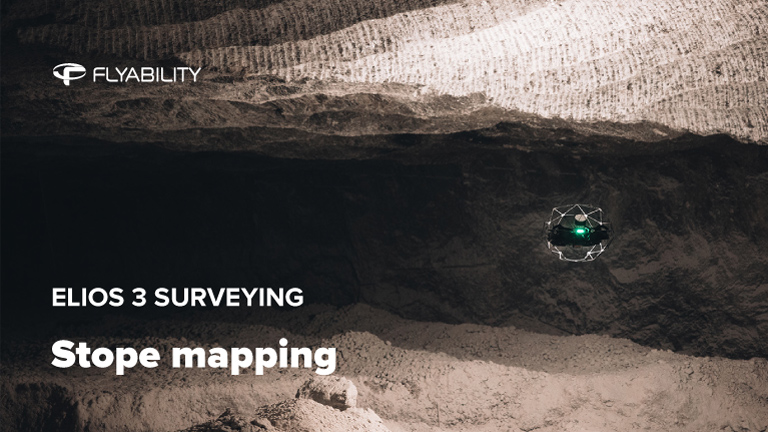
125% more data in gold mine stope surveys with the Elios 3
-Jan-16-2026-10-59-56-8006-AM.png)
Case studies
|
Maritime
|
Oil & Gas
Maritime Oil & Gas
199902388079
CAN-USA and Shell Redefine Offshore Inspections with the...
.jpg)
Factsheets
|
Maritime
Maritime
204229780871
Discover Maritime Drones for Remote UT and Visual...

Factsheets
|
Oil & Gas
Oil & Gas
205365949272
Discover Oil and Gas Drones for remote NDT inspections
.jpg)
Case studies
|
Infrastructure
Infrastructure
203272401011
Inspecting Indoor Waterparks with the Elios 3
.png)
Case studies
|
Sewer
Sewer
202599713641
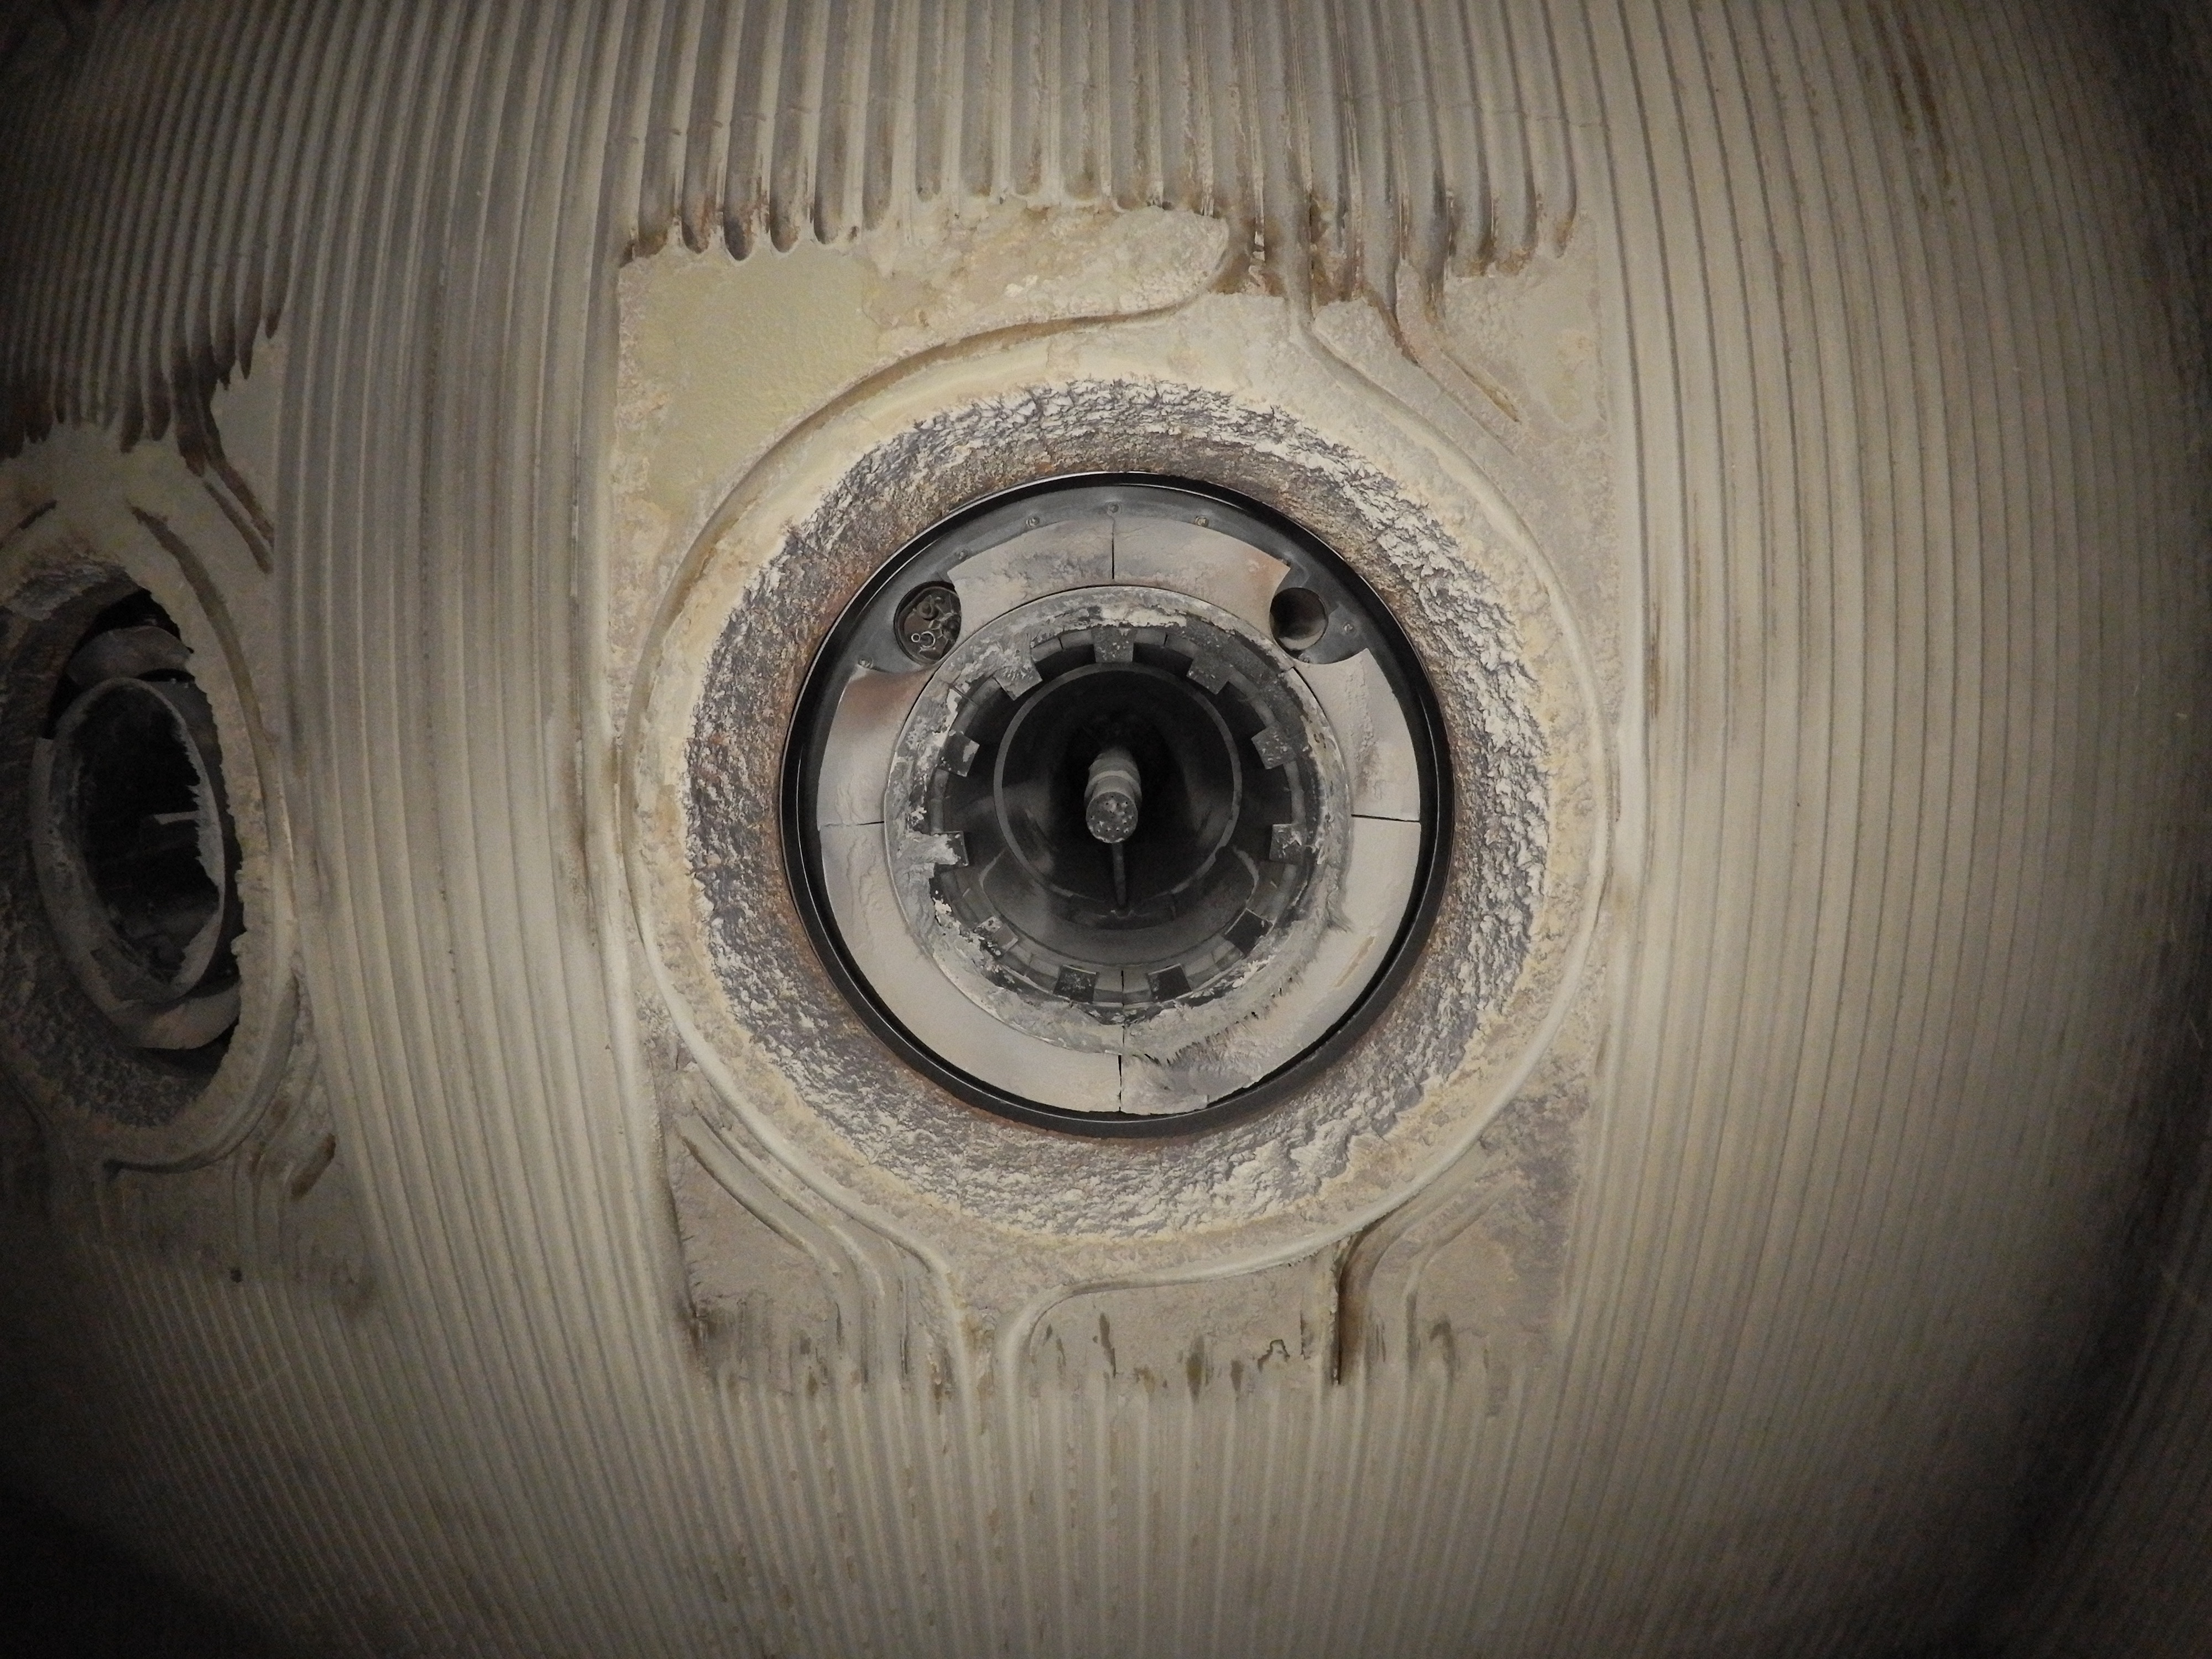
From Days of Work to a 30-Minute Flight for Oil Water...
Case studies
|
Power Generation
Power Generation
201807163781
Drone inspection cuts 300 hours of work in emergency...
-1.png)
Blog
|
Maritime
Maritime
201735712790
Get Certified with ABS to use the Elios 3 UT Drone for...

Webinar
200078497304
Flyability Cloud: Colorization, Feature Updates, and Live...
News
|
Infrastructure
Infrastructure
200936278284
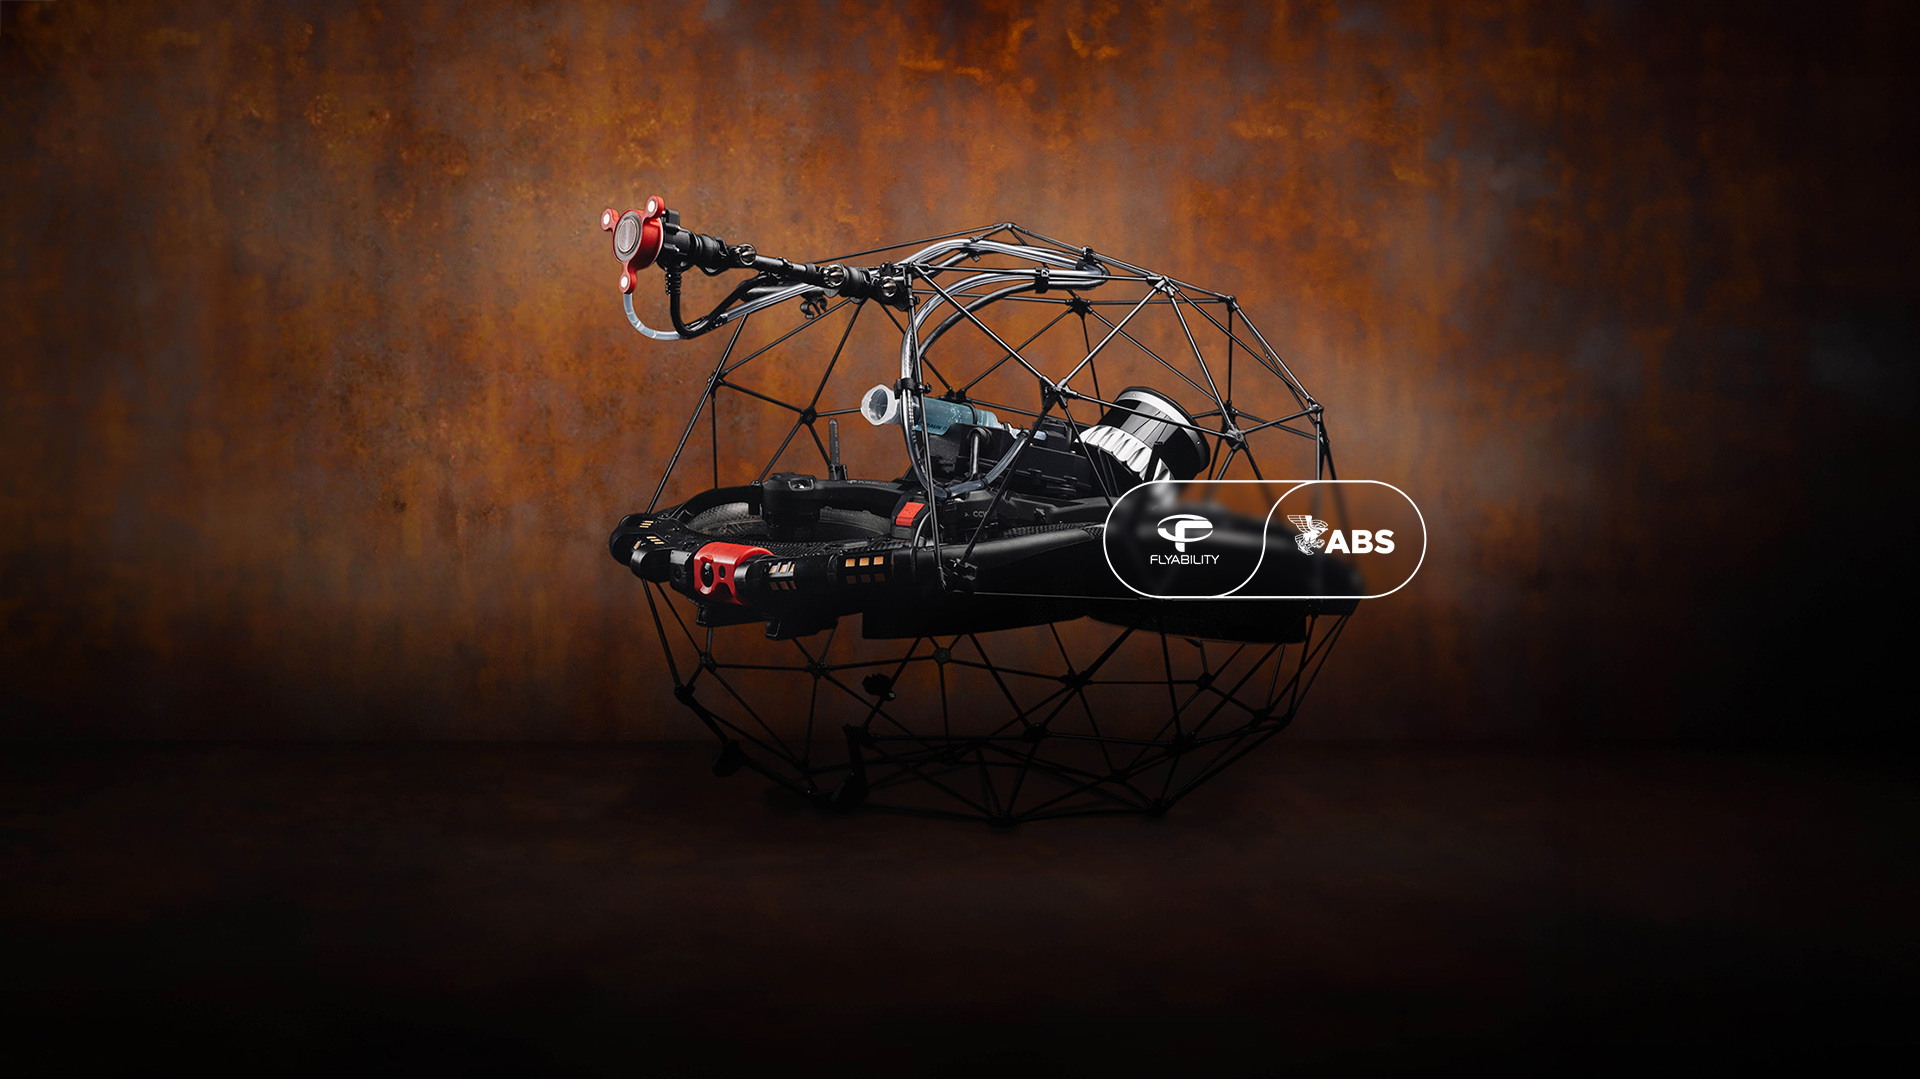
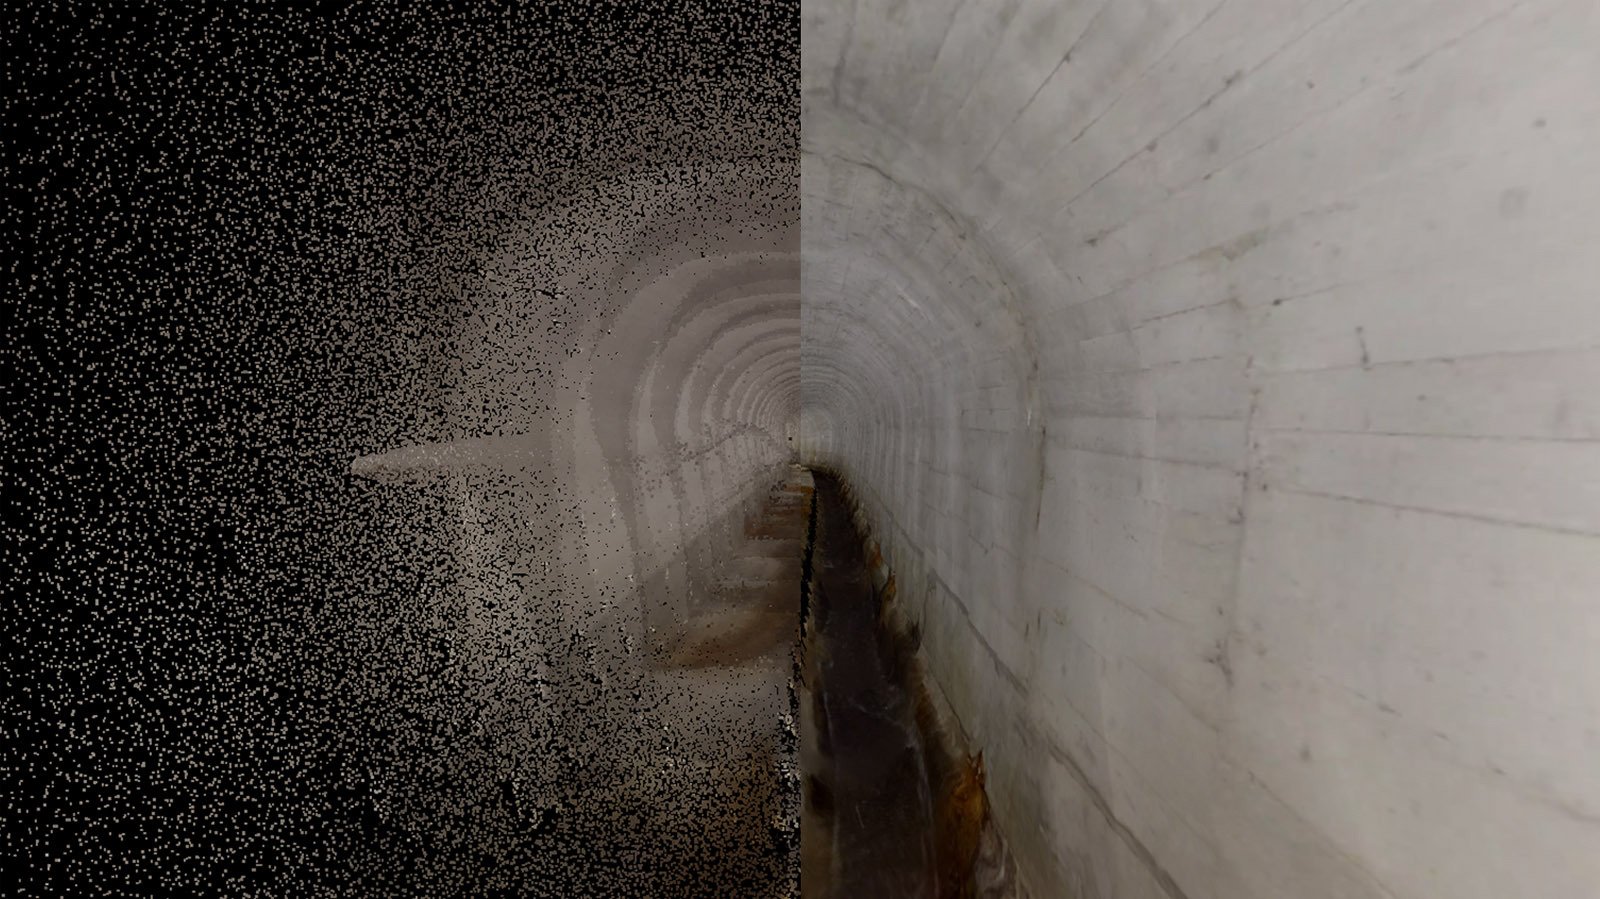
Jaguar Land Rover Boosts Factory Safety and Efficiency by...
Case studies
|
Infrastructure
Infrastructure
199476167513
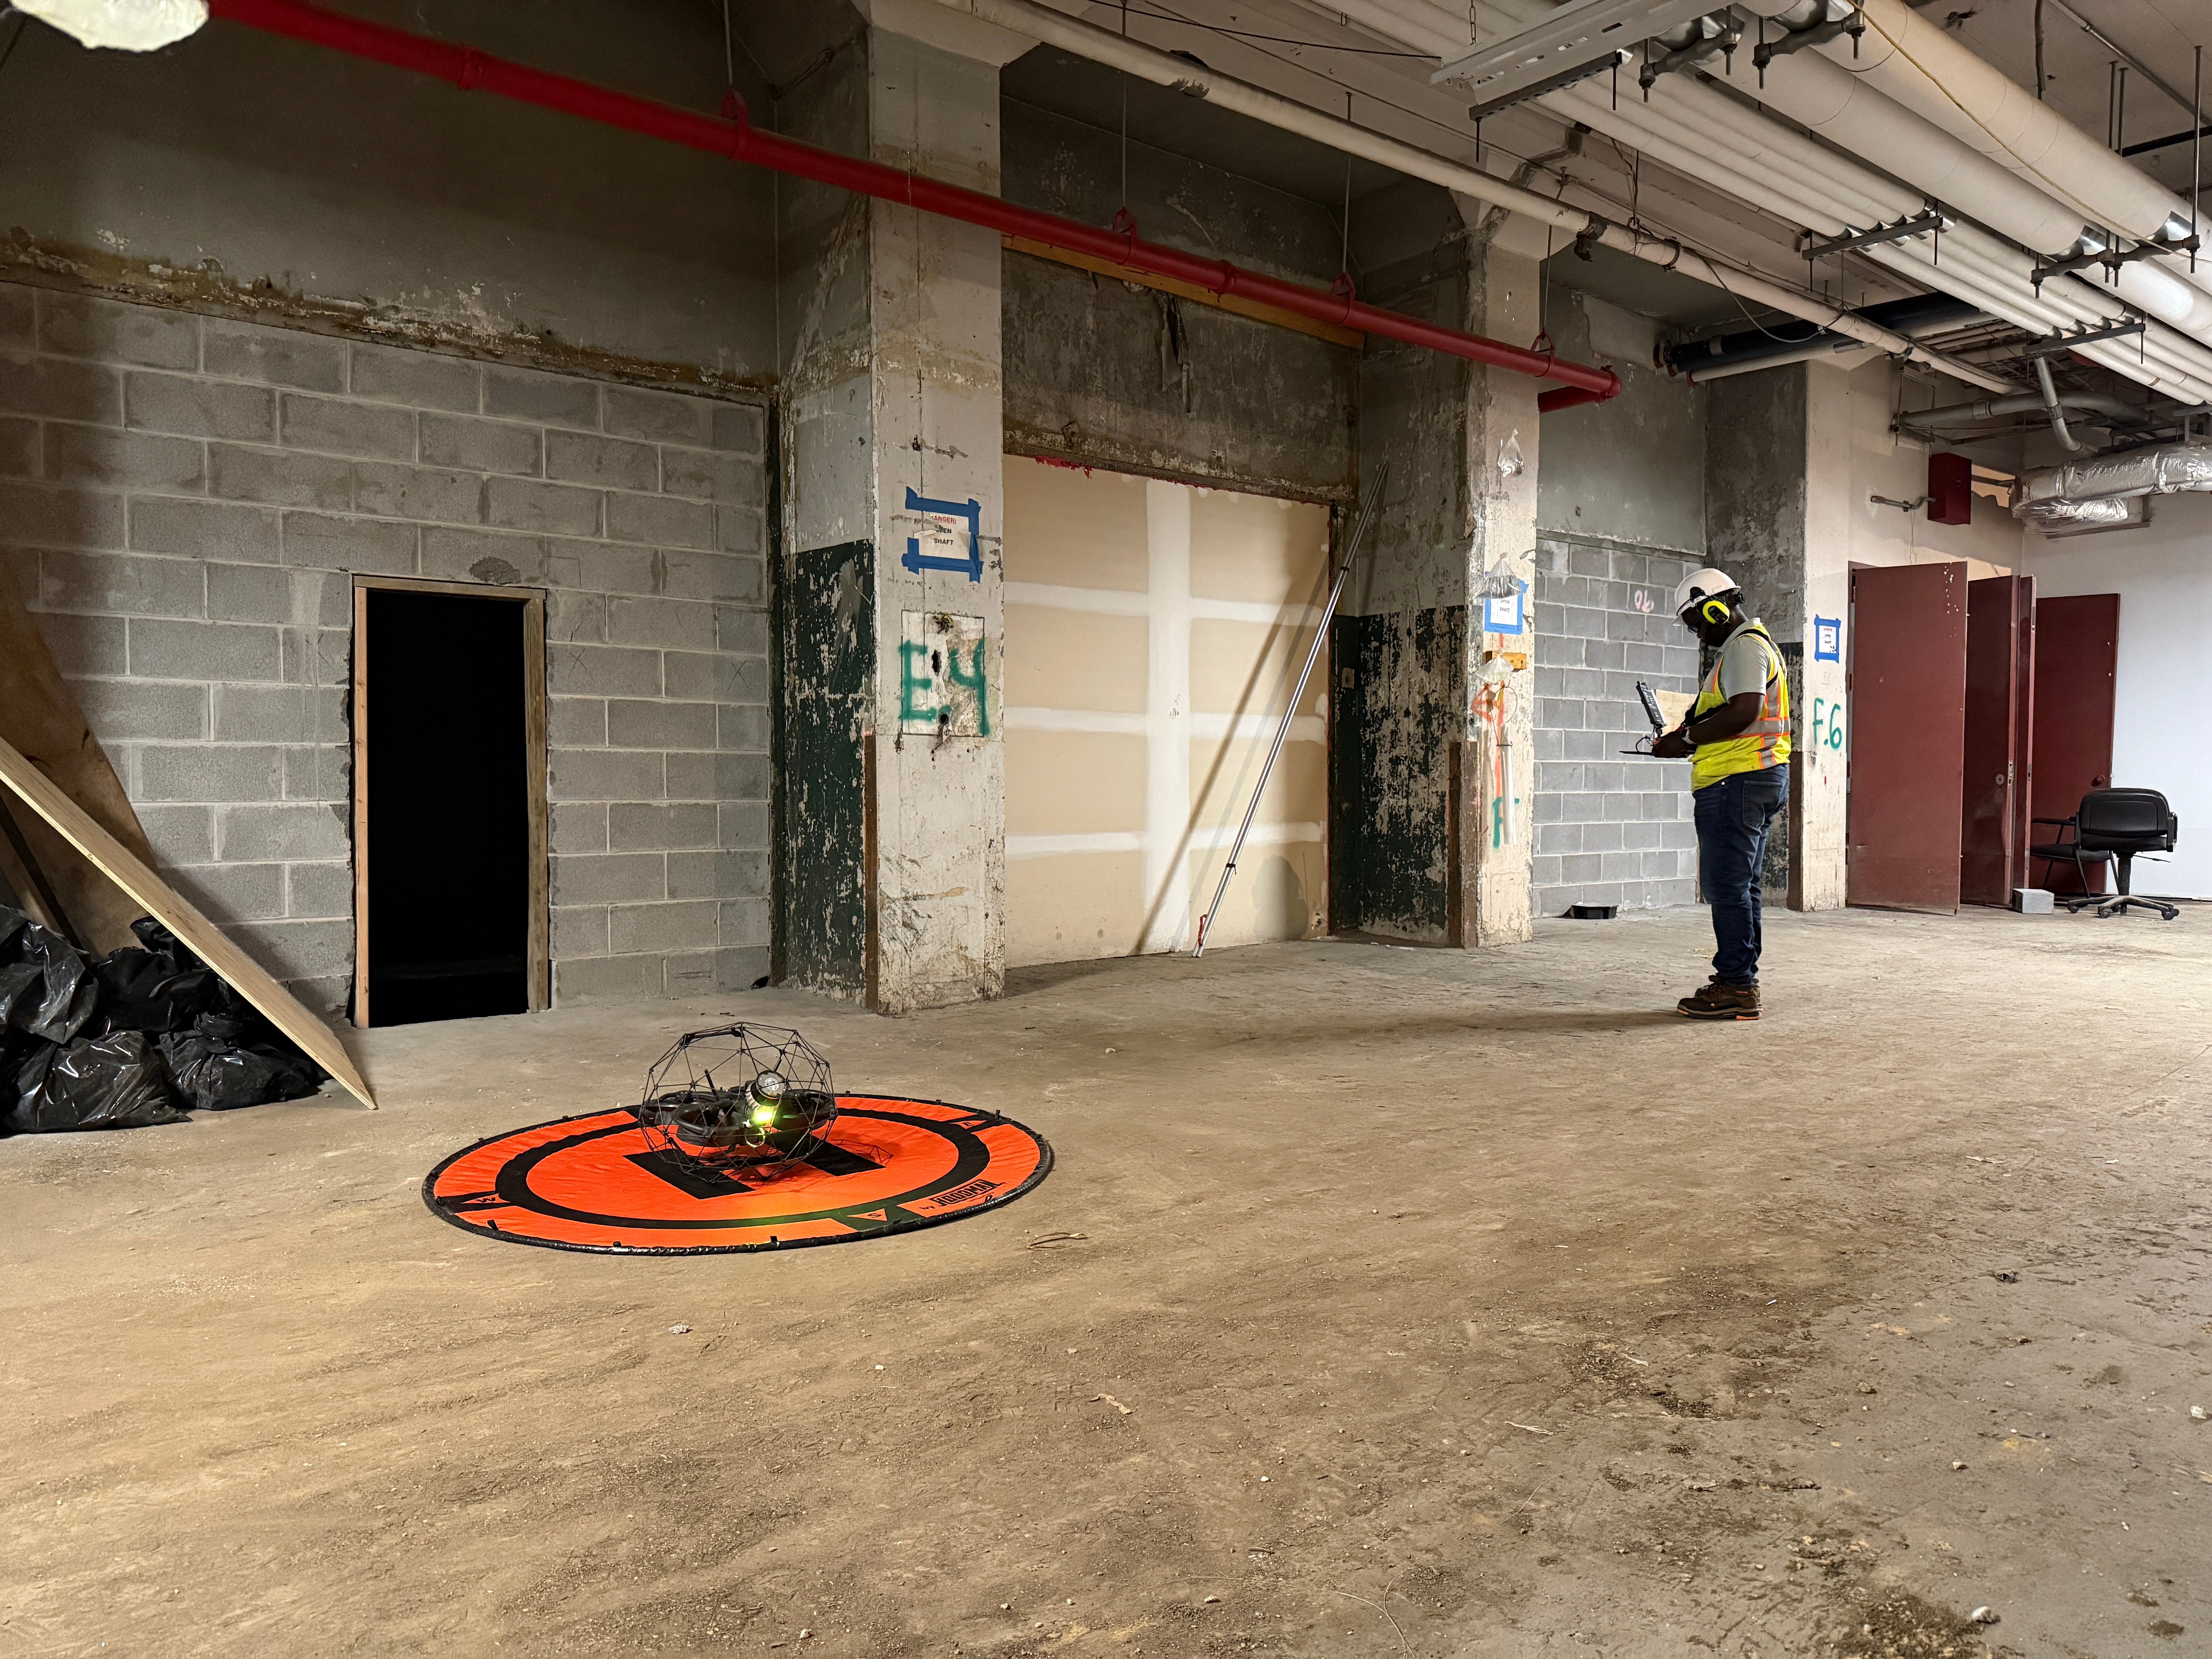
Inspecting Elevator Shafts with the Elios 3 in New york

News
|
Oil & Gas
Oil & Gas
198920126373
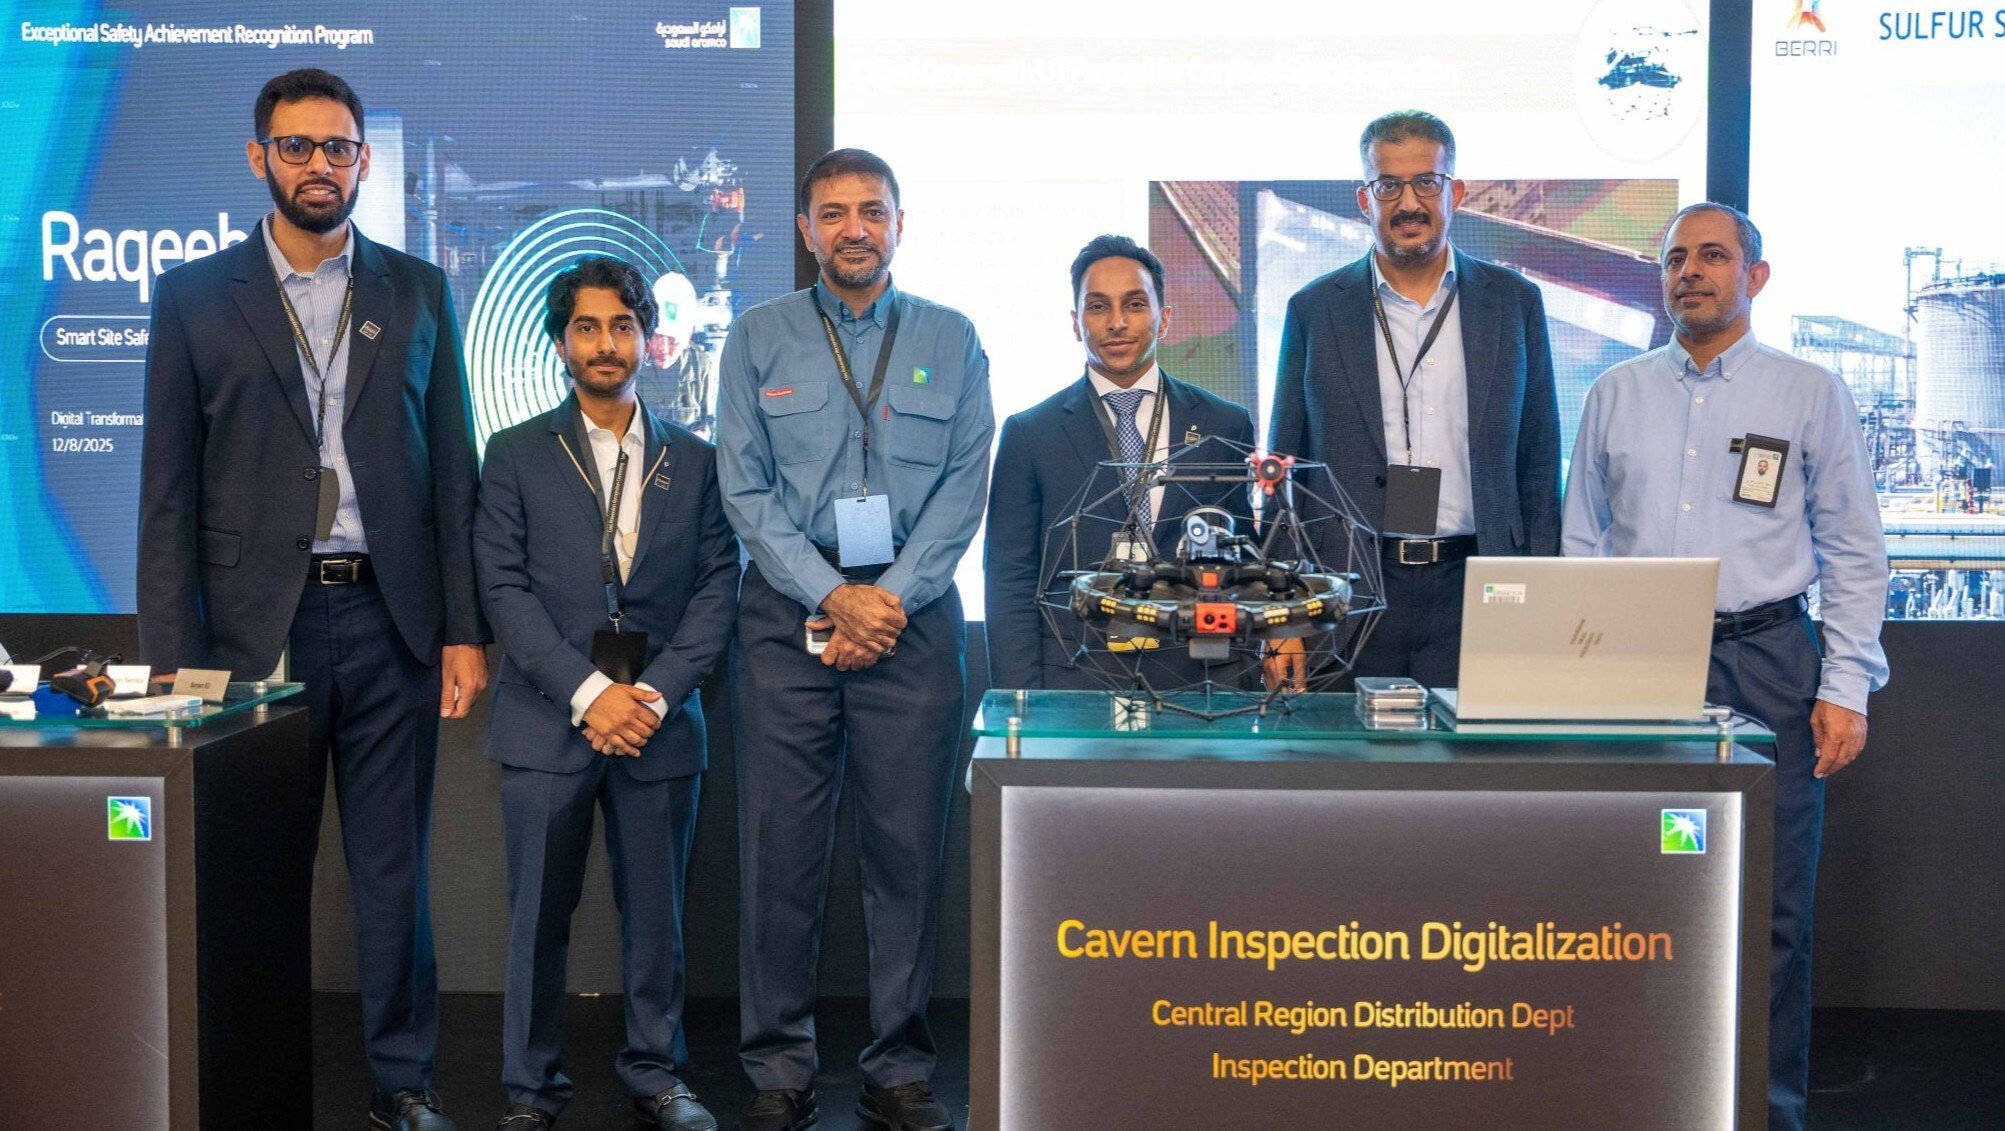
Saudi Aramco award the use of caged drones for internal...
News
|
Maritime
|
Oil & Gas
Maritime Oil & Gas
196863570522
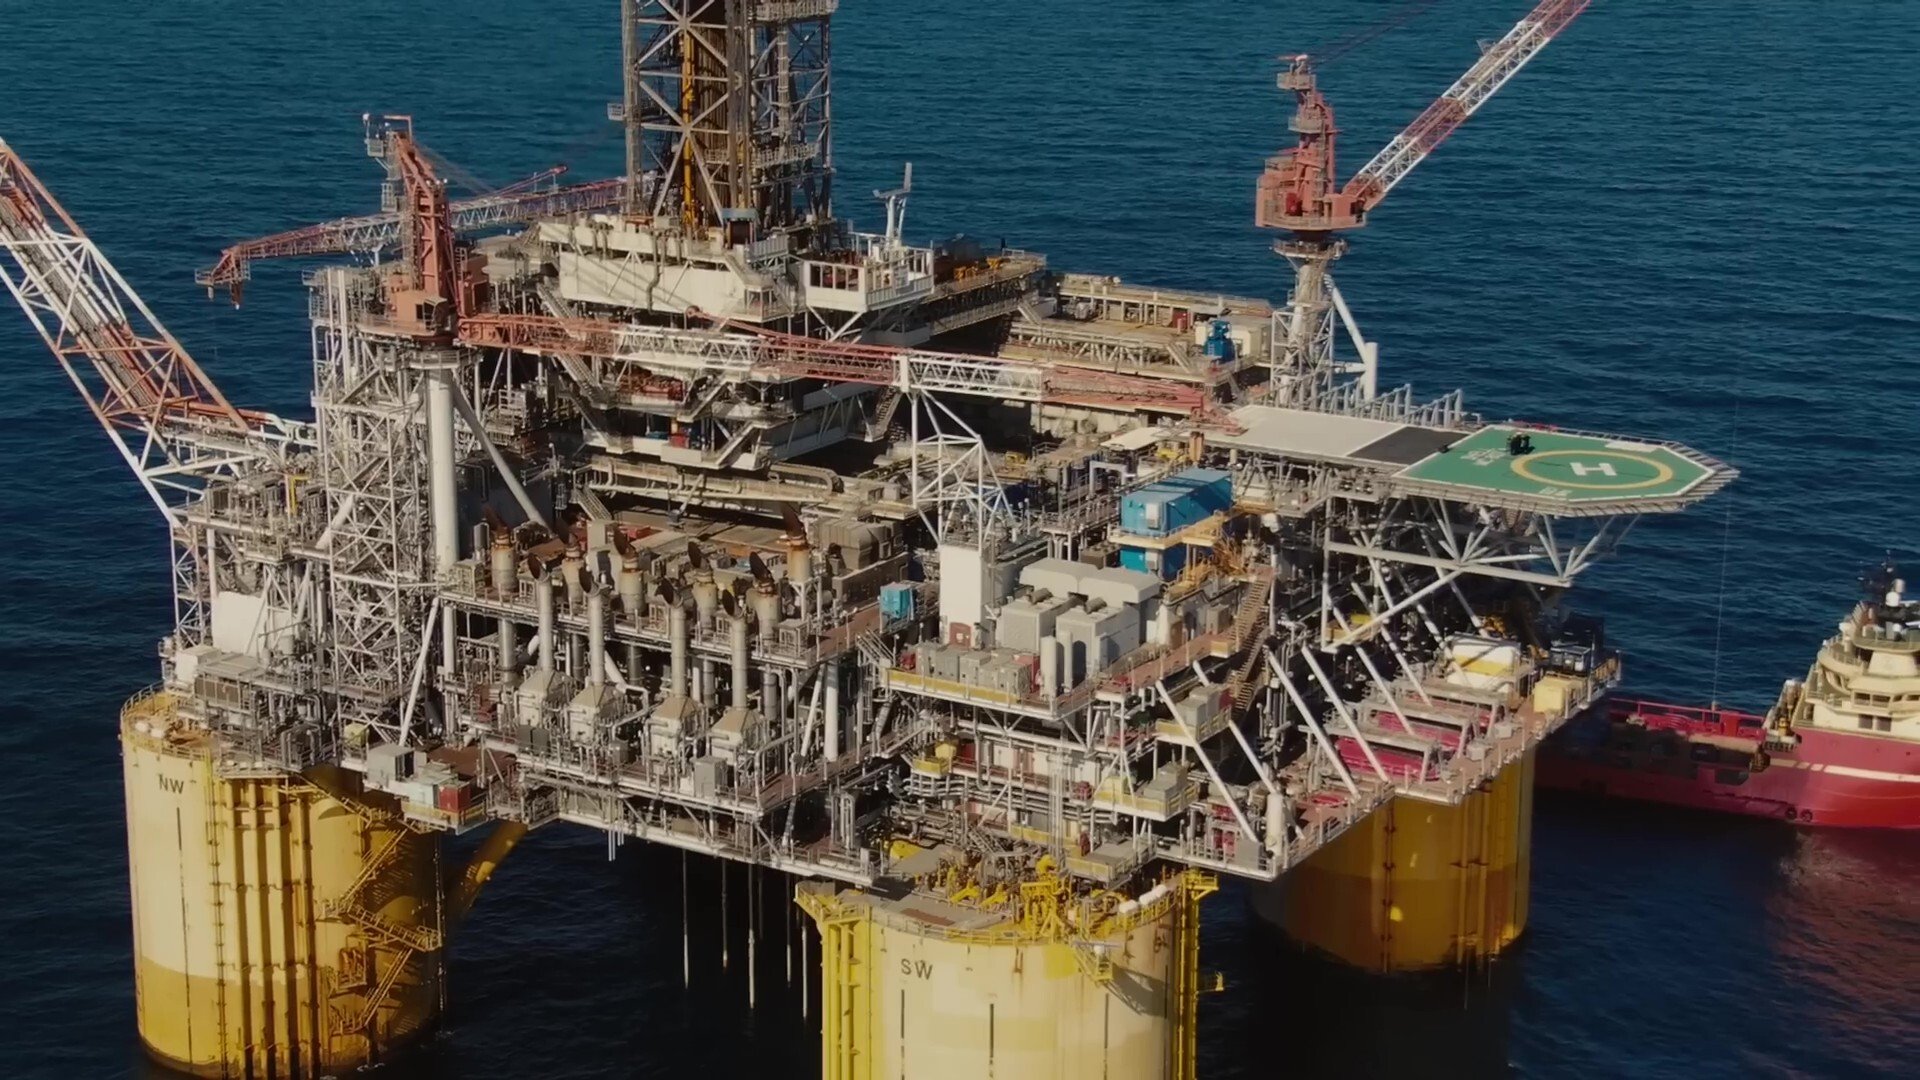
From Ropes to Drones - A look into Shell and CAN-USA's use...
Case studies
|
Mining
Mining
197588999746
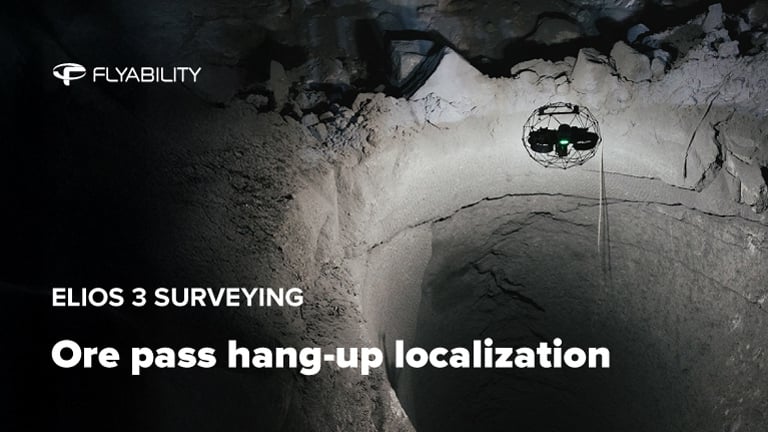
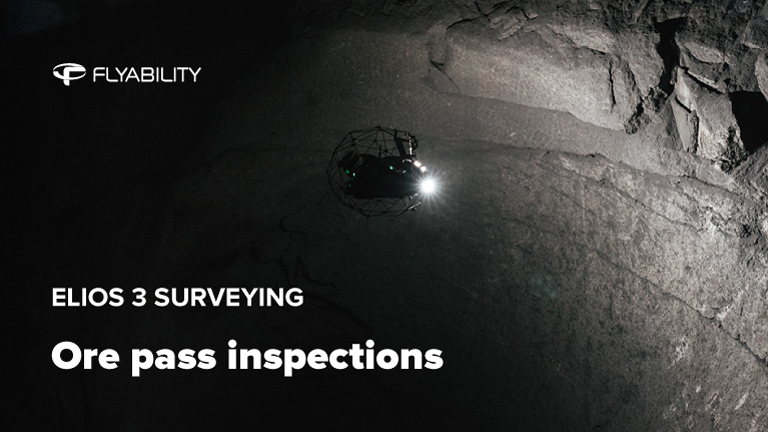
From 8 Hours to 20 Minutes for an Ore Pass Inspection with...


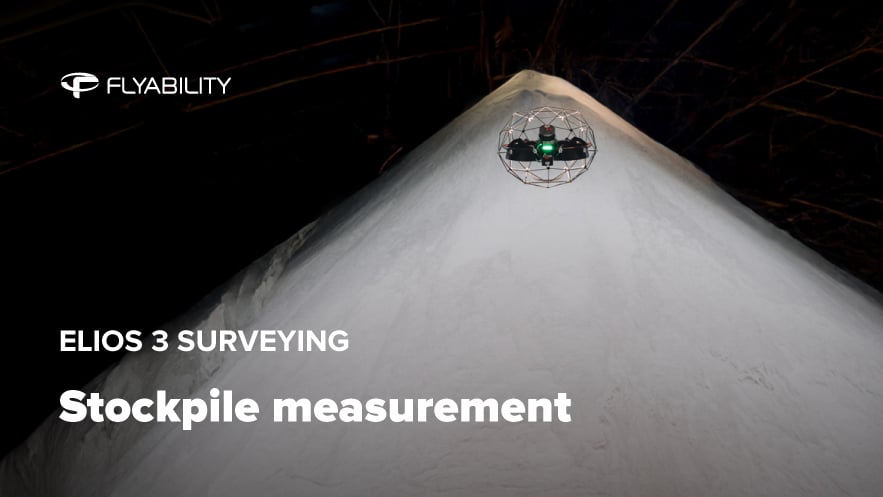
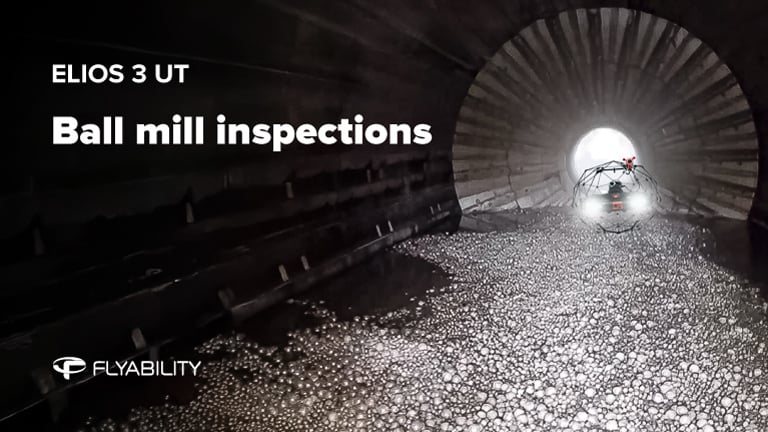
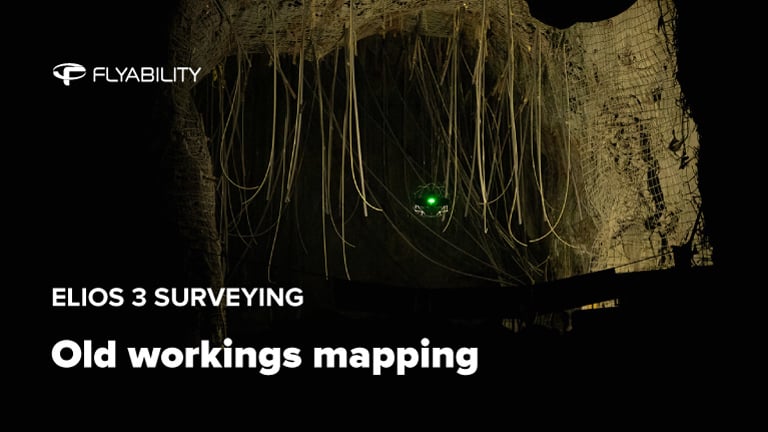
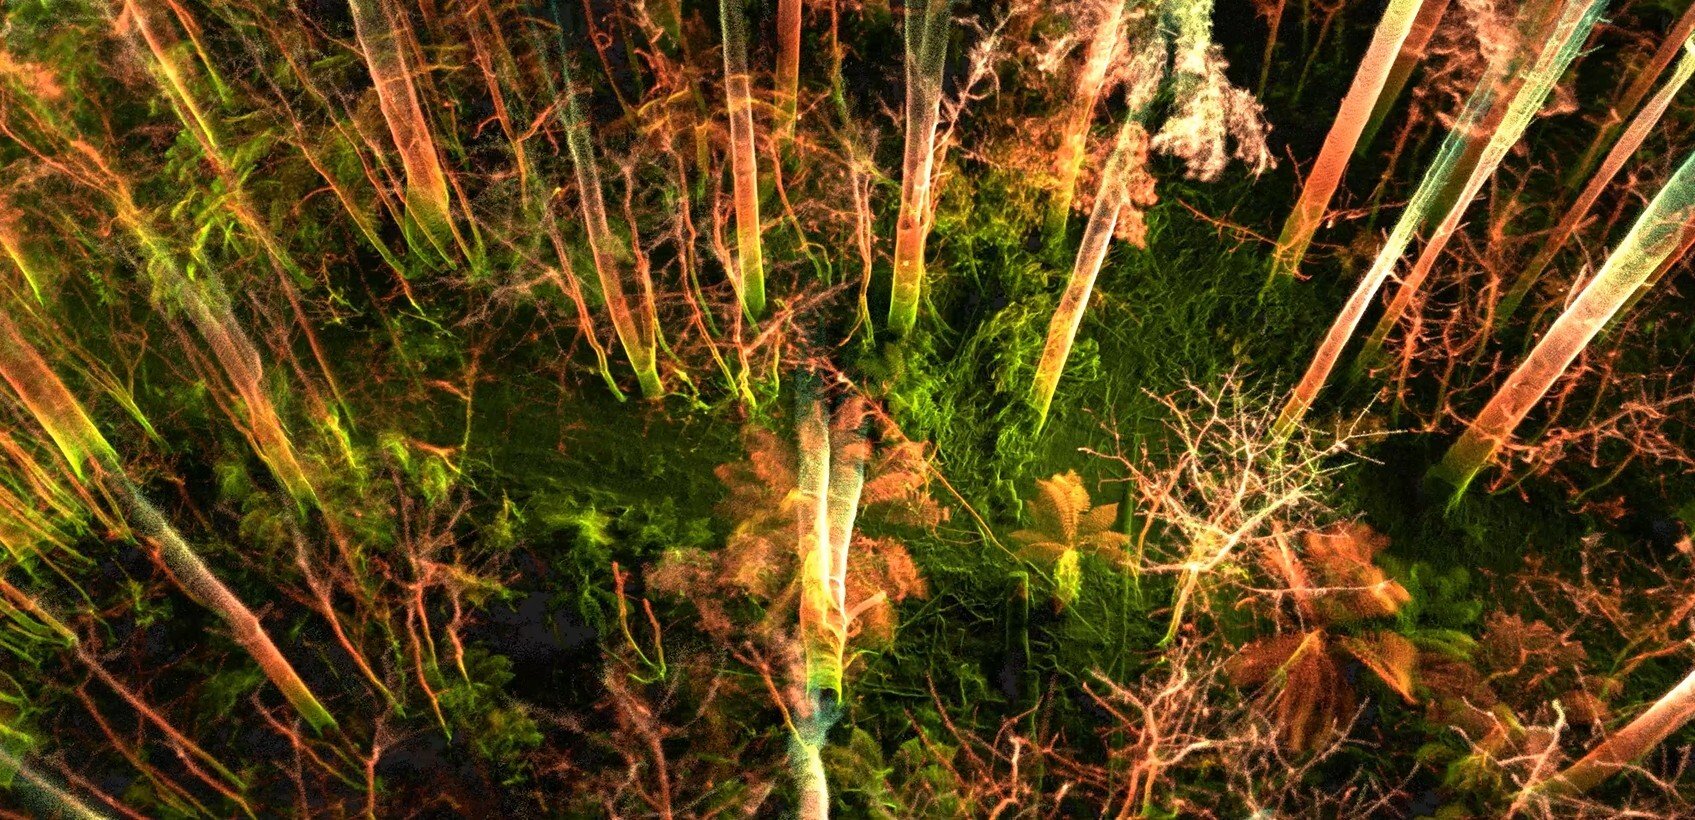
News
|
Maritime
|
Oil & Gas
|
Mining
Maritime Oil & Gas Mining
195106999201
Flyability Launches Tether Power Unit for the Elios 3 for...

Factsheets
|
Sewer
Sewer
194809428911
How Are Drones Reinventing Sewer Management Worldwide?

News
|
Infrastructure
Infrastructure
195050335881
The Elios 3 Wins Major Hong Kong Construction Safety Award


Factsheets
|
Power Generation
Power Generation
186969916440
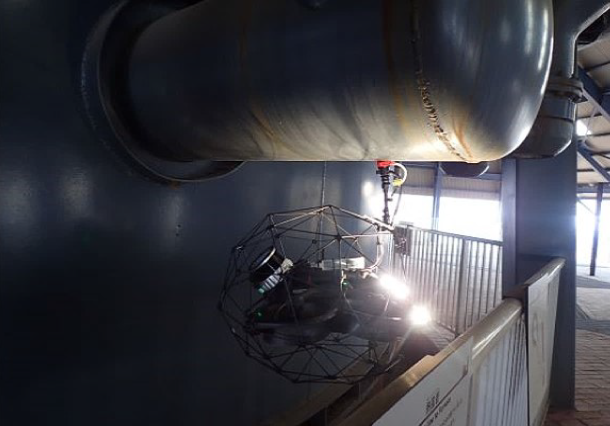
Why are Power Plants Investing in Inspection Drones [Free...
Blog
|
Chemicals
|
Infrastructure
Chemicals Infrastructure
194410465623
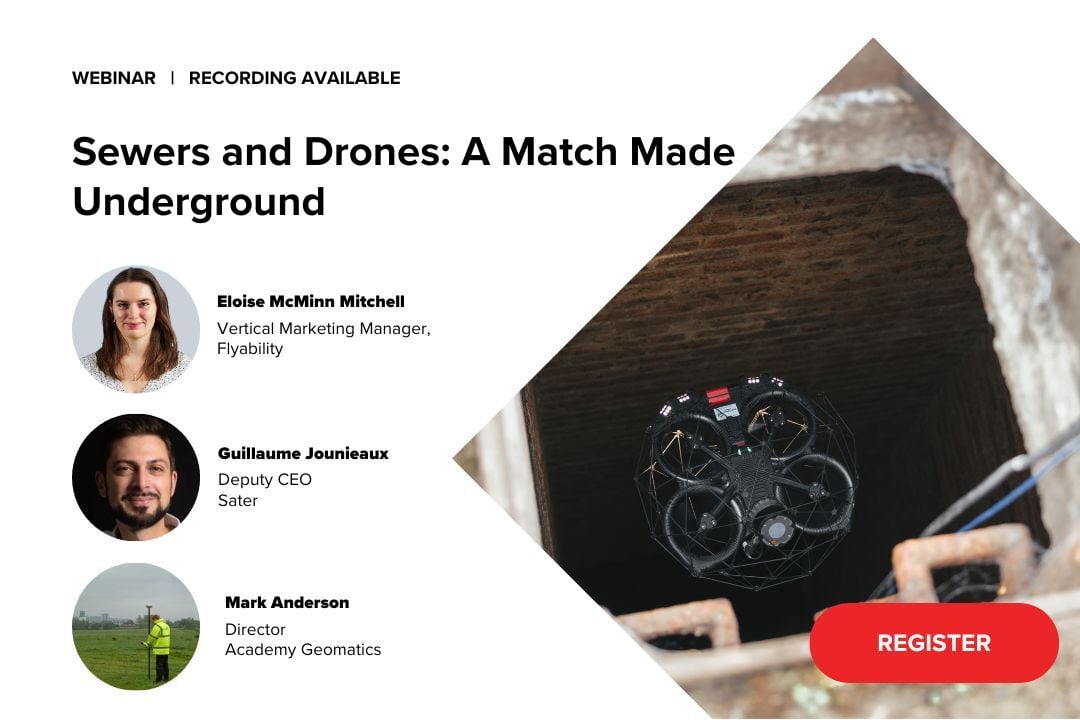
Making inspections 50% faster for Nippon Steel Technology...


Webinar
|
Mining
{name=Mining, label=Mining}
192646748966
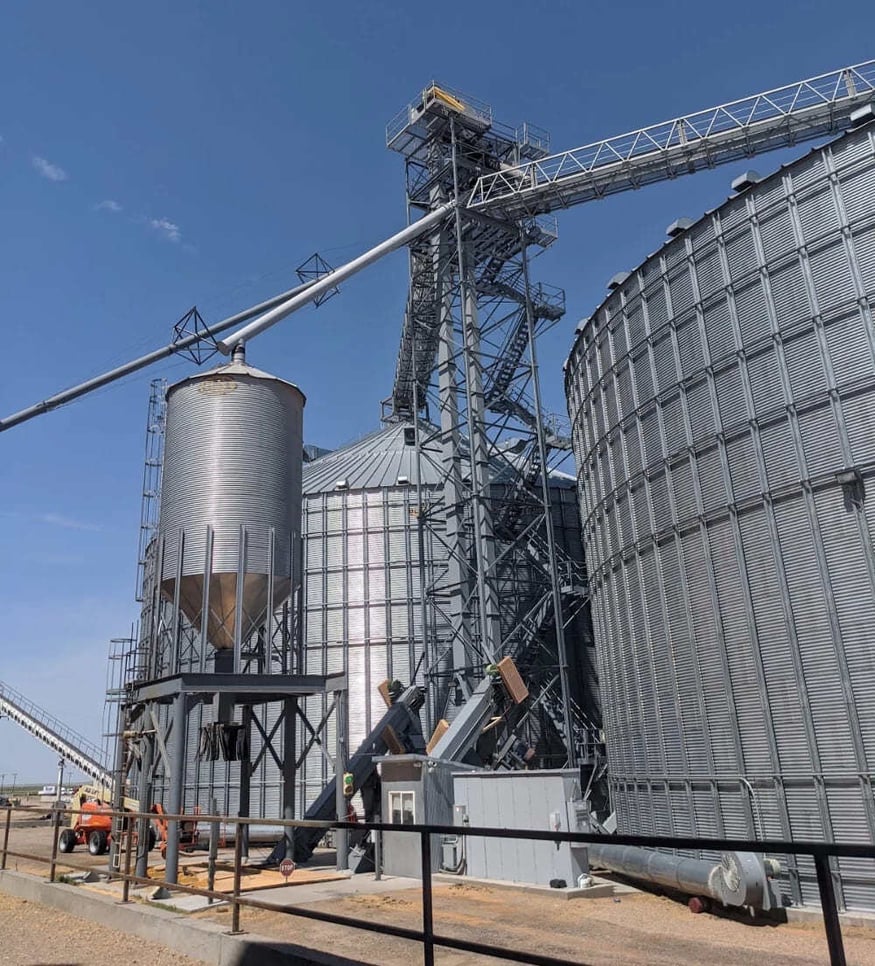
Uncovering the Role of Surveying Drones in Mining
Case studies
|
Food & Beverage
Food & Beverage
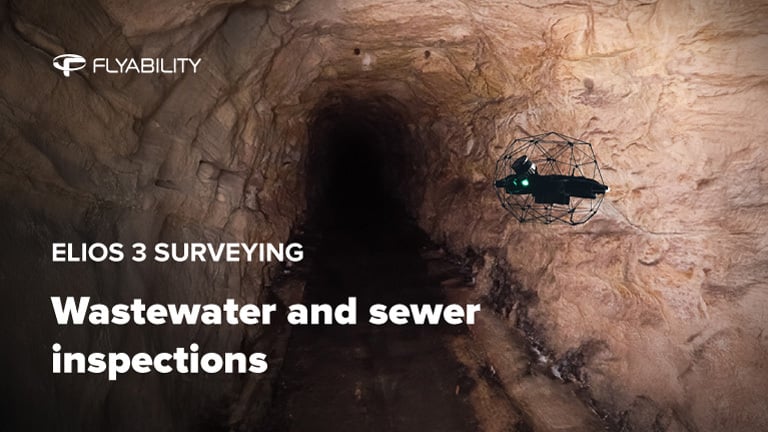
193189468336
ROI of Drone Inspections: How Cargill Successfully Deploys...
Case studies
|
Mining
Mining
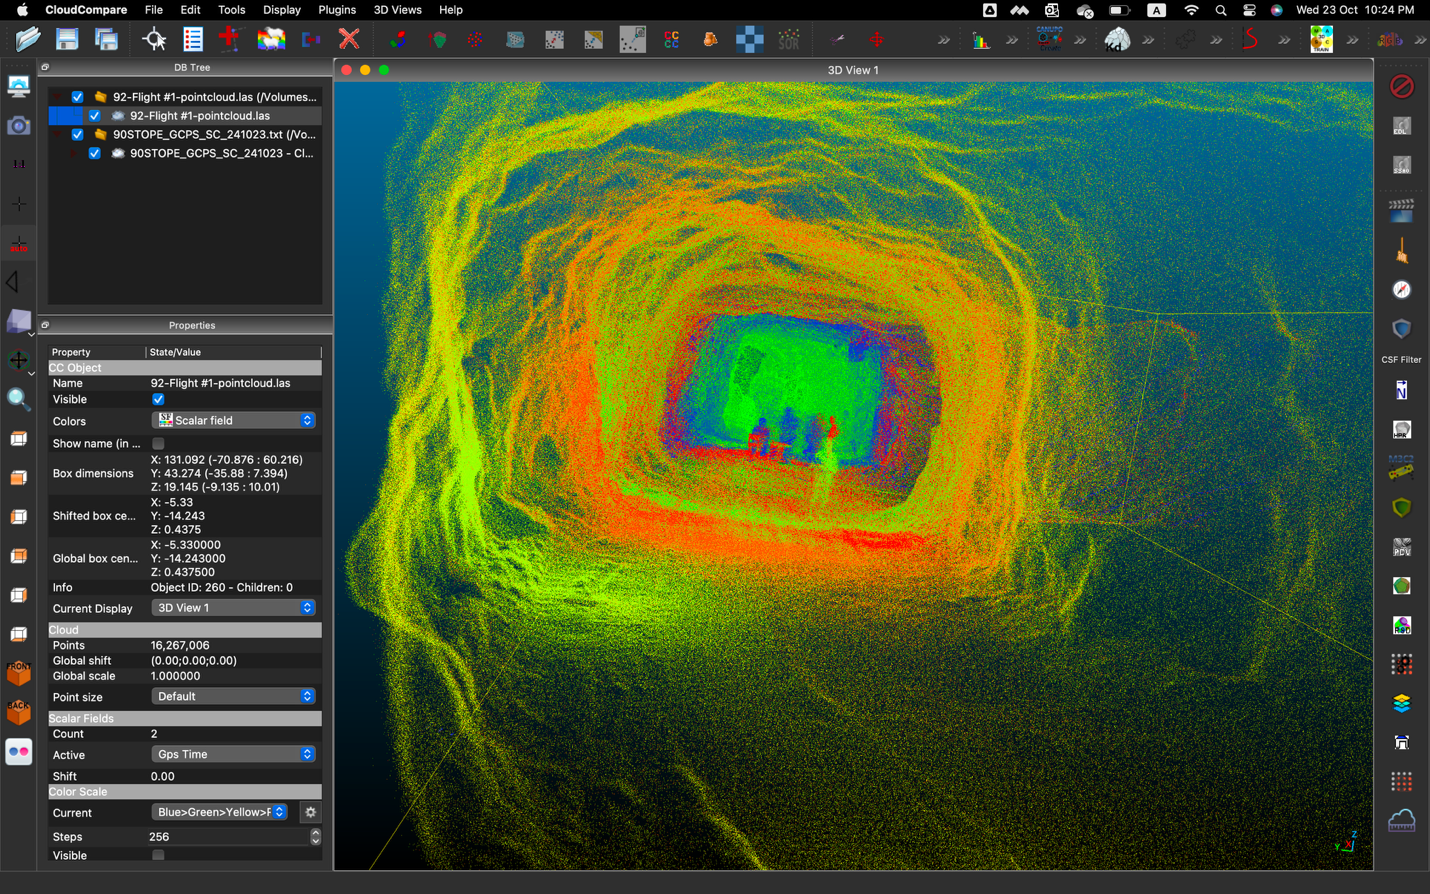
192769032195
Saving $500,000 for Post-Blast Inspections at an...

Case studies
|
Power Generation
Power Generation
192747228479
7-Minute Drone Penstock Inspections with the Elios 3
News
|
Maritime
Maritime
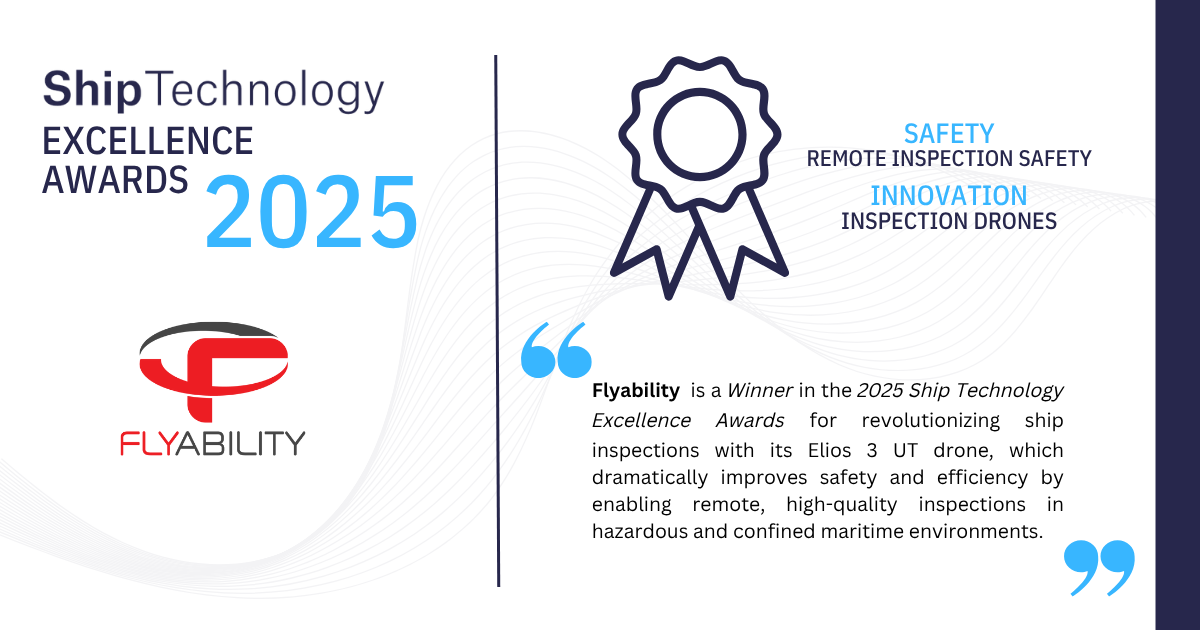
192510000948
Flyability wins the Safety and the Innovation Award from...
News
|
Mining
Mining
191707878750
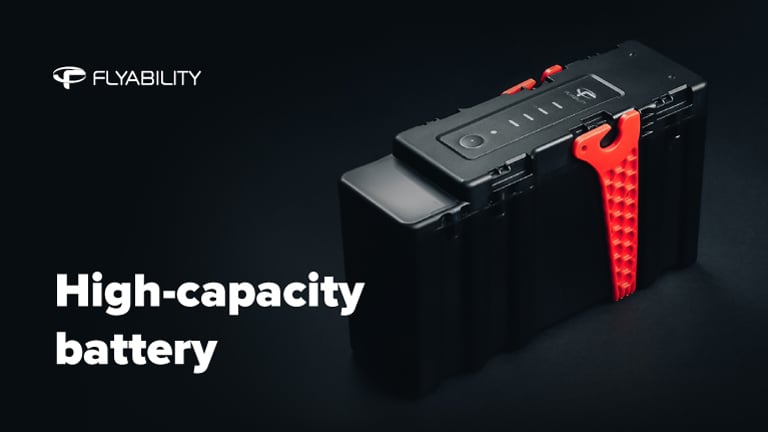
Flyability announces new high-capacity batteries amid...
Blog
|
Power Generation
Power Generation
191709422714
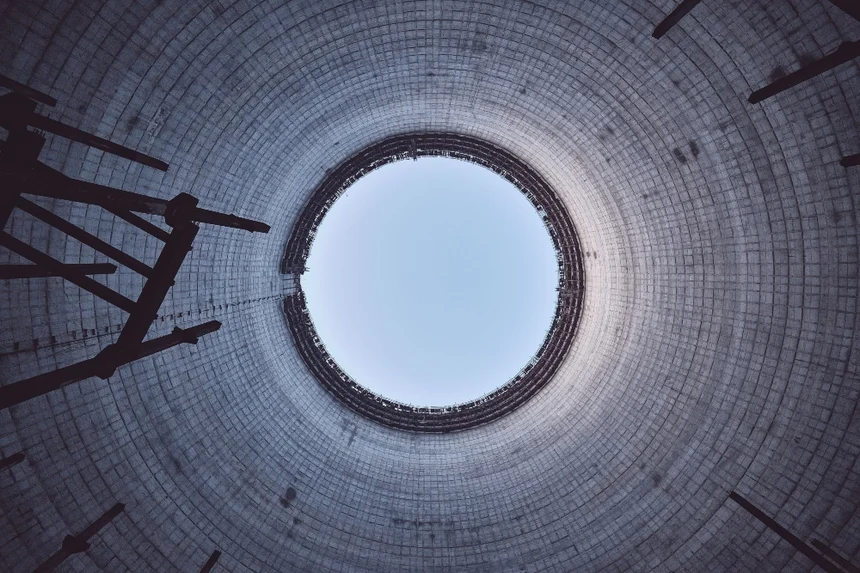
How Drones are Improving Cooling Tower Inspections
White papers
|
Mining
Mining
190956009311
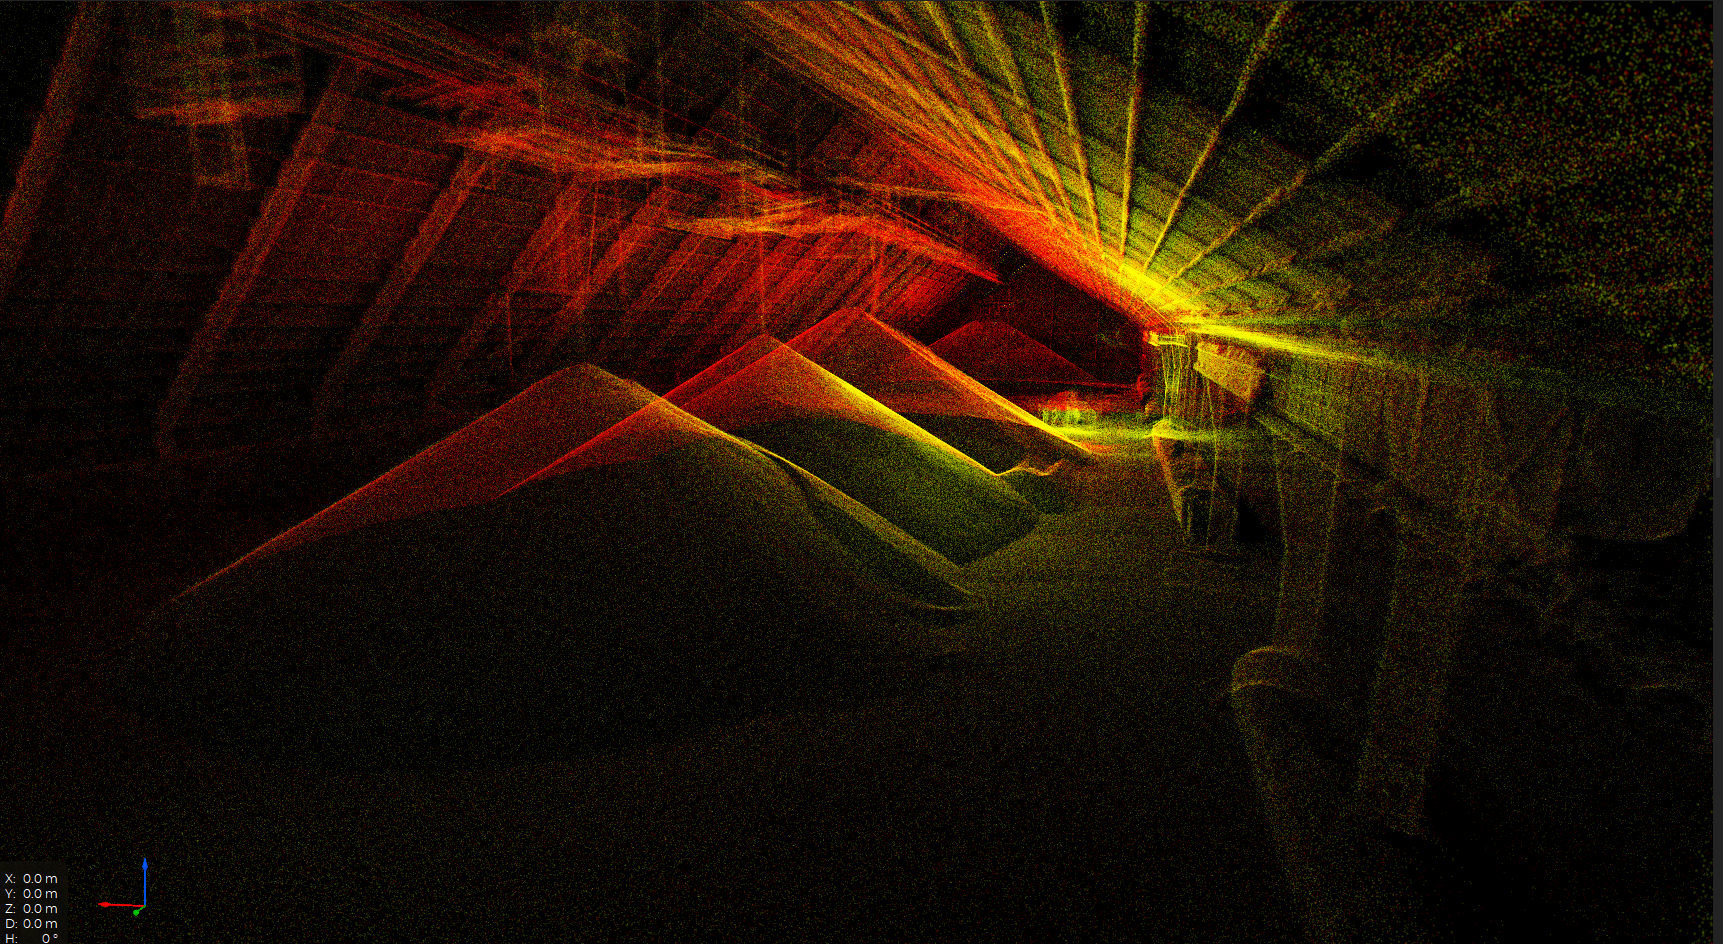
Guide: Volume Measurements with Leica Cyclone 3DR
Factsheets
|
Power Generation
Power Generation
186858295829
Penstock inspections with the Elios 3 UT drone
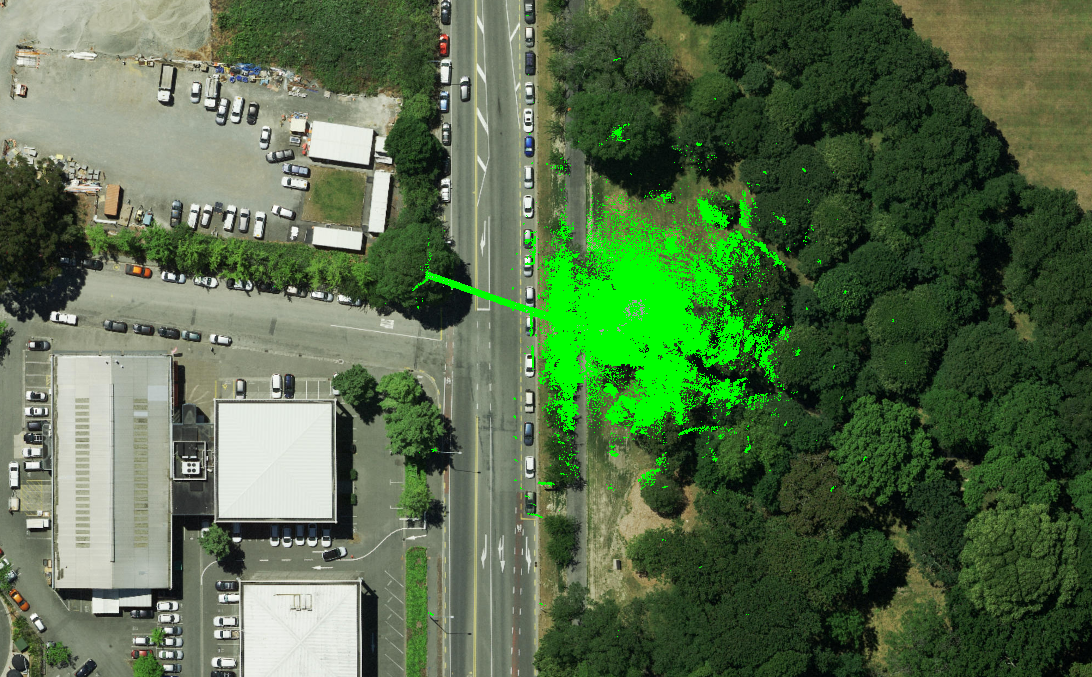
Case studies
|
Sewer
Sewer
190355450670
Inspecting 260 meters of stormwater drains with the Elios 3...
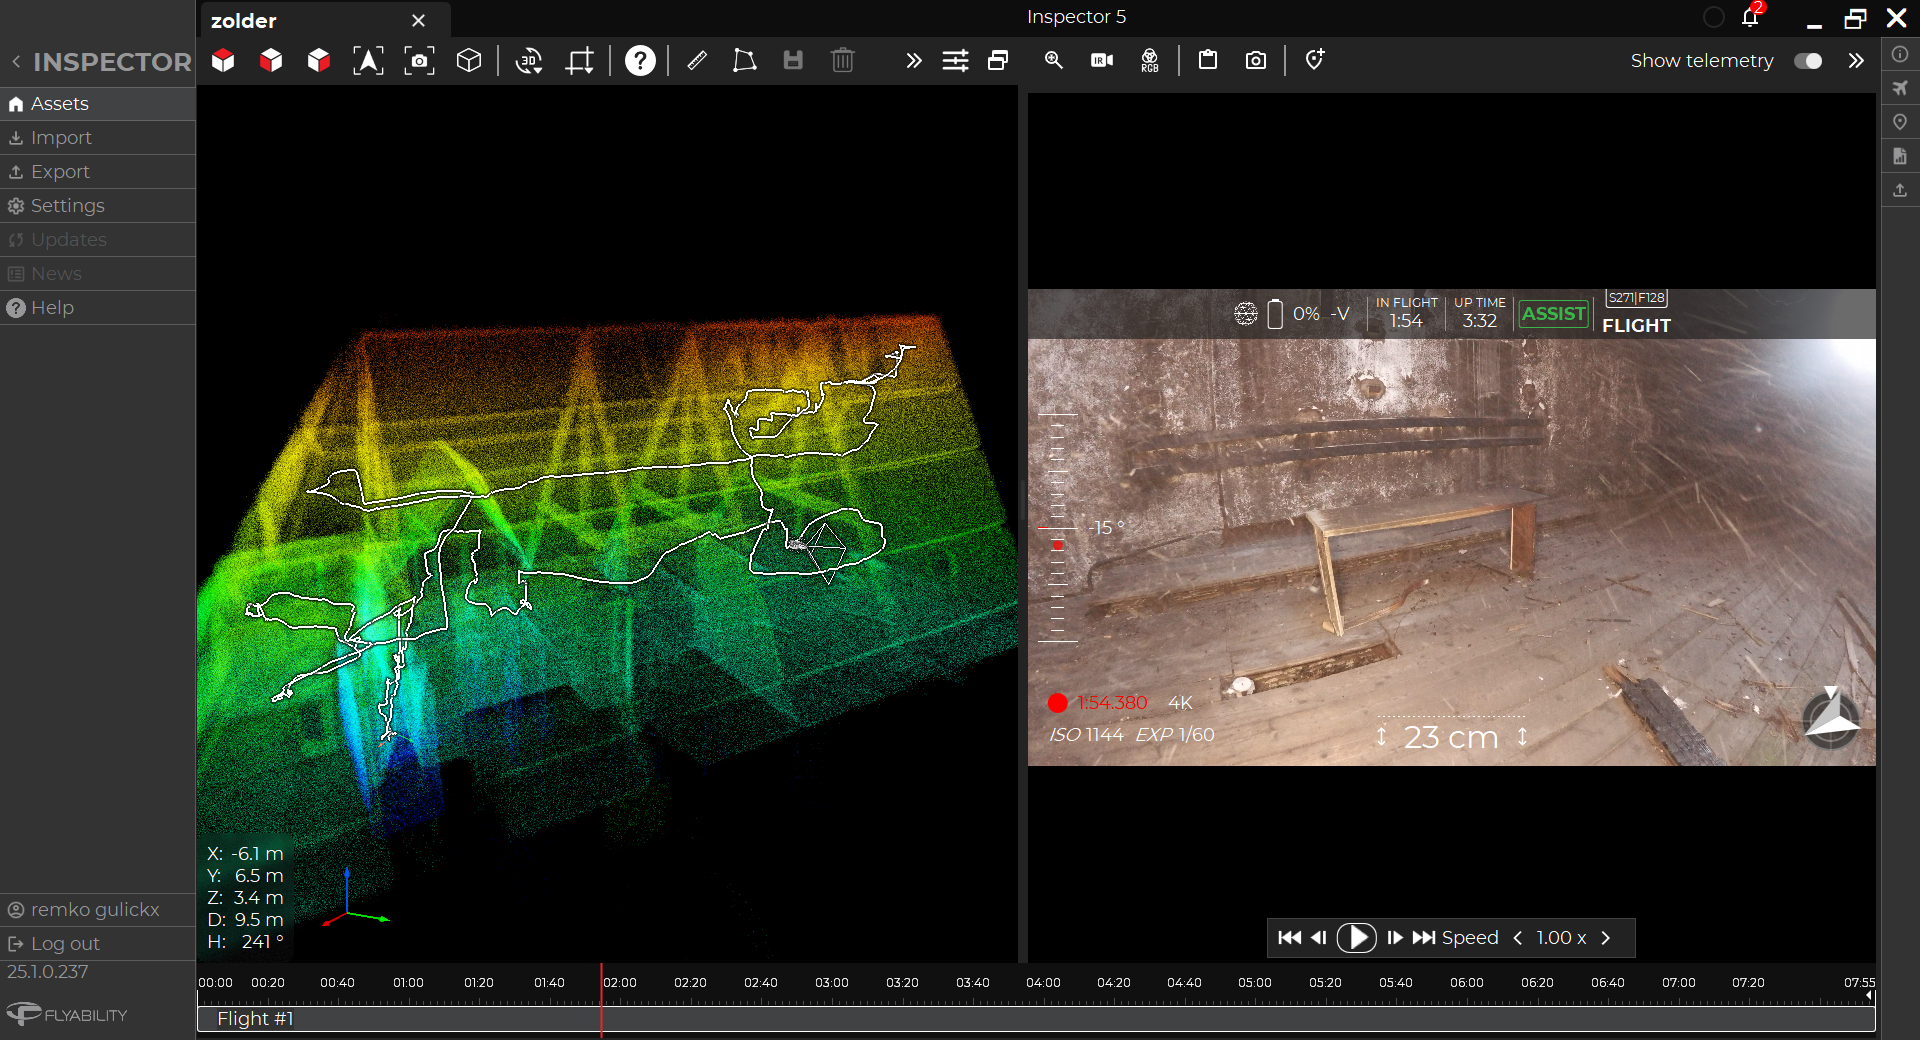
Case studies
|
Infrastructure
Infrastructure
190181392672
Safety First: Flying the Elios 3 Drone Inside a Burnt...
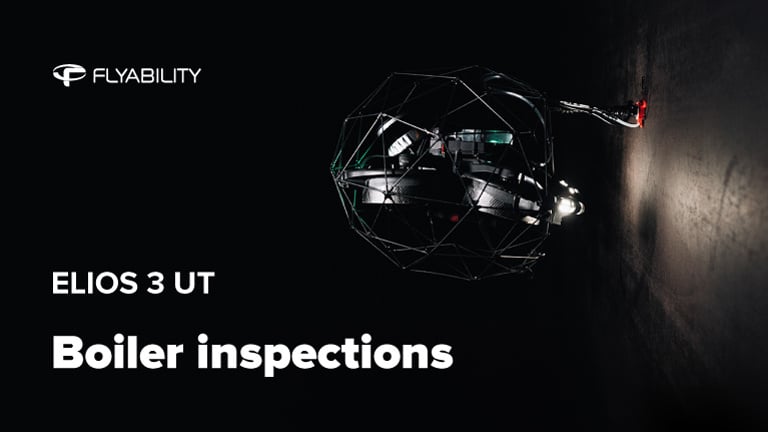
Factsheets
|
Power Generation
Power Generation
186856049847
Boiler Inspections with the Elios 3 drone
Factsheets
|
Power Generation
|
Nuclear
Power Generation Nuclear
187153919644
Condenser inspections with the Elios 3 UT drone

Case studies
|
Power Generation
Power Generation
189292963632
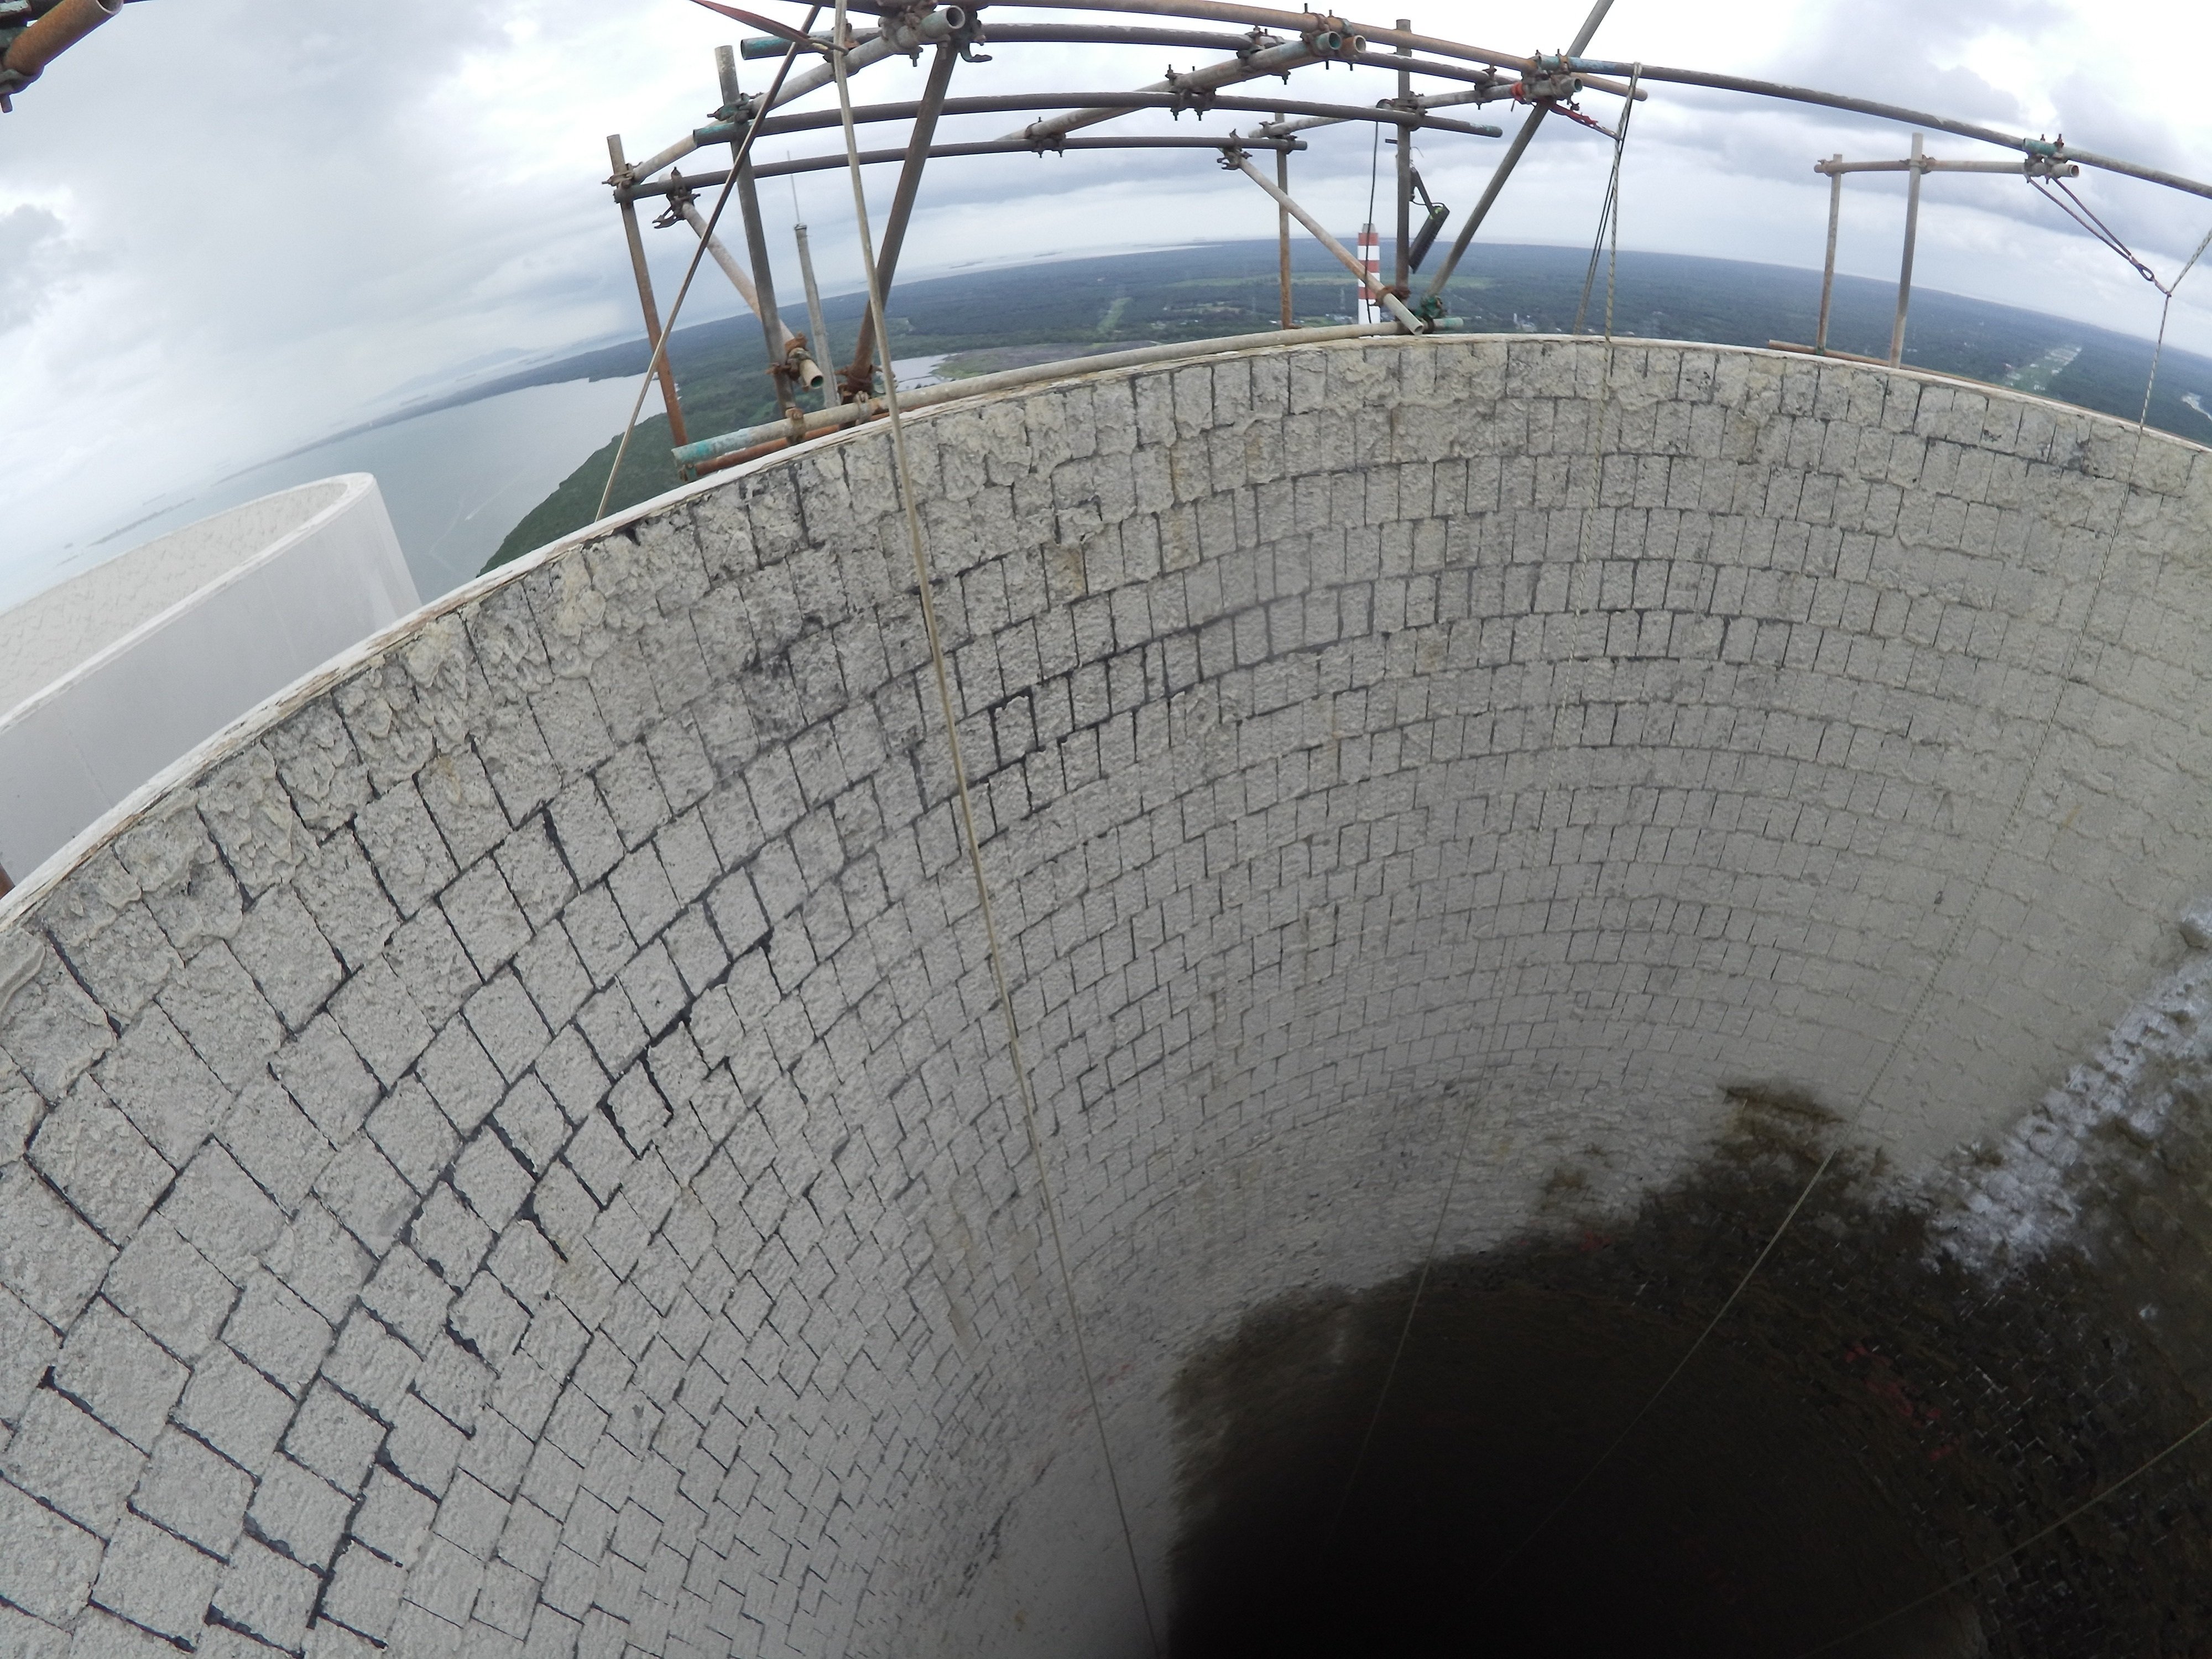
Saving 450,000 Euros on Boiler Inspections with the Elios 3...
Case studies
|
Power Generation
Power Generation
188852414099
Saving 20% on Stack Inspections with the Elios 3


Blog
|
Power Generation
Power Generation
188723047959
Lighting Up: The Benefits of Drones in Power Generation
News
|
Maritime
Maritime
188478880636
Flyability Awarded Innovation Endorsement Certification by...
Factsheets
|
Power Generation
Power Generation
187969593231
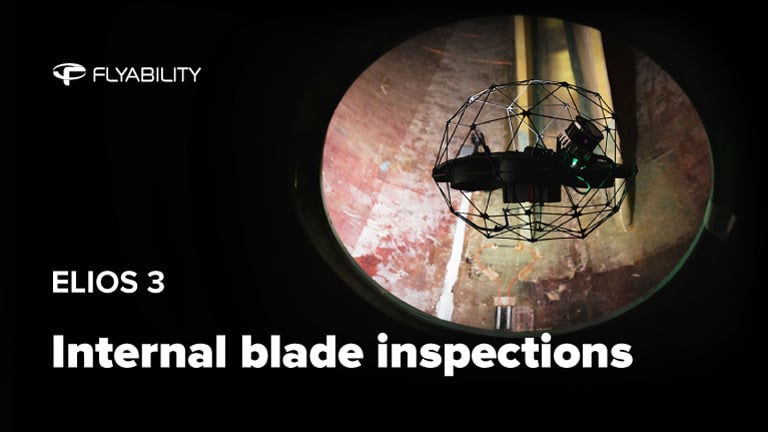
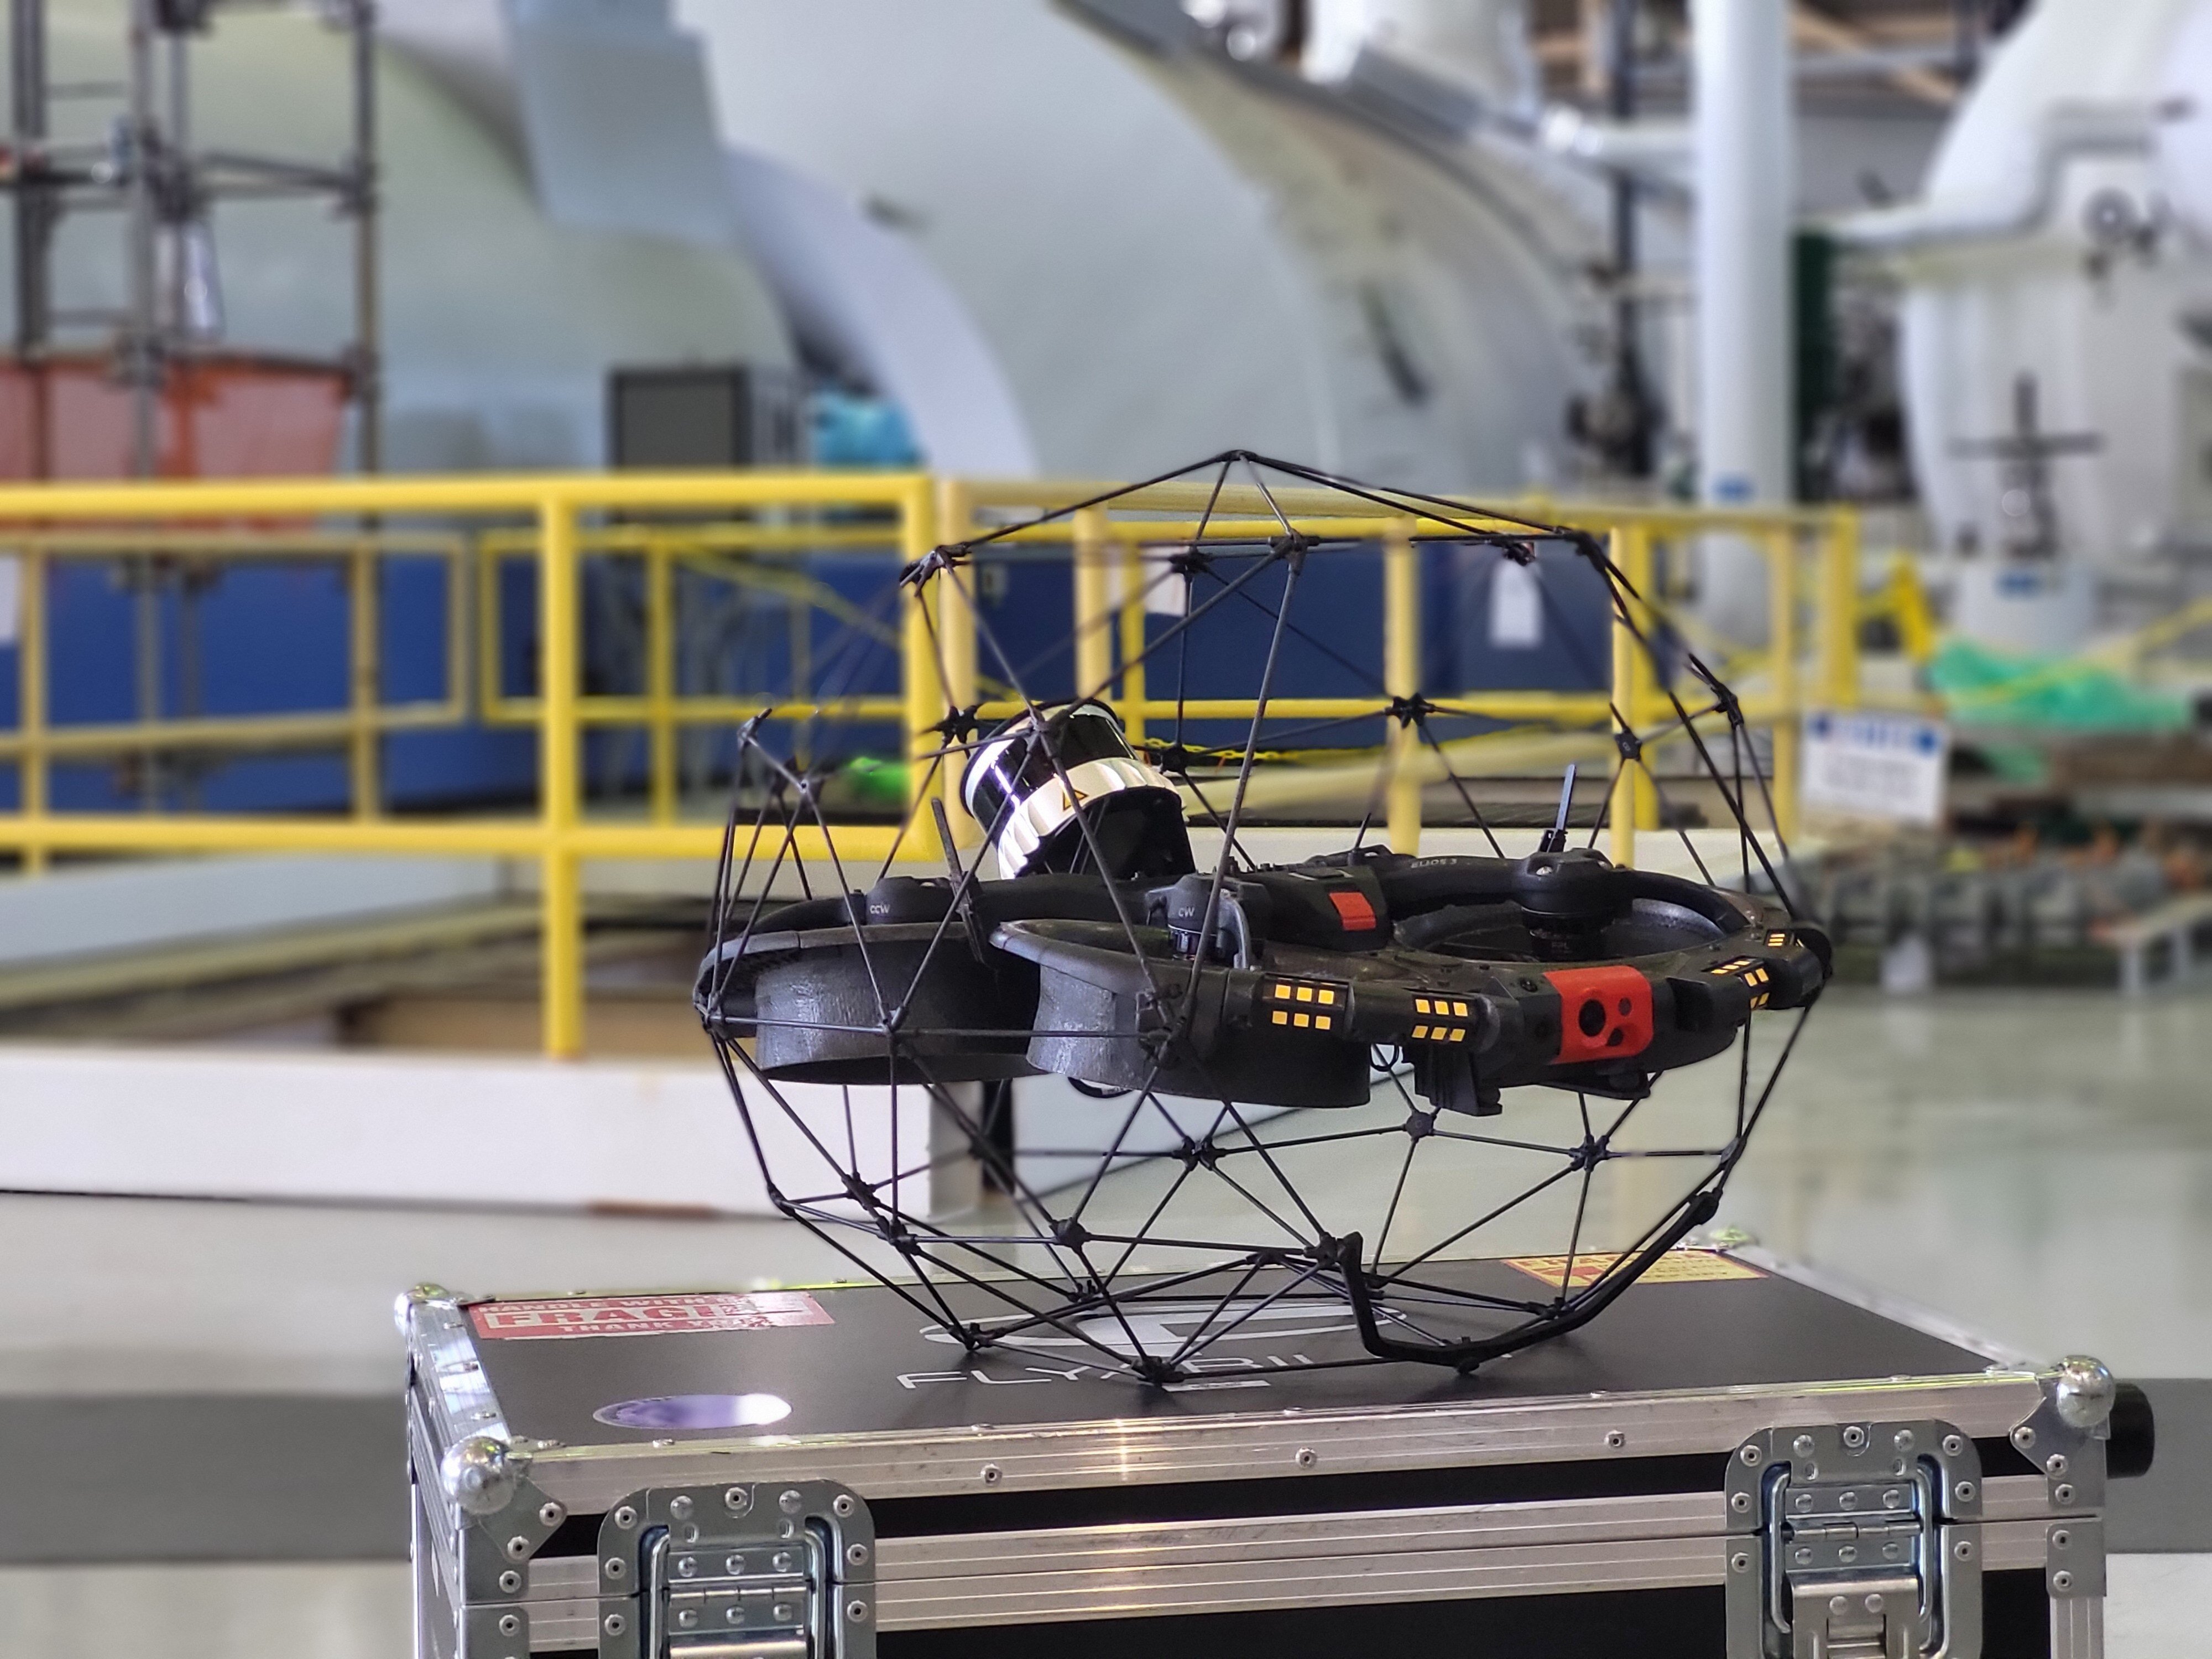
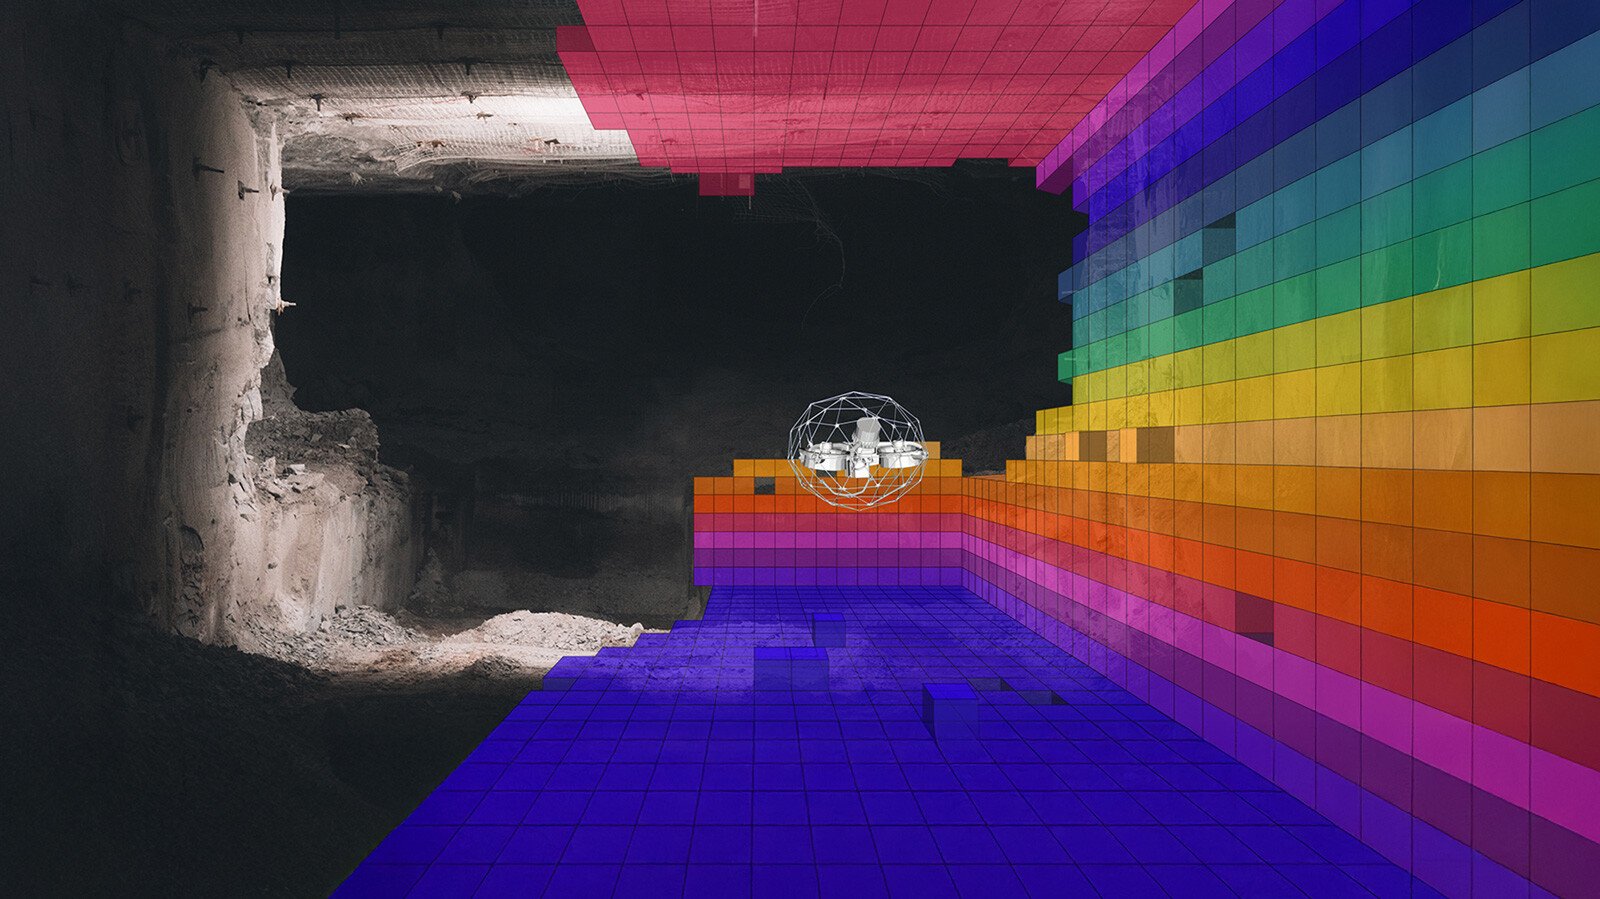
Wind turbine blade inspections with the Elios 3 drone


Webinar
|
Power Generation
{name=Power Generation, label=Power Generation}
187222447652
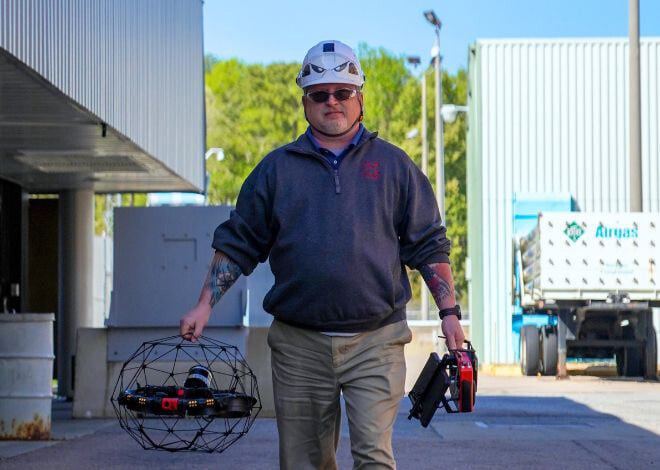
Wind Turbines and the Elios 3: Seeing More
Blog
|
Power Generation
|
Nuclear
Power Generation Nuclear
186336255113
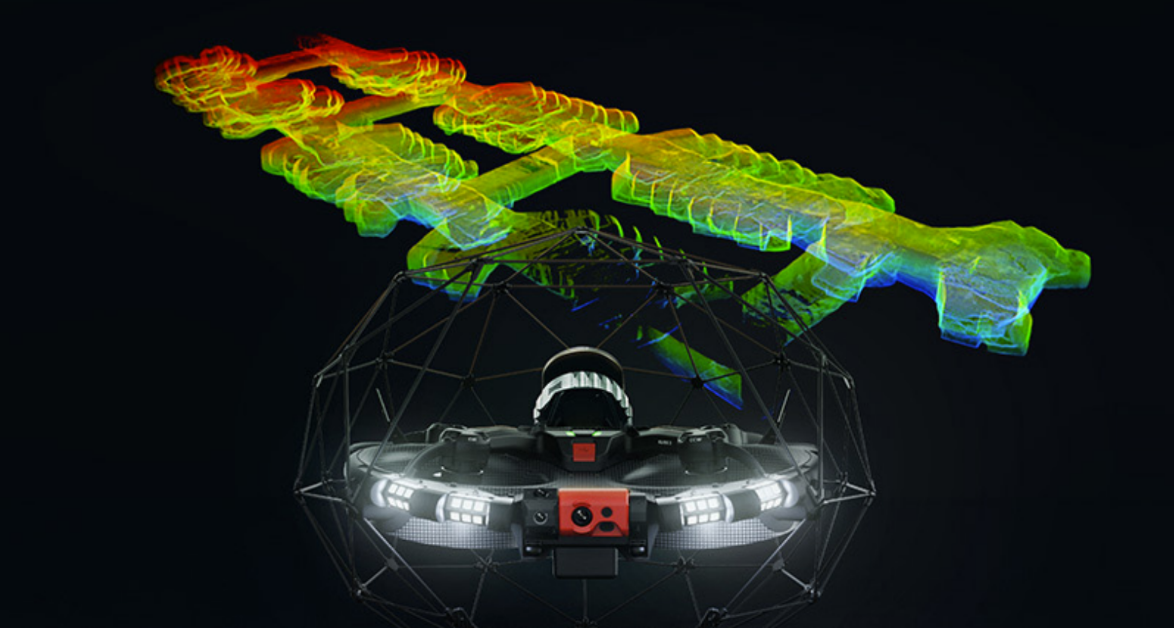
10 Elios 3s and Counting: How Dominion Energy Set Up a...
White papers
|
Mining
|
Infrastructure
Mining Infrastructure
187493394294
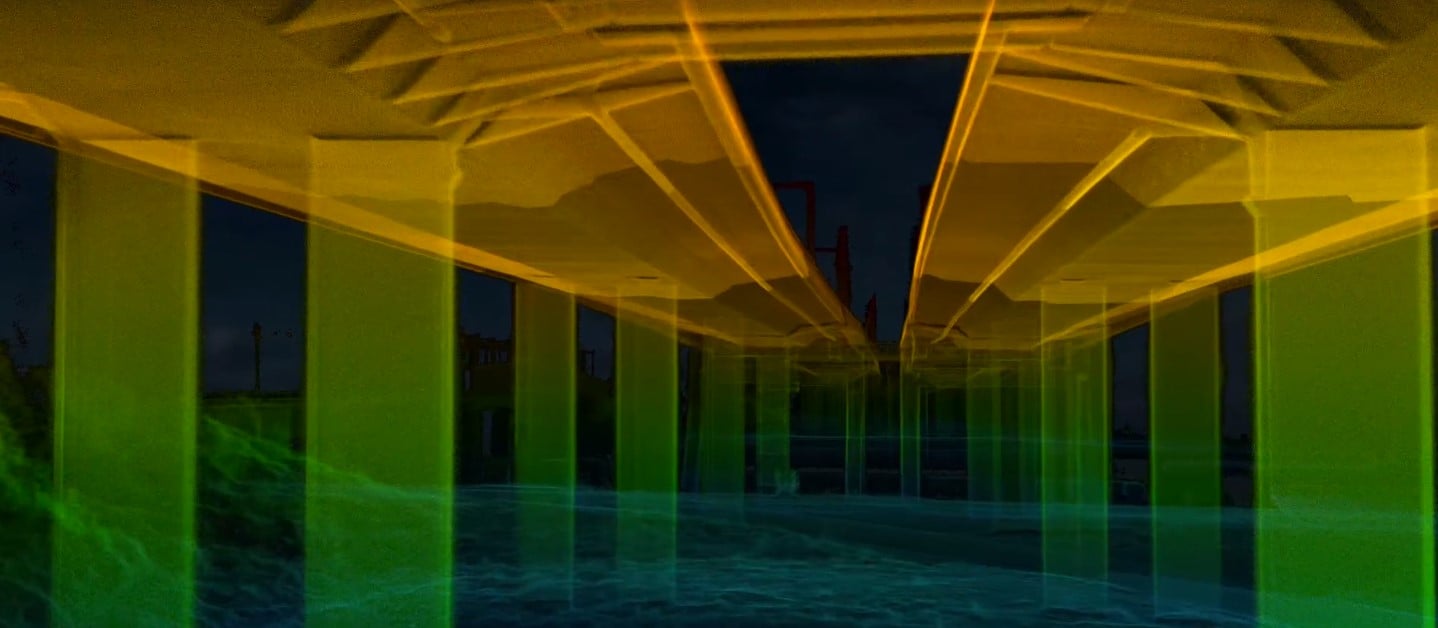
Whitepaper: Accuracy Report on the Elios 3's LiDAR Payloads
White papers
|
Cement
|
Infrastructure
Cement Infrastructure
187491266838
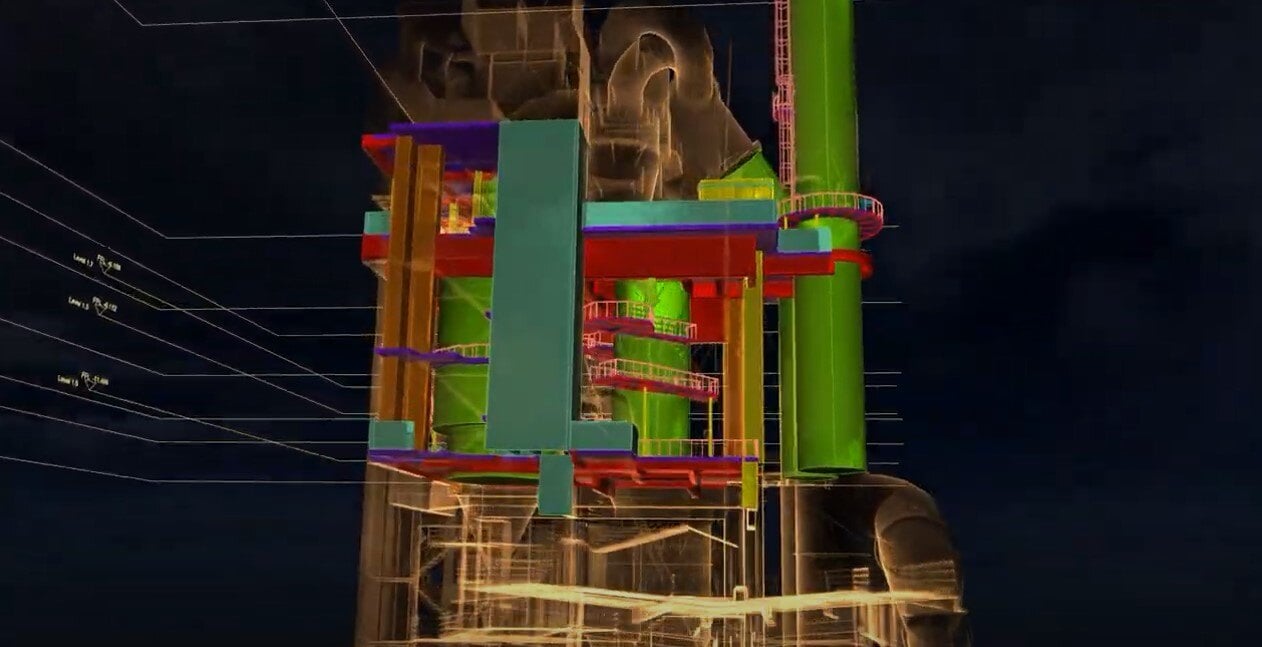
Guide: Manual for Scan to BIM with the Elios 3
White papers
|
Cement
|
Infrastructure
Cement Infrastructure
187486153893
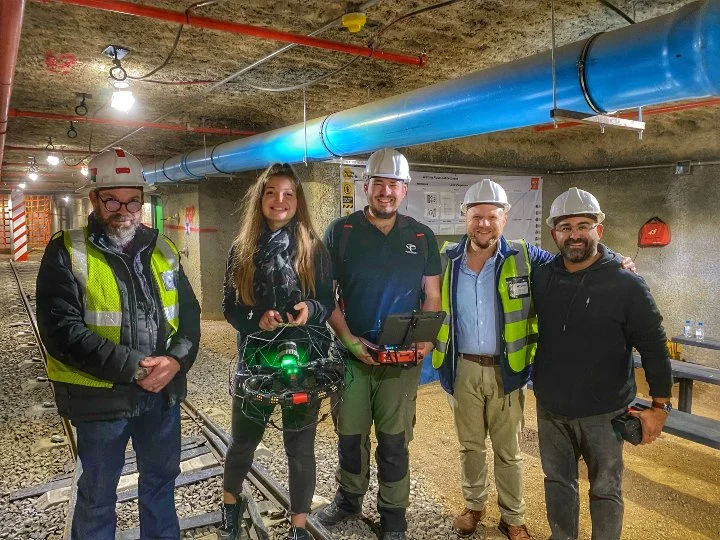
Whitepaper: Assessing the Elios 3’s for Scan to BIM
Case studies
|
Mining
Mining
187449484869
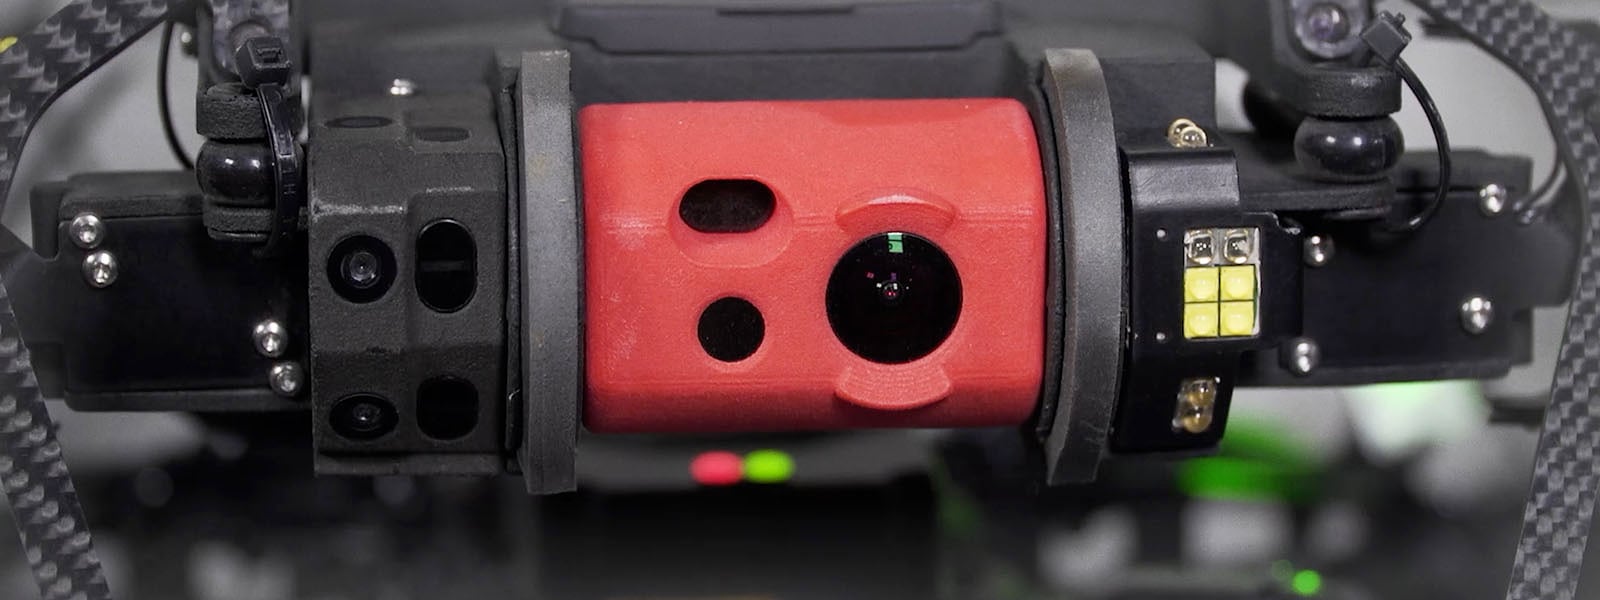
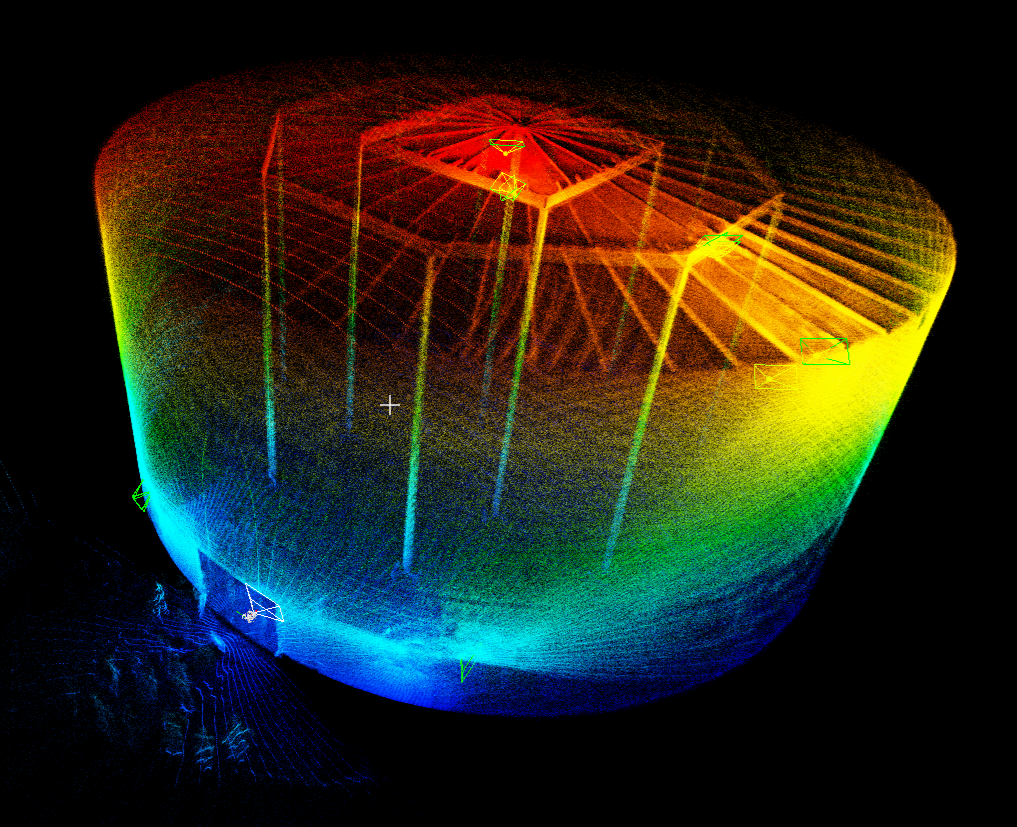
Drones for Mining in South Africa: An Interview with...
Blog
|
Power Generation
|
Oil & Gas
|
Mining
Power Generation Oil & Gas Mining
187446134570
Videos: 6 Ways to Use the Elios 3 Drone for 3D Models

White papers
|
Mining
|
Cement
Mining Cement
187320446109
Guide: Measuring Volumes in Complex Environments

White papers
|
Mining
|
Cement
Mining Cement
187217986636
Whitepaper: The Elios 3 Compared to Terrestrial Laser...
Case studies
|
Power Generation
Power Generation
187271248737
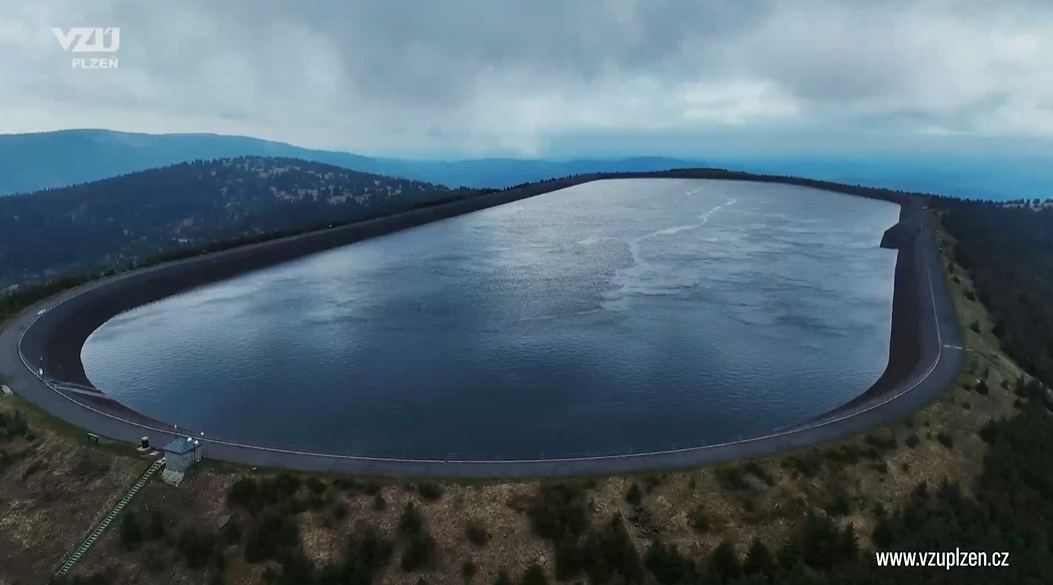
How VZU Plzen Achieved an 80% Reduction in Penstock...
-3.jpg)
Webinar
|
Power Generation
{name=Power Generation, label=Power Generation}
186327732064
Drones in Power Generation: The Elios 3 Inspecting Boilers,...
Case studies
|
Maritime
|
Oil & Gas
Maritime Oil & Gas
186347658382
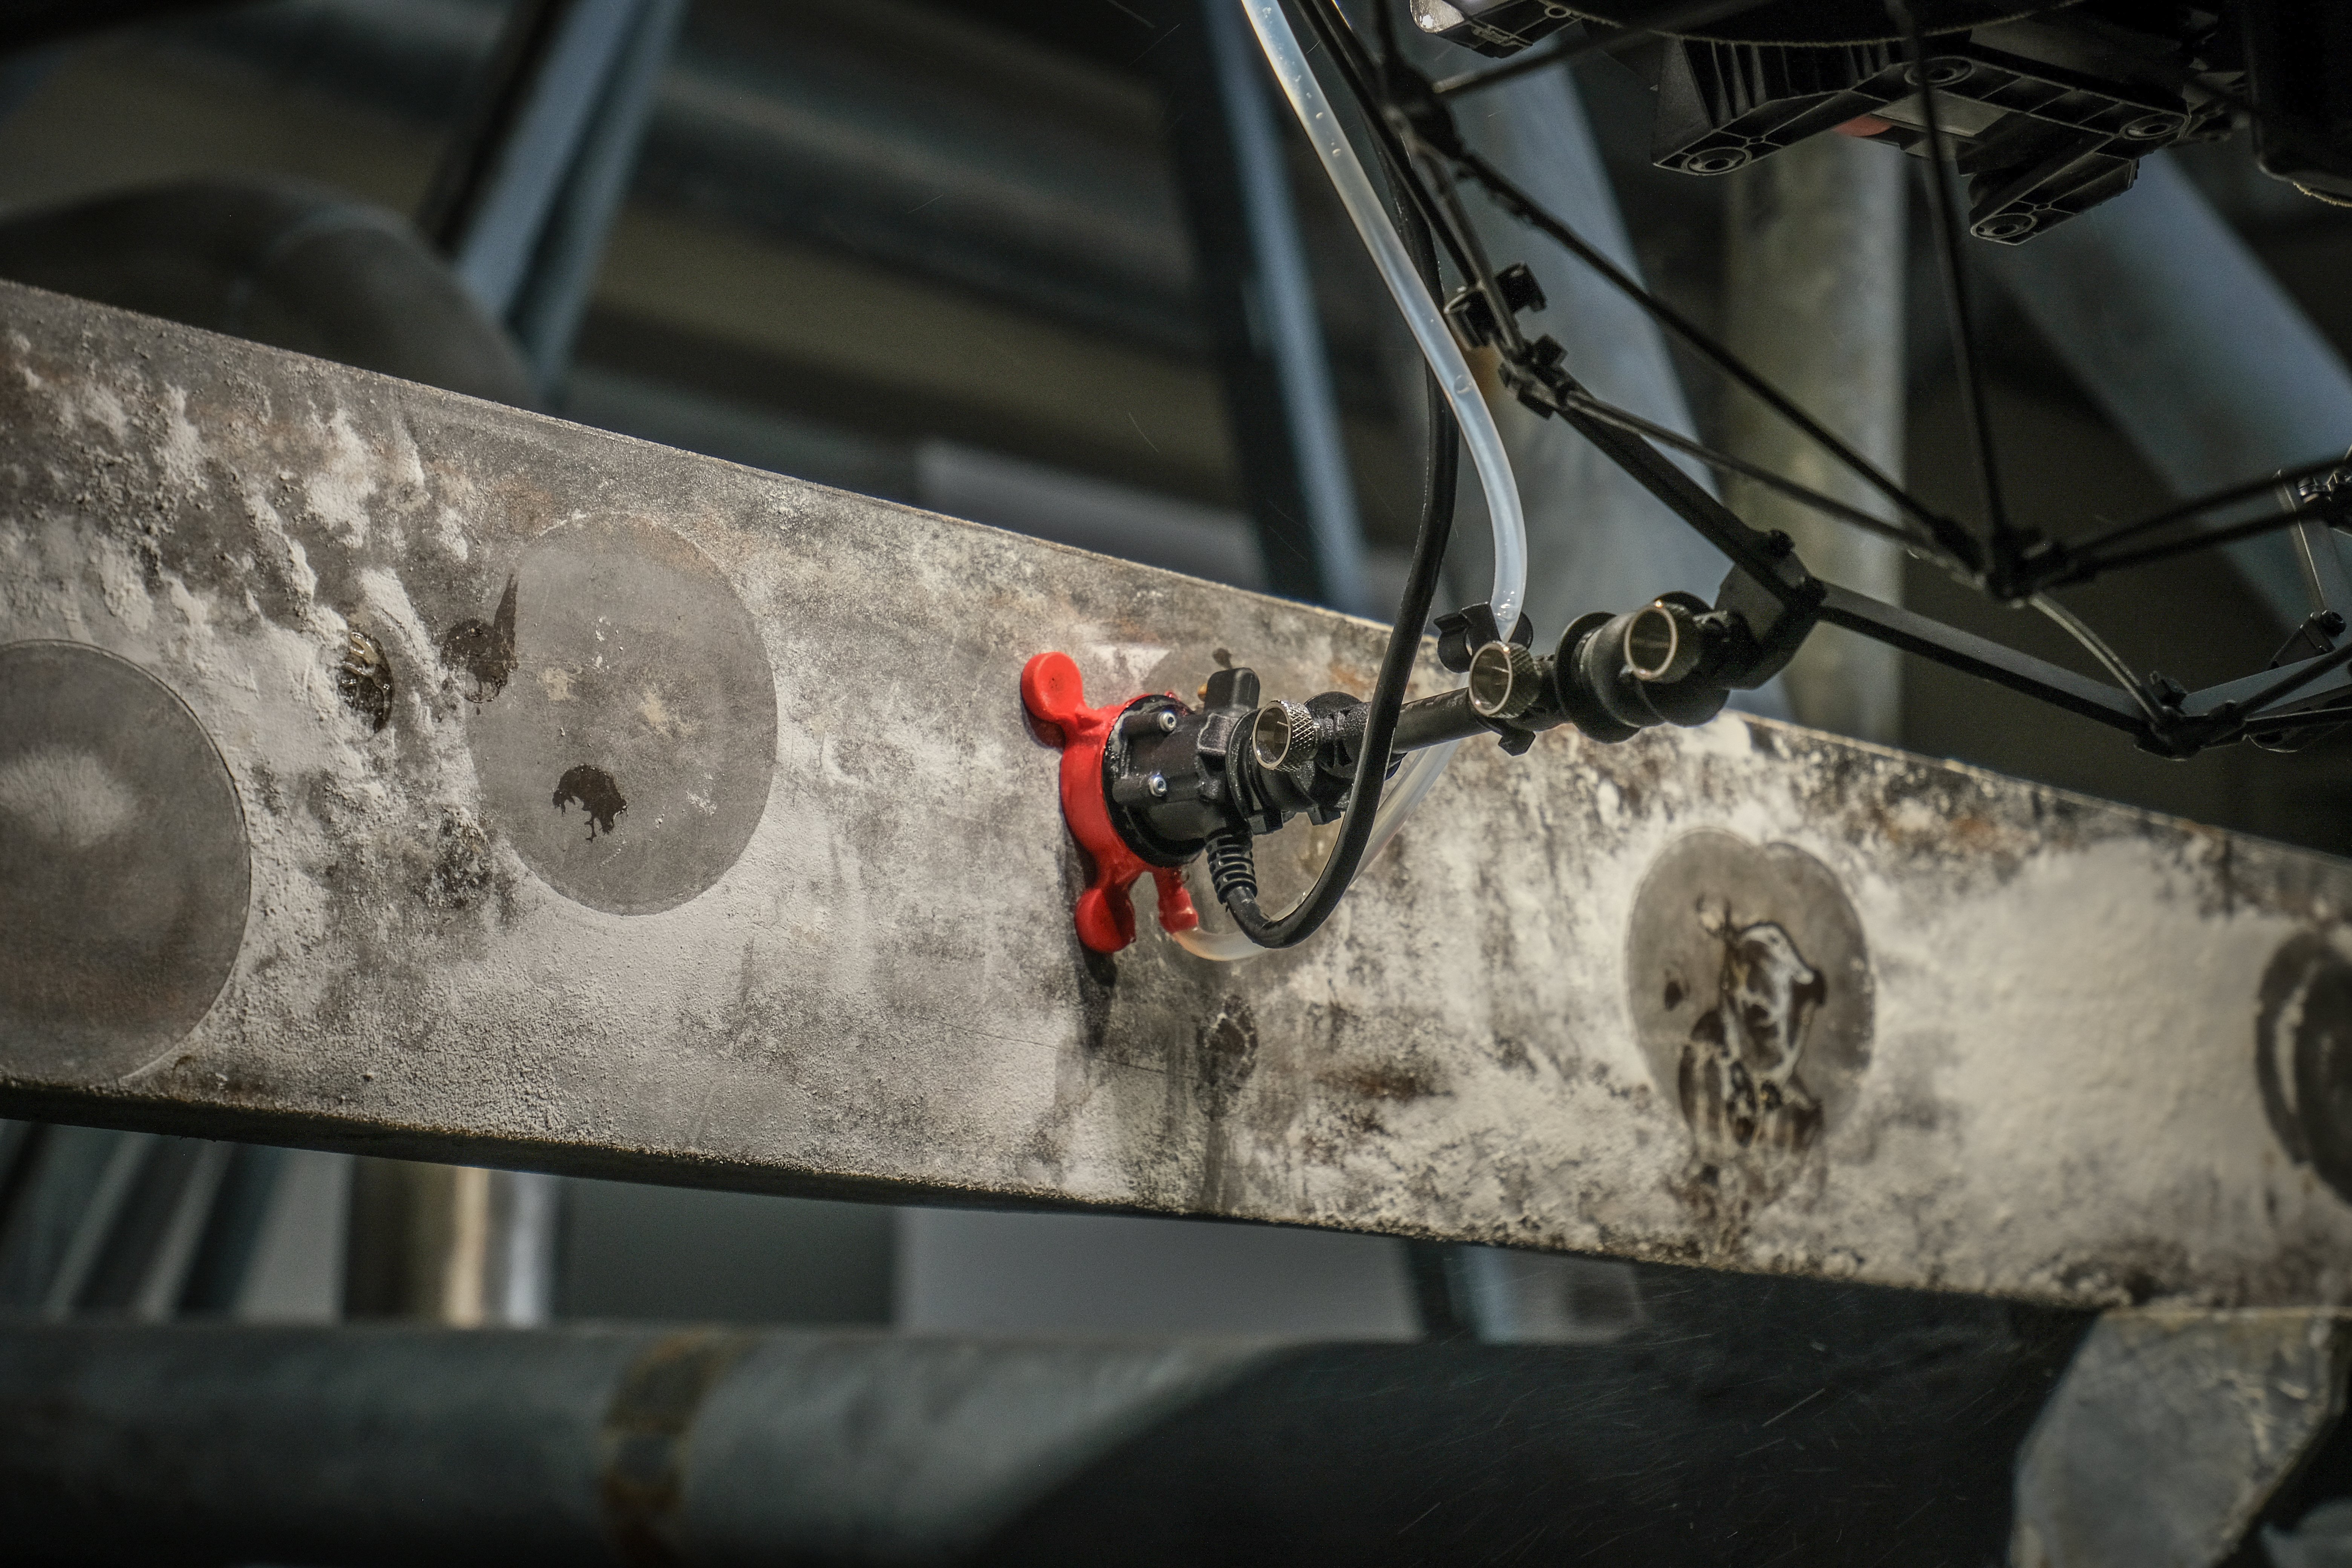
Saving $600,000 On COT Inspections With The Elios 3 UT
Case studies
|
Power Generation
|
Nuclear
Power Generation Nuclear
186296854181
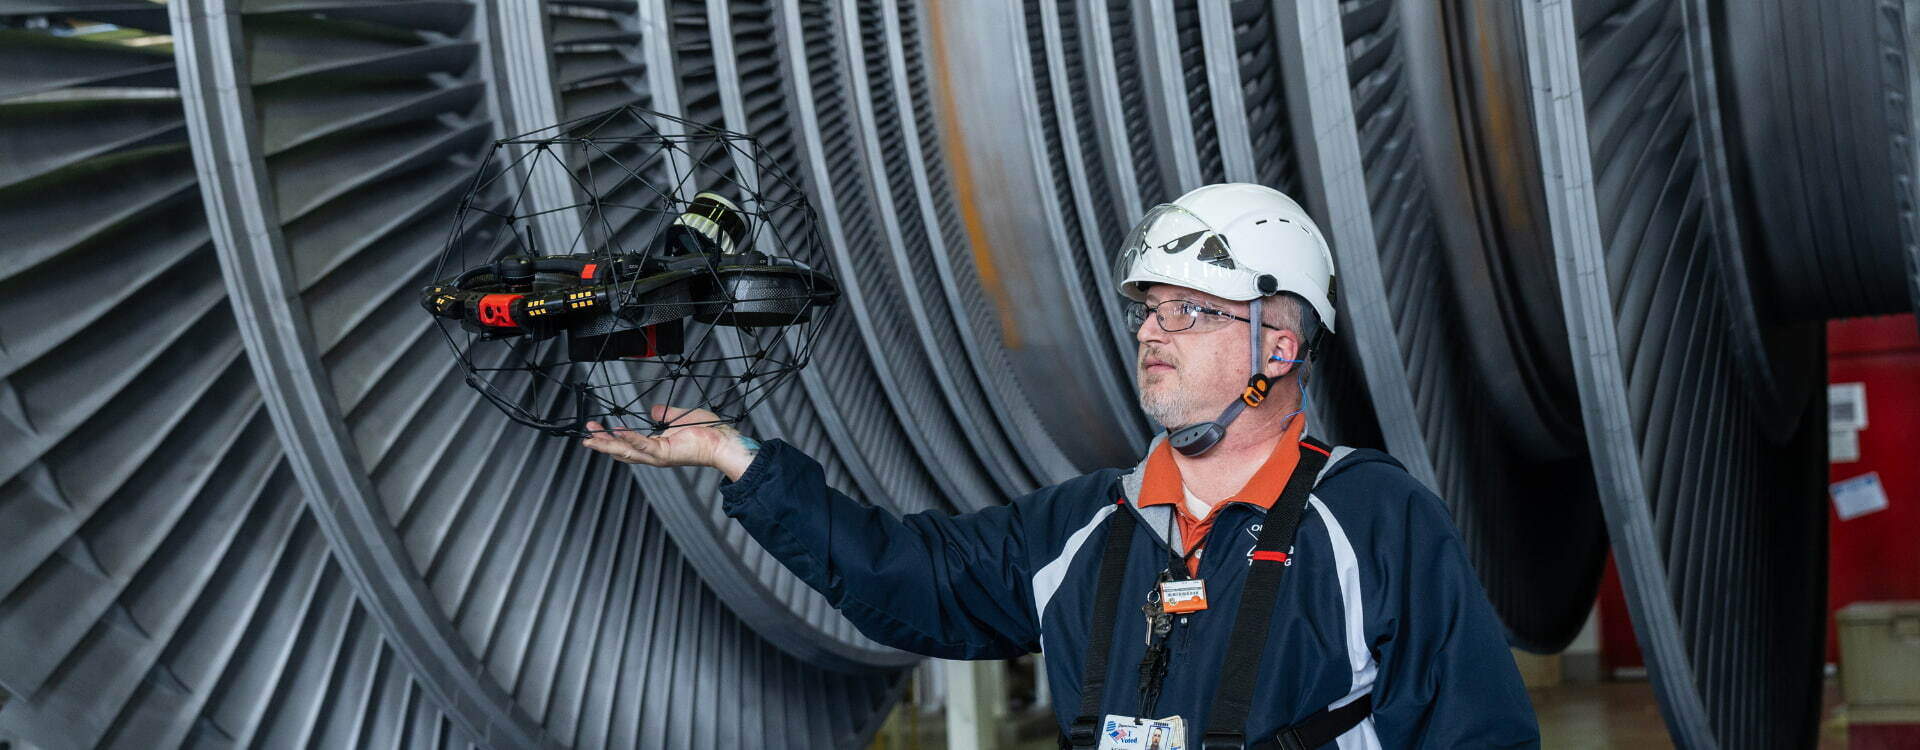
Cutting Condenser Inspections From 8 Days To 8 Hours


News
|
Maritime
Maritime
185838361381
Flyability's Elios 3 UT Wins Safety Award at Offshore...

News
|
Sewer
Sewer
185141898377
Flyability and WinCan Announce Custom Integration for Elios...
.png)
Webinar
|
Power Generation
{name=Power Generation, label=Power Generation}
184616941159
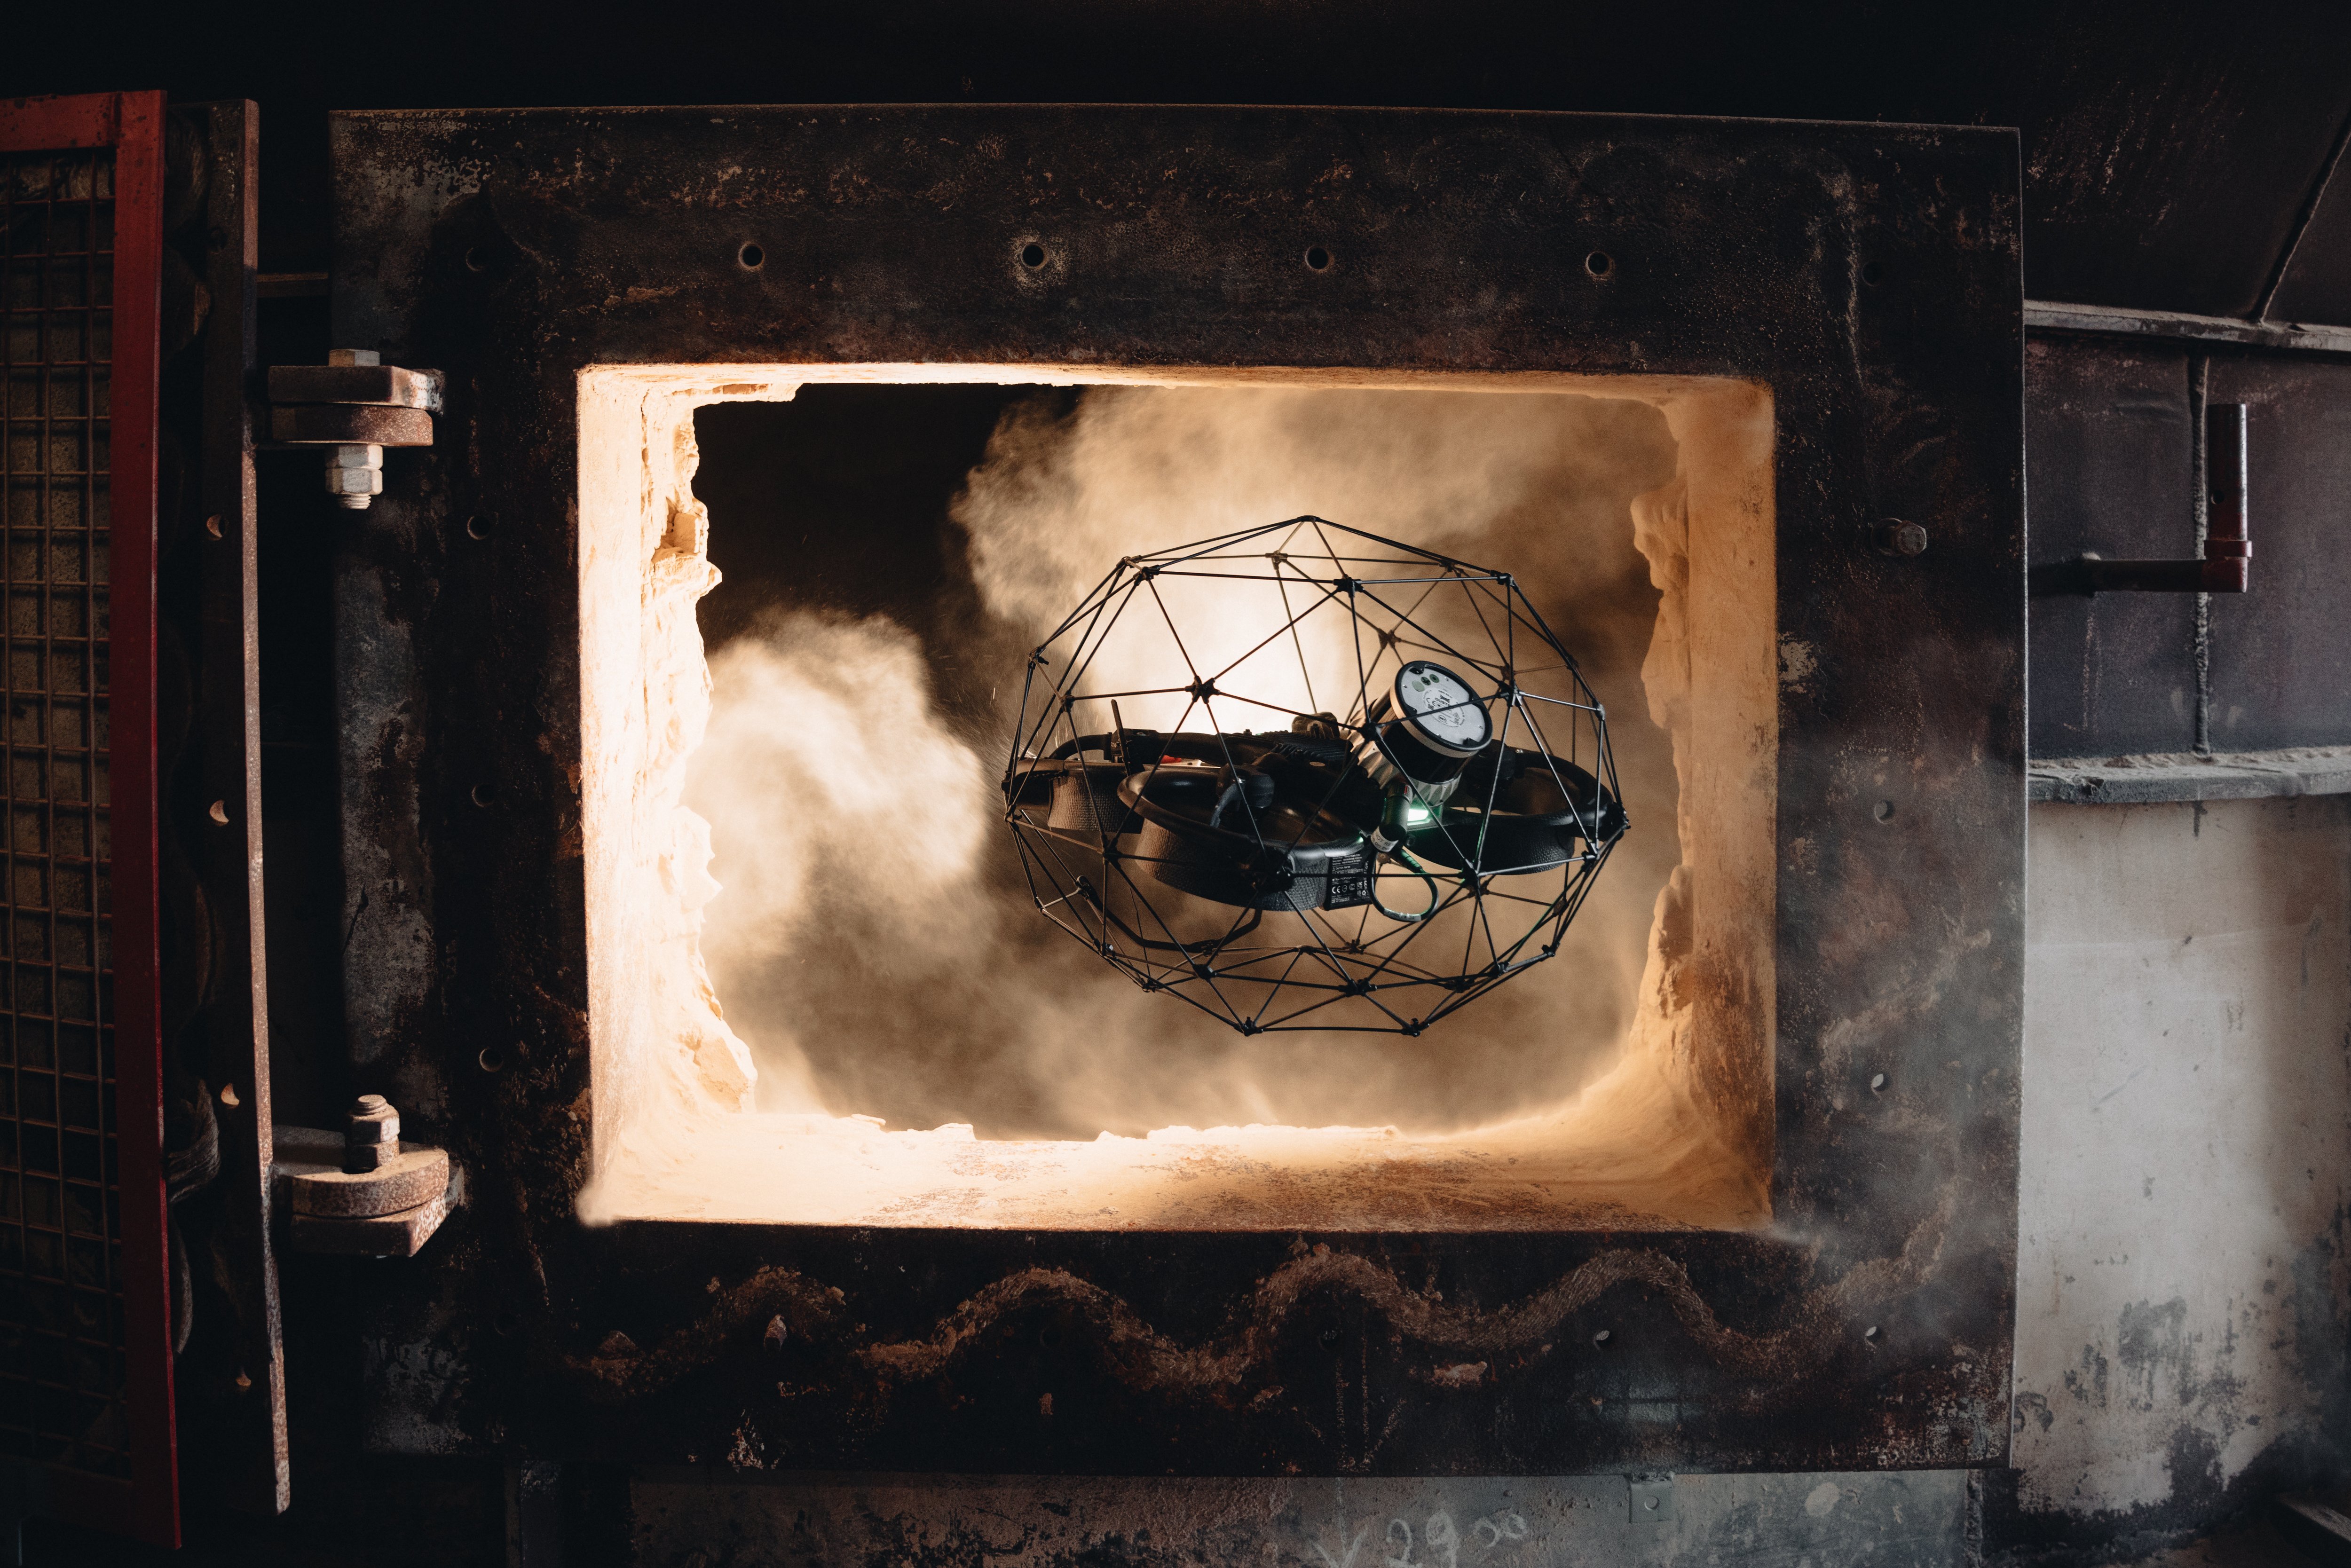
Powered Up: The Elios 3 in Nuclear Energy
Blog
|
Chemicals
|
Oil & Gas
|
Mining
Chemicals Oil & Gas Mining
185059614726
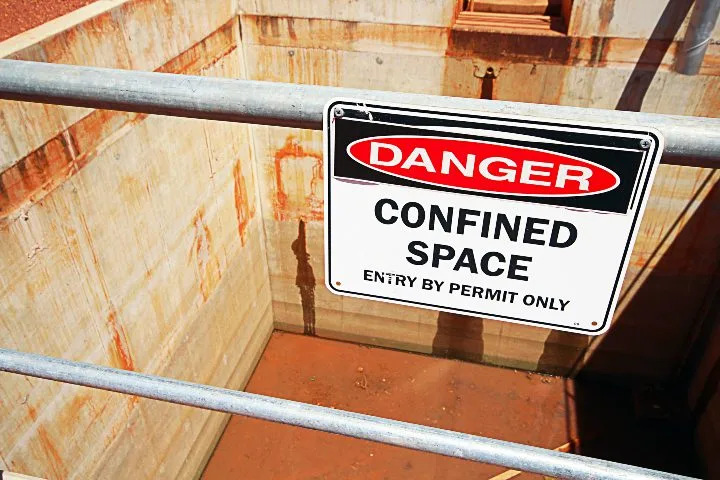
What Does Intrinsically Safe Mean?
Blog
|
Chemicals
|
Oil & Gas
|
Mining
Chemicals Oil & Gas Mining
185021452565
What Does ATEX Mean?
Blog
|
Nuclear
Nuclear
184753357166
How Indoor Drones at Nuclear Sites Reduce Radiation Exposure

Case studies
|
Oil & Gas
Oil & Gas
184567772756
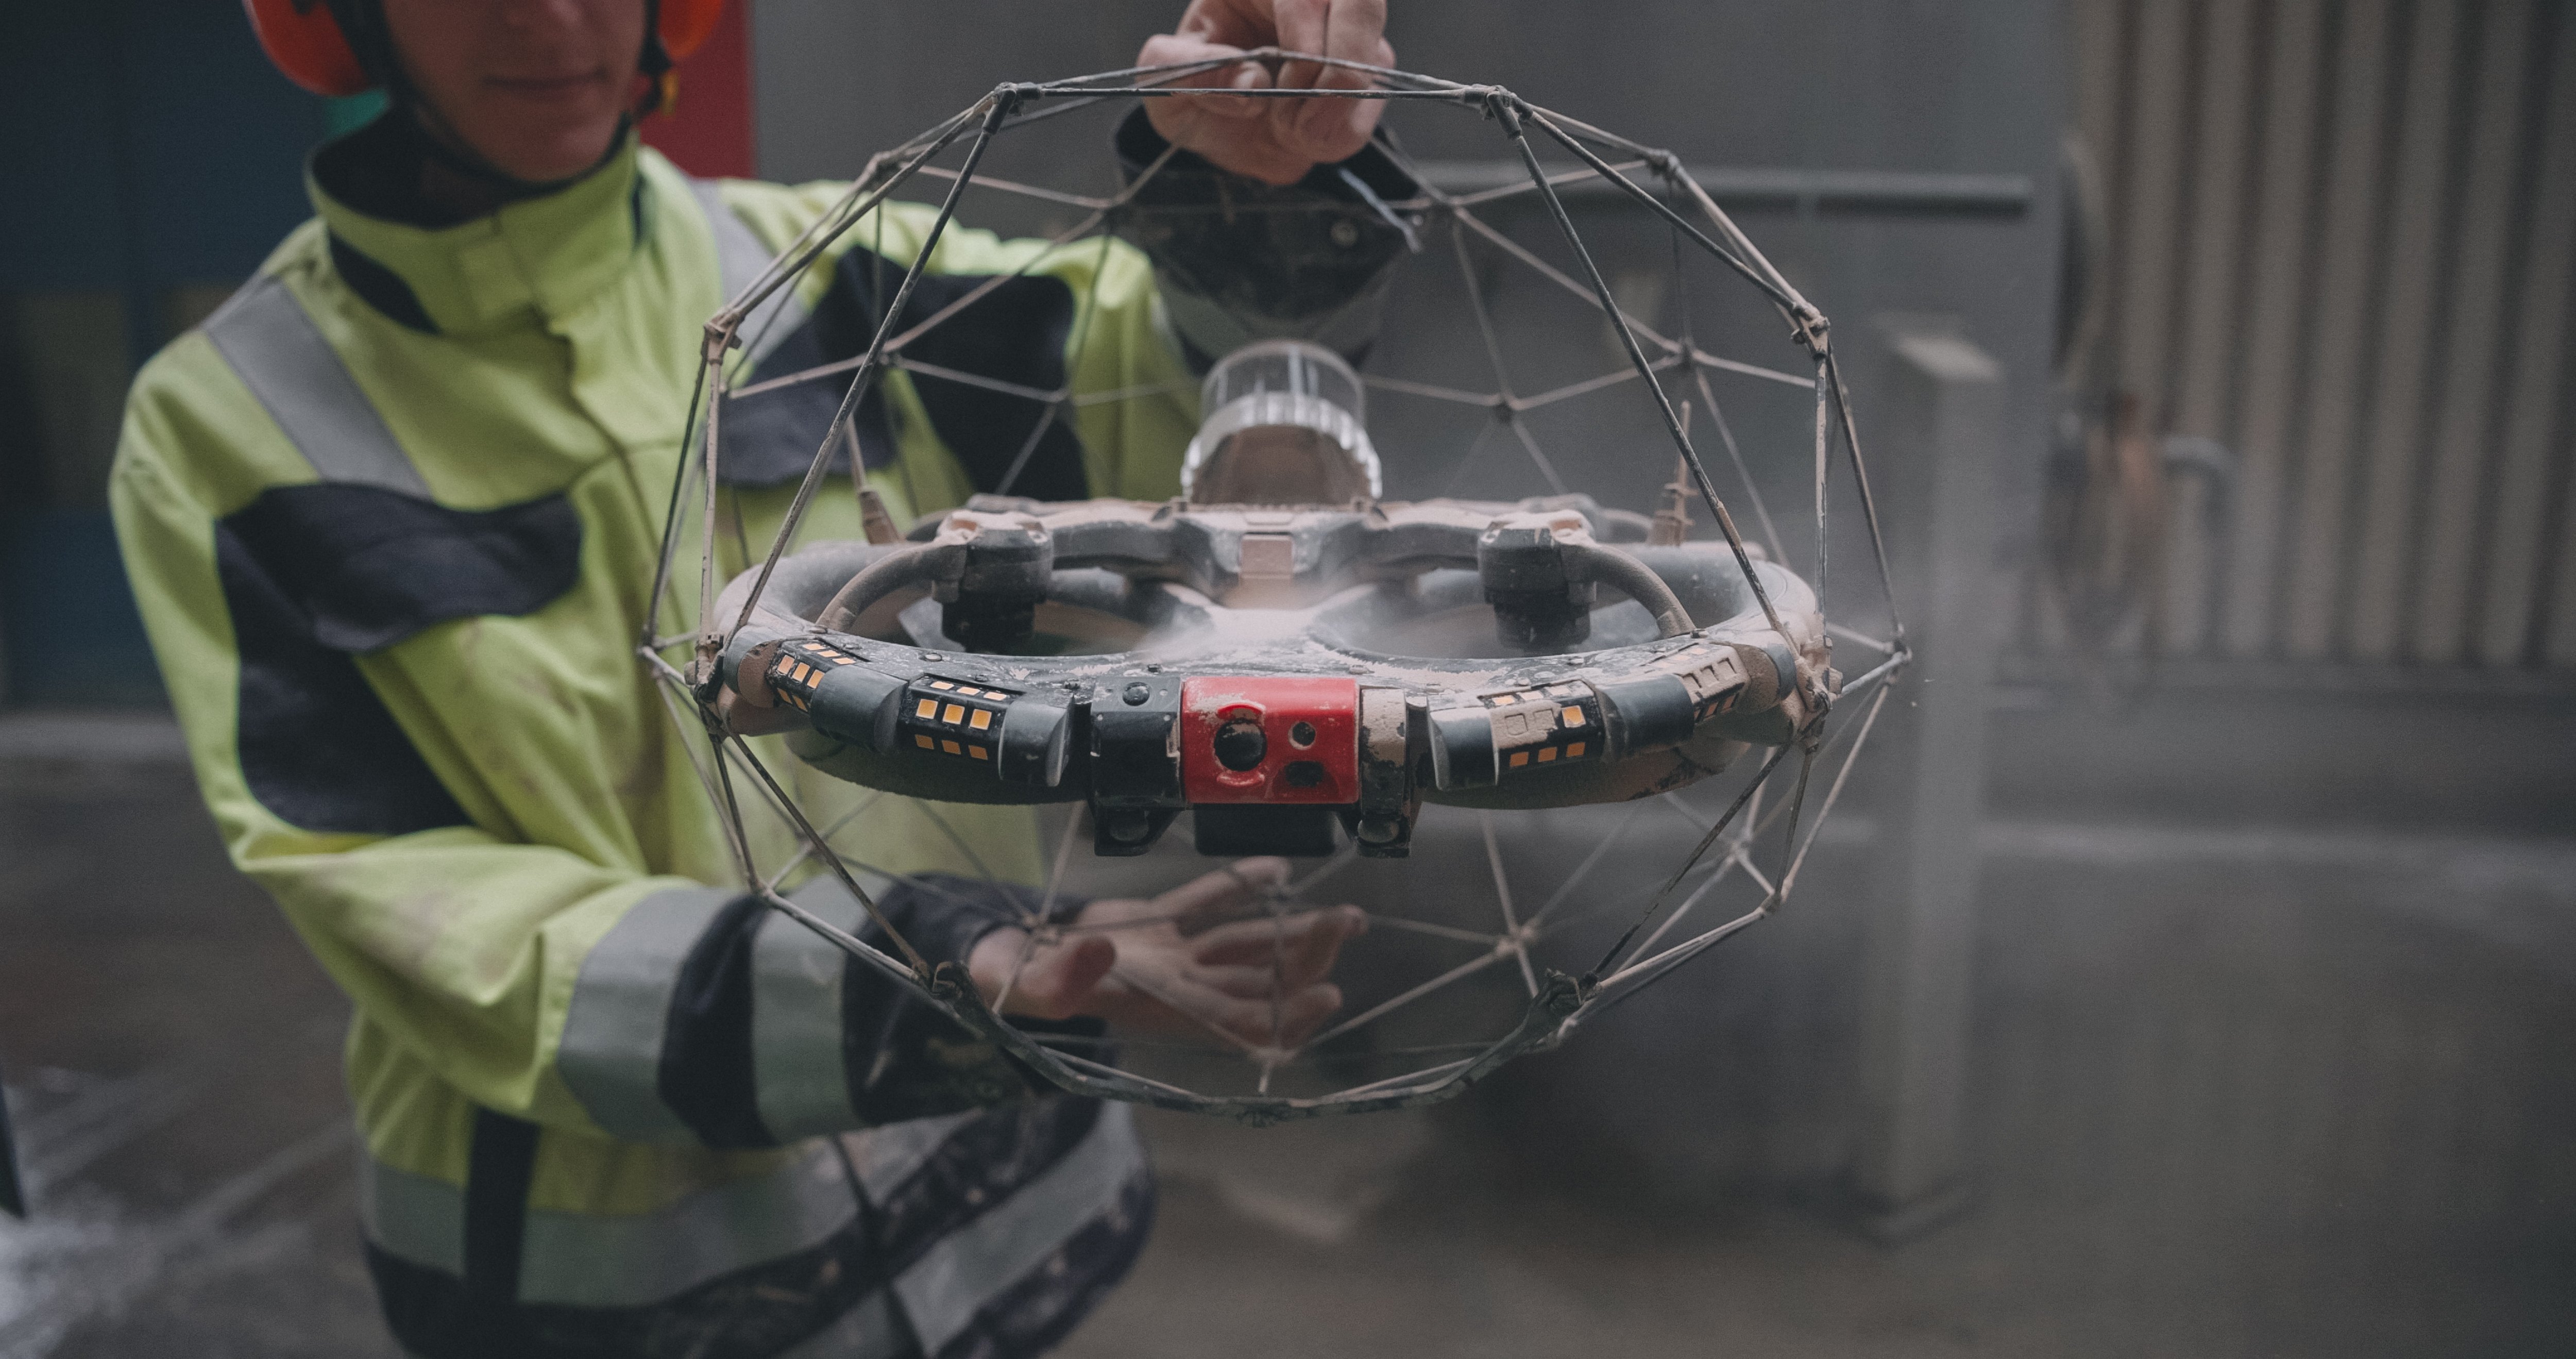
Cutting Costs by 60% for Pipe Rack Inspections with the...

Blog
|
Chemicals
Chemicals
183852952963
7 Key Benefits of Drone Inspections in the Chemical Industry
Blog
|
Maritime
Maritime
183719002486
Interview: Class Certification for Maritime Drone...

Blog
|
Oil & Gas
Oil & Gas
181881010280
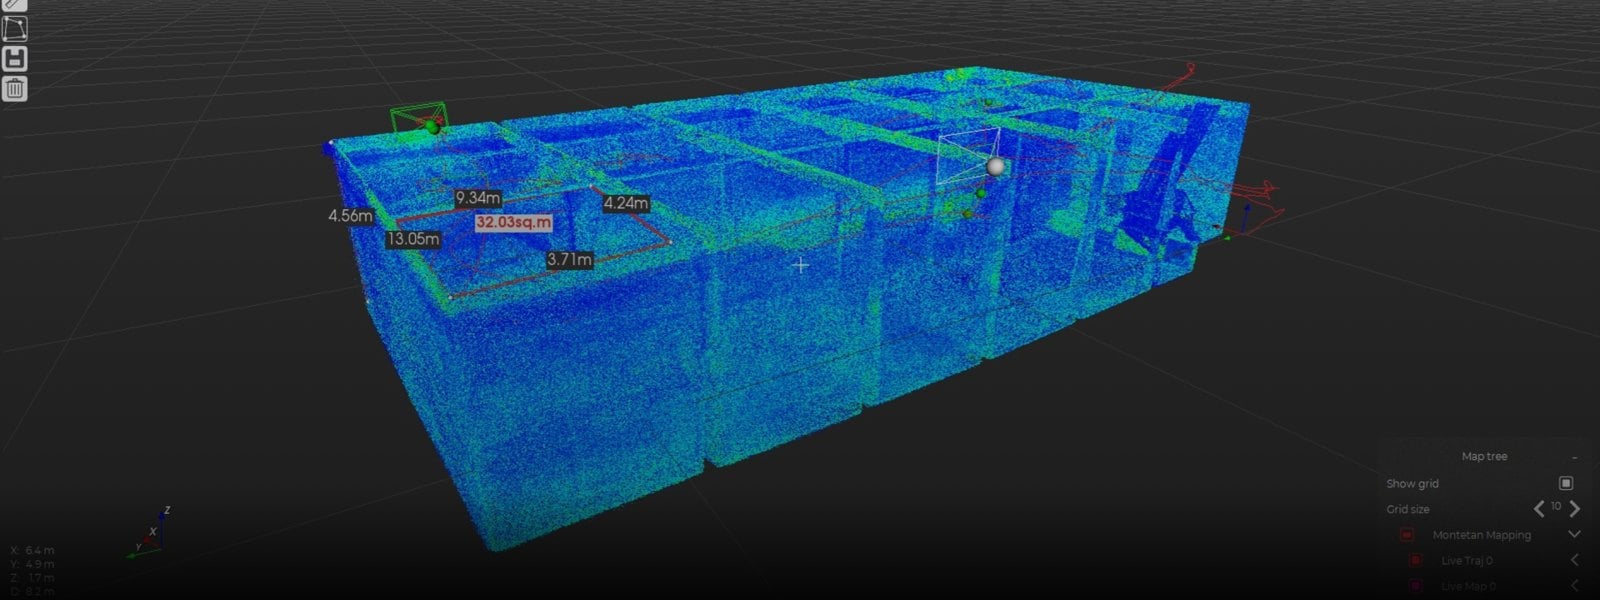
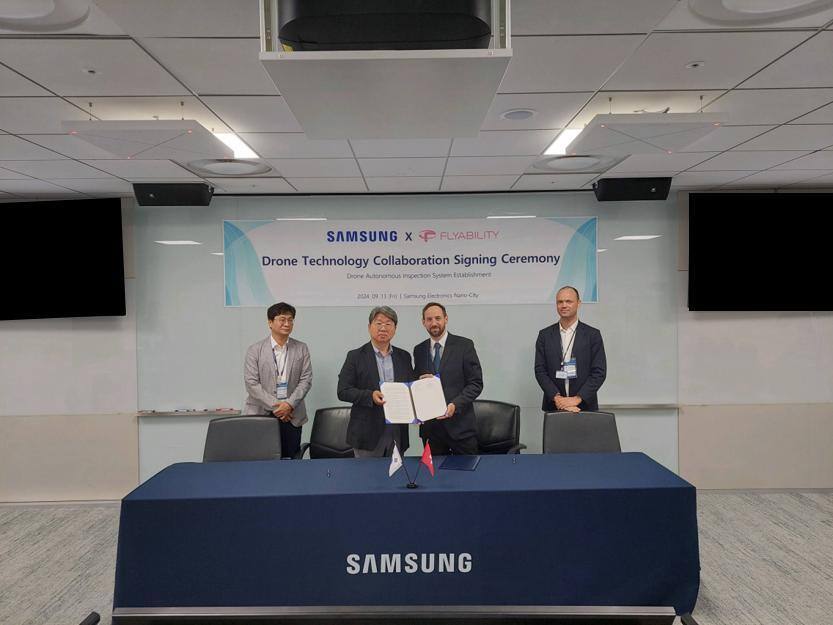
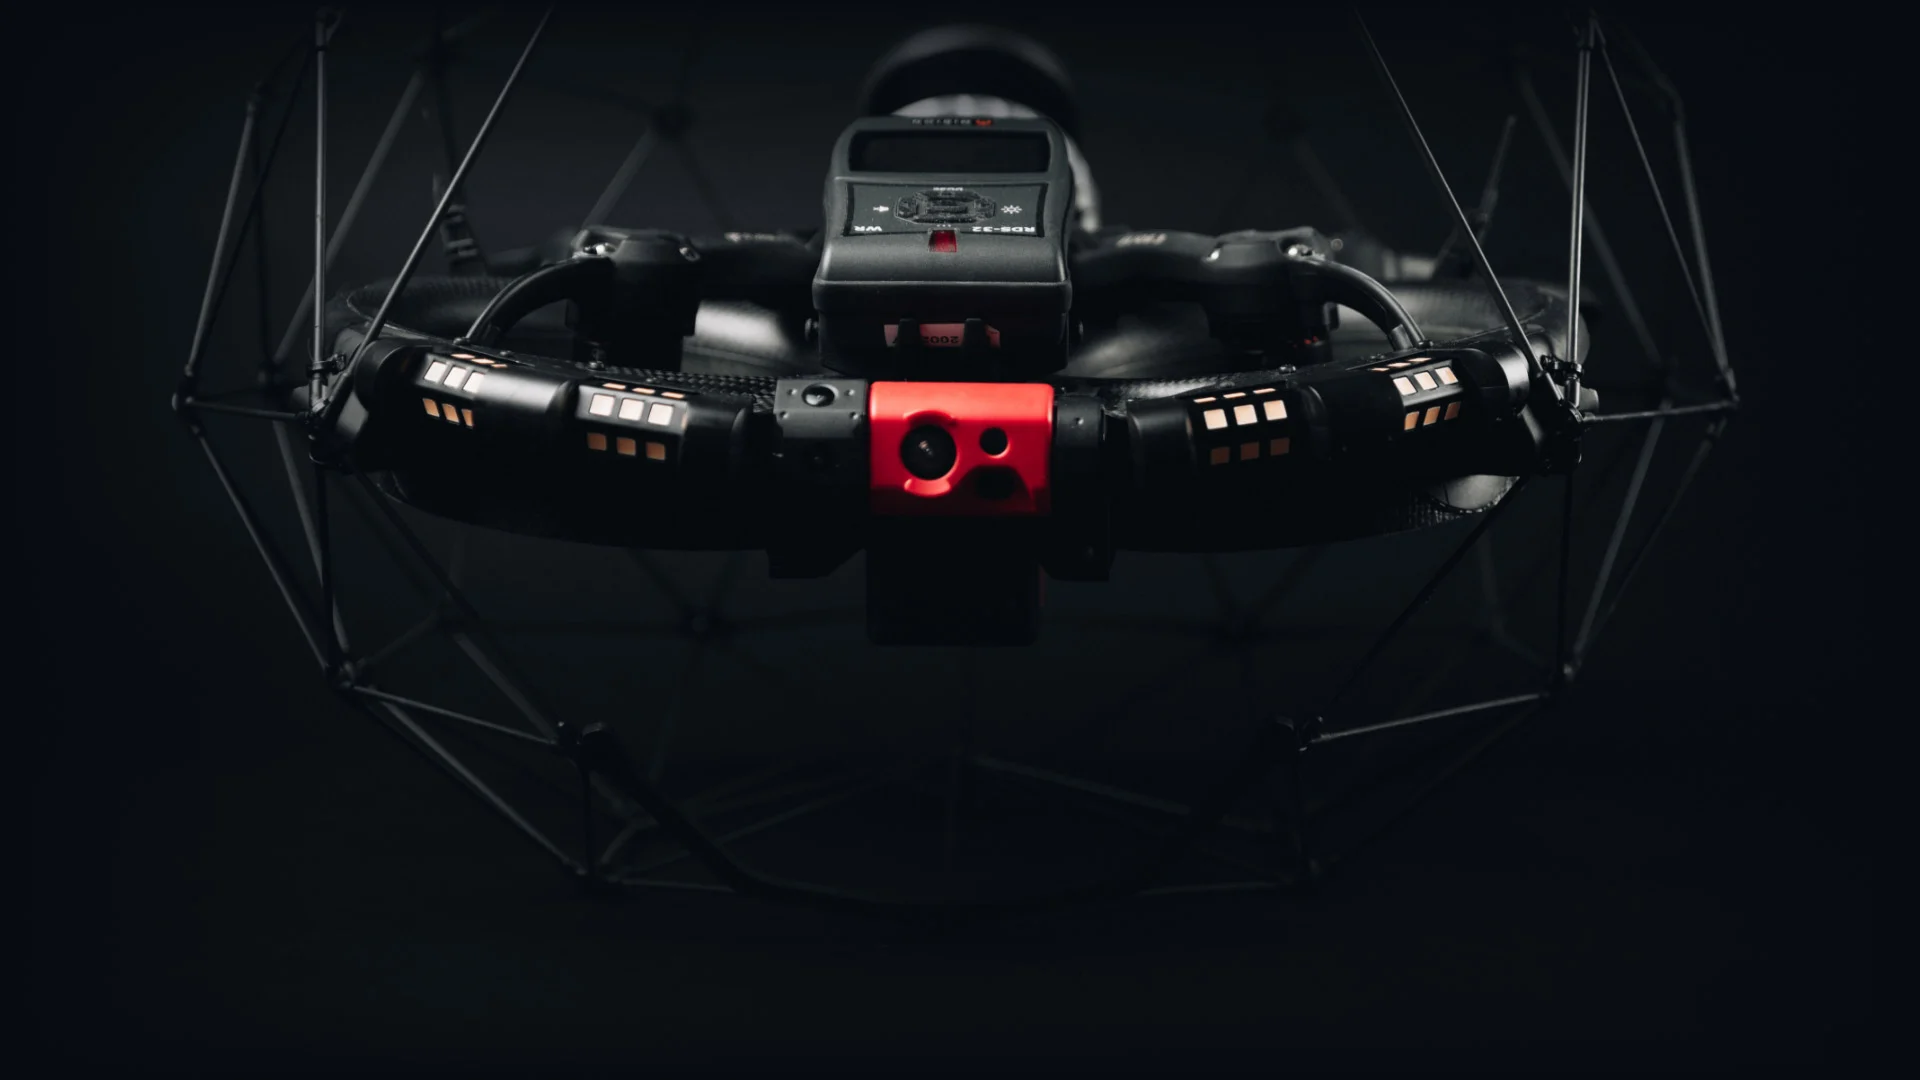
7 Key Benefits of Drone Inspections in Oil and Gas

Case studies
|
Nuclear
Nuclear
180501521031
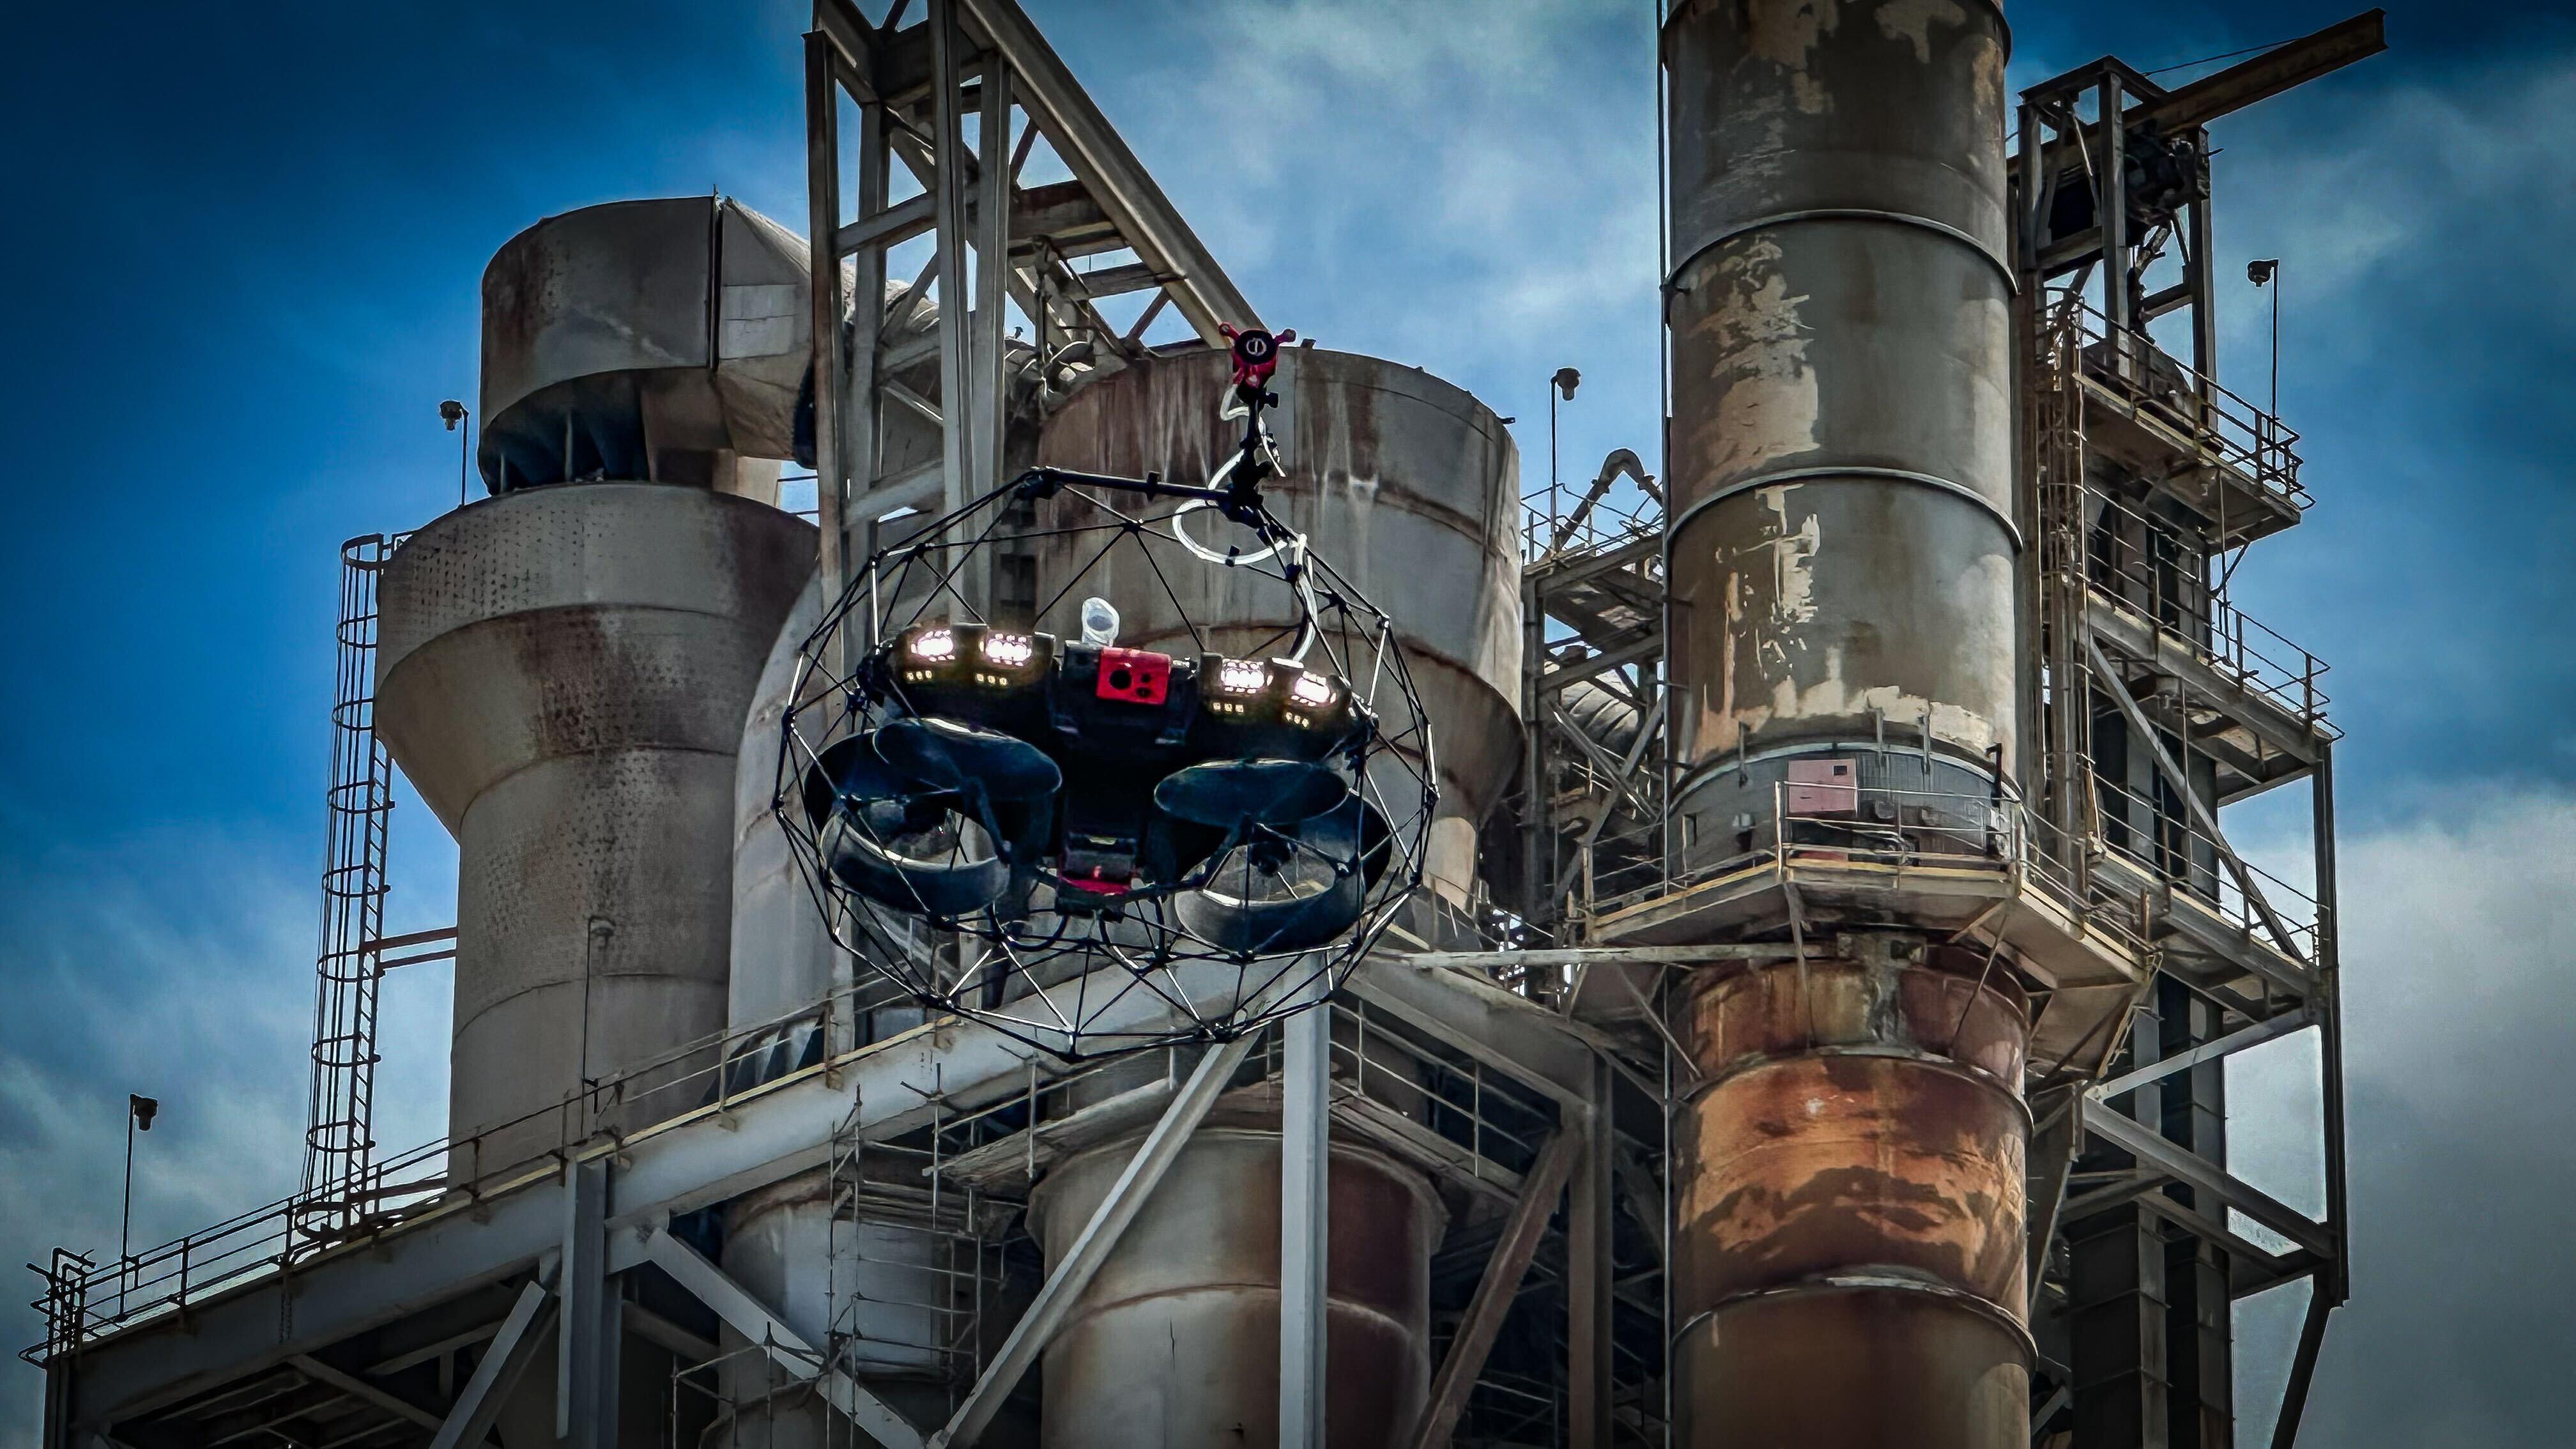
How Much Radiation Can the Elios 3 Handle? Testing at a DoE...


News
|
Cement
Cement
177403710036
Building Expertise: Flyability and Holcim's North America...

Webinar
|
Infrastructure
{name=Infrastructure, label=Infrastructure}
174912905880
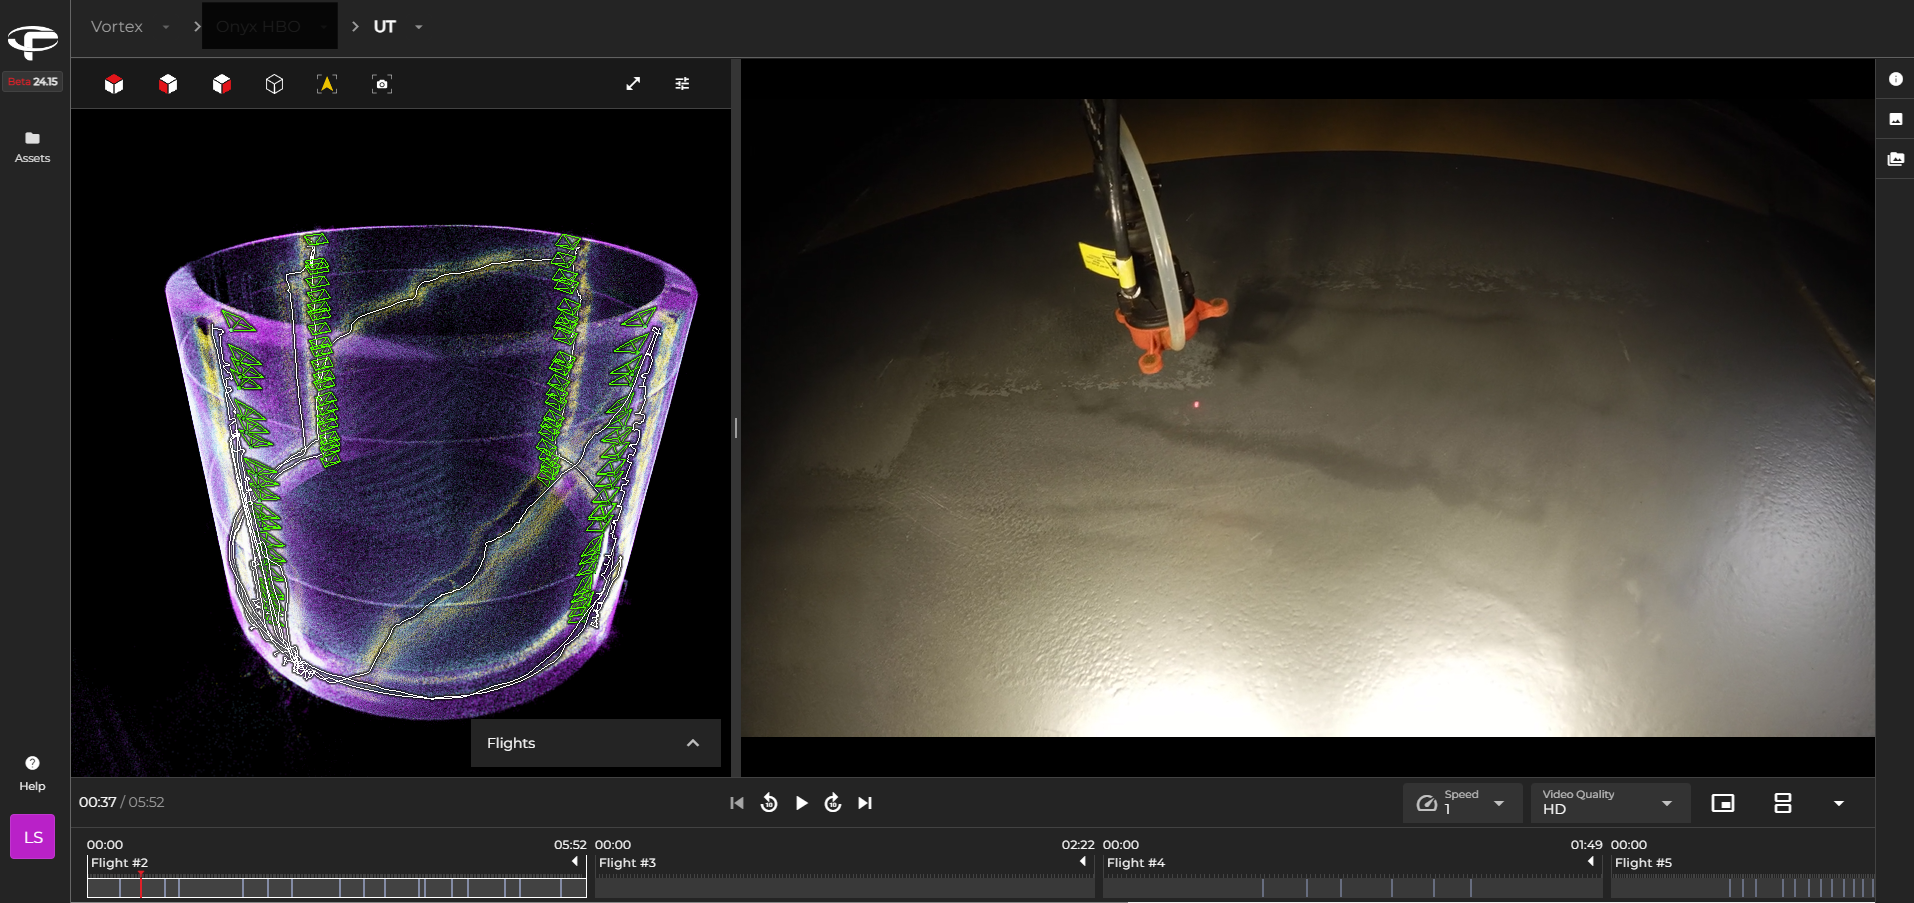
Unlocking Scan to BIM with the Elios 3
Case studies
|
Power Generation
|
Oil & Gas
Power Generation Oil & Gas
176364570281
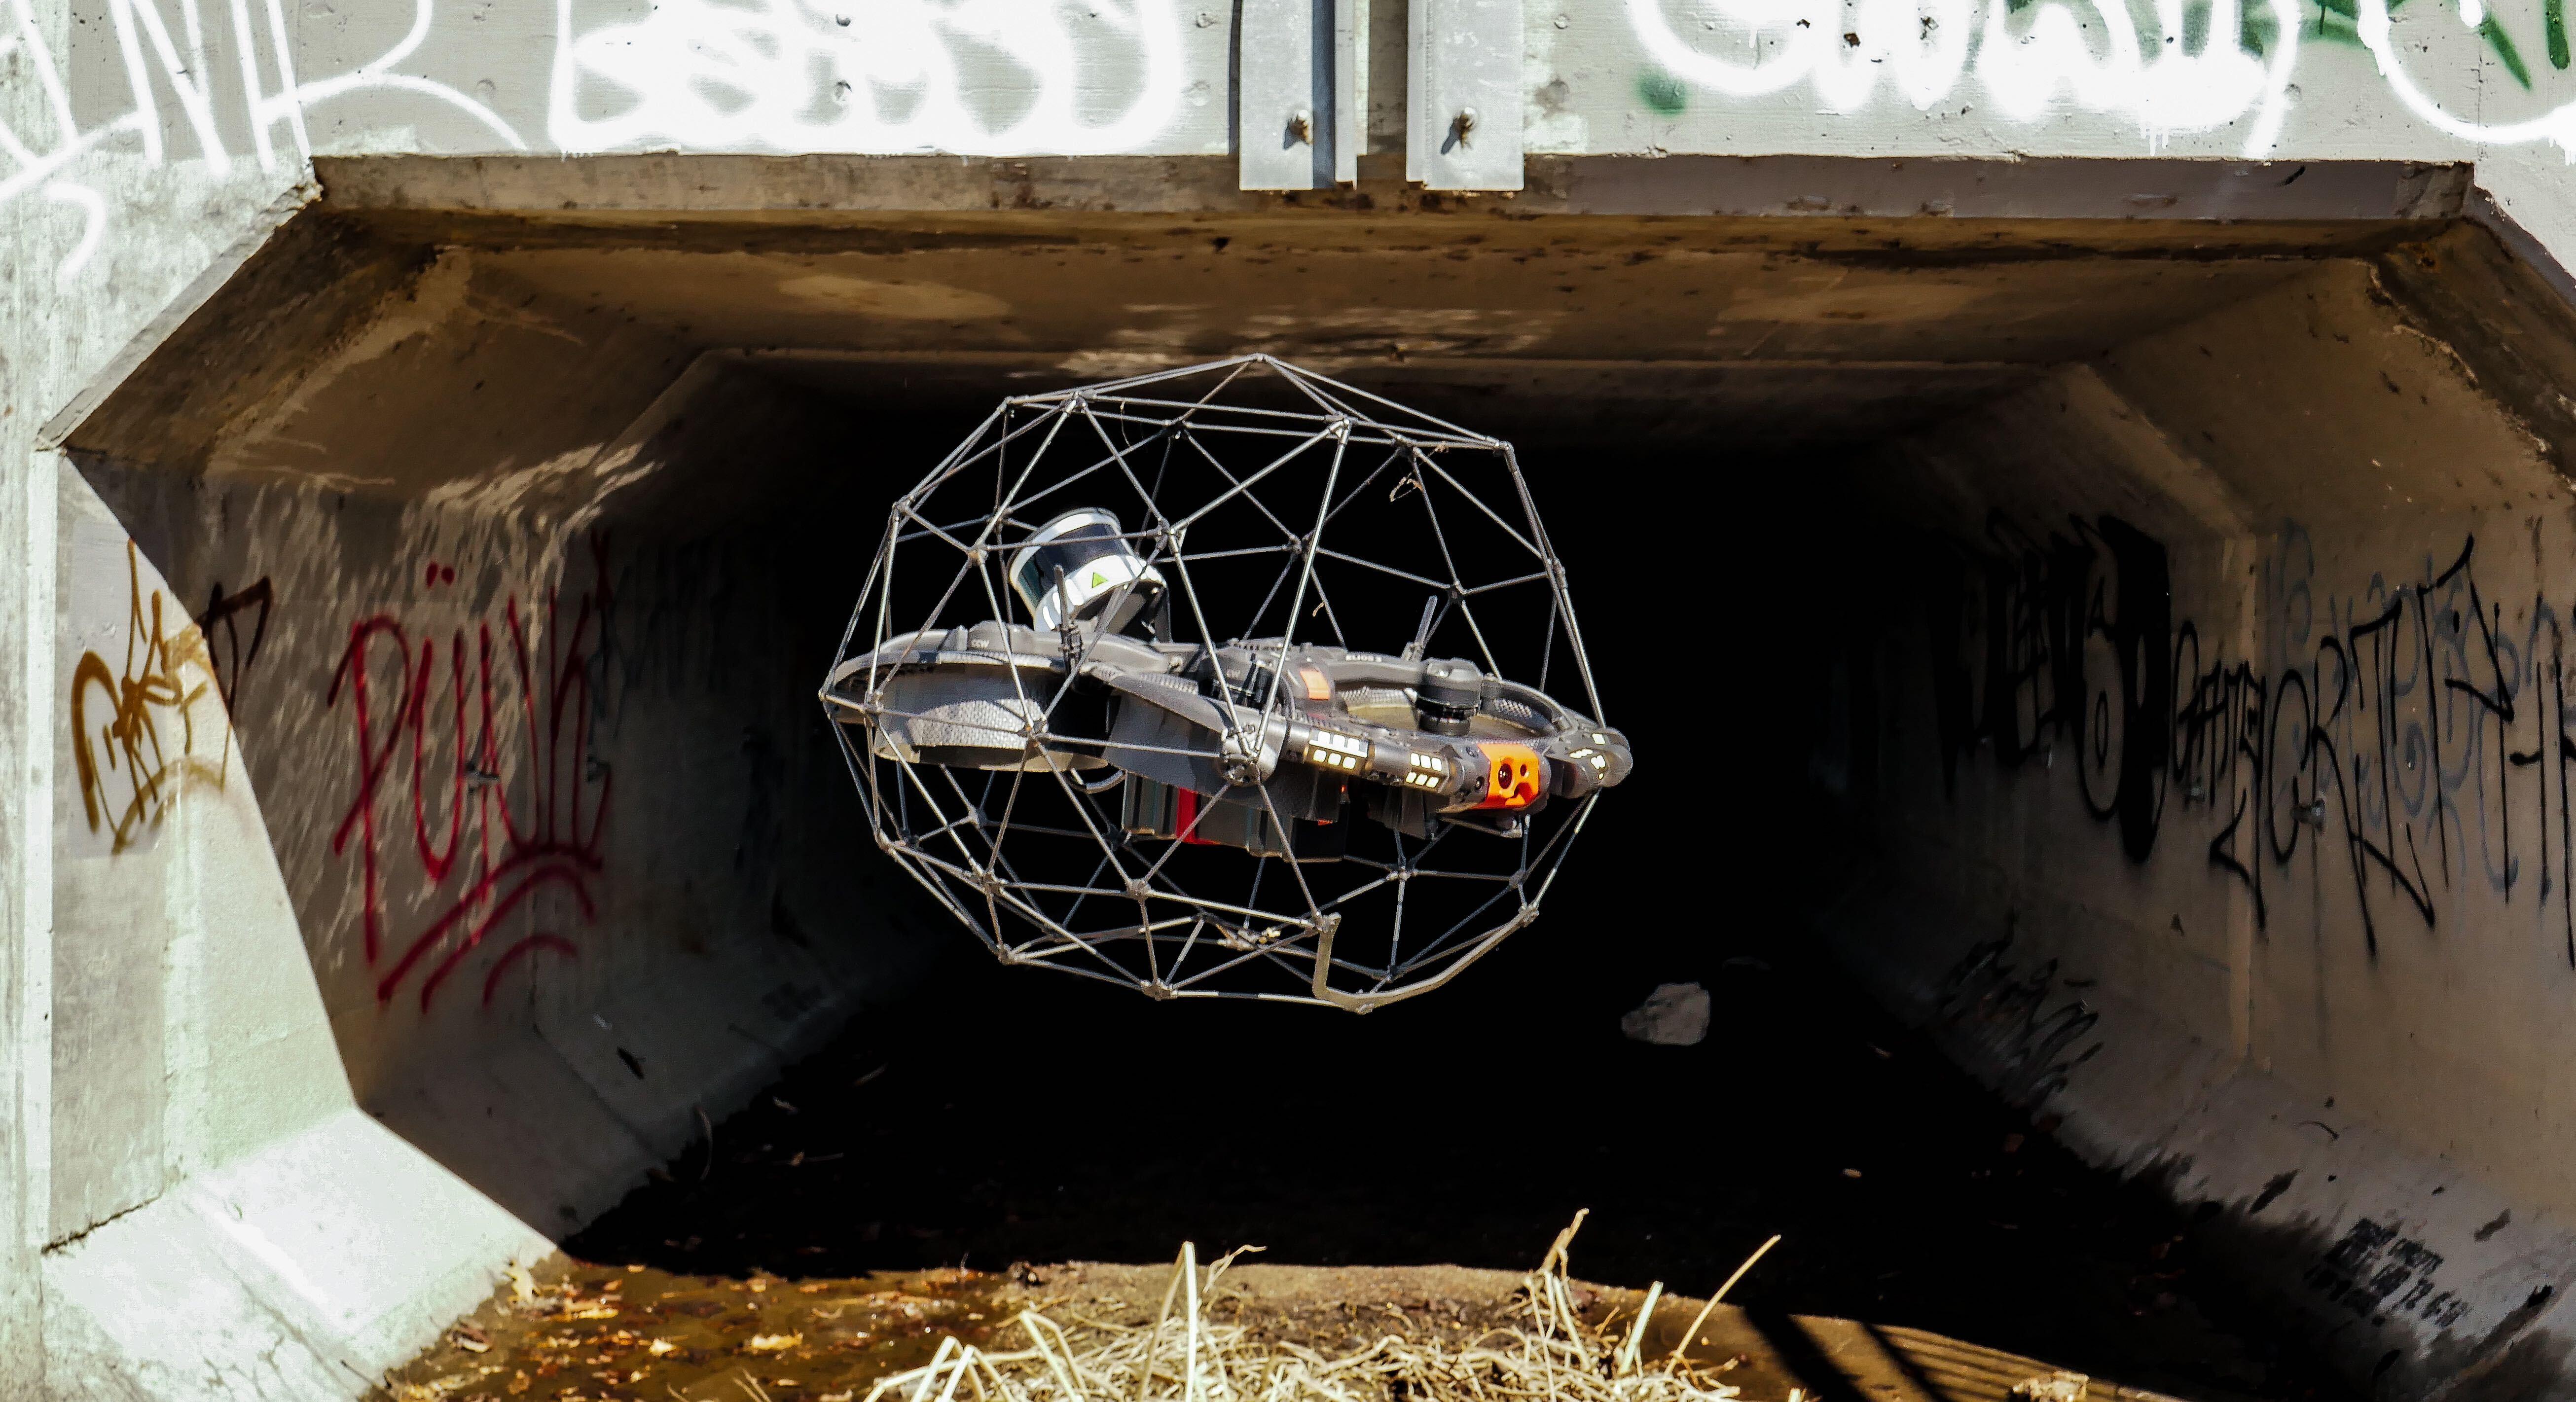
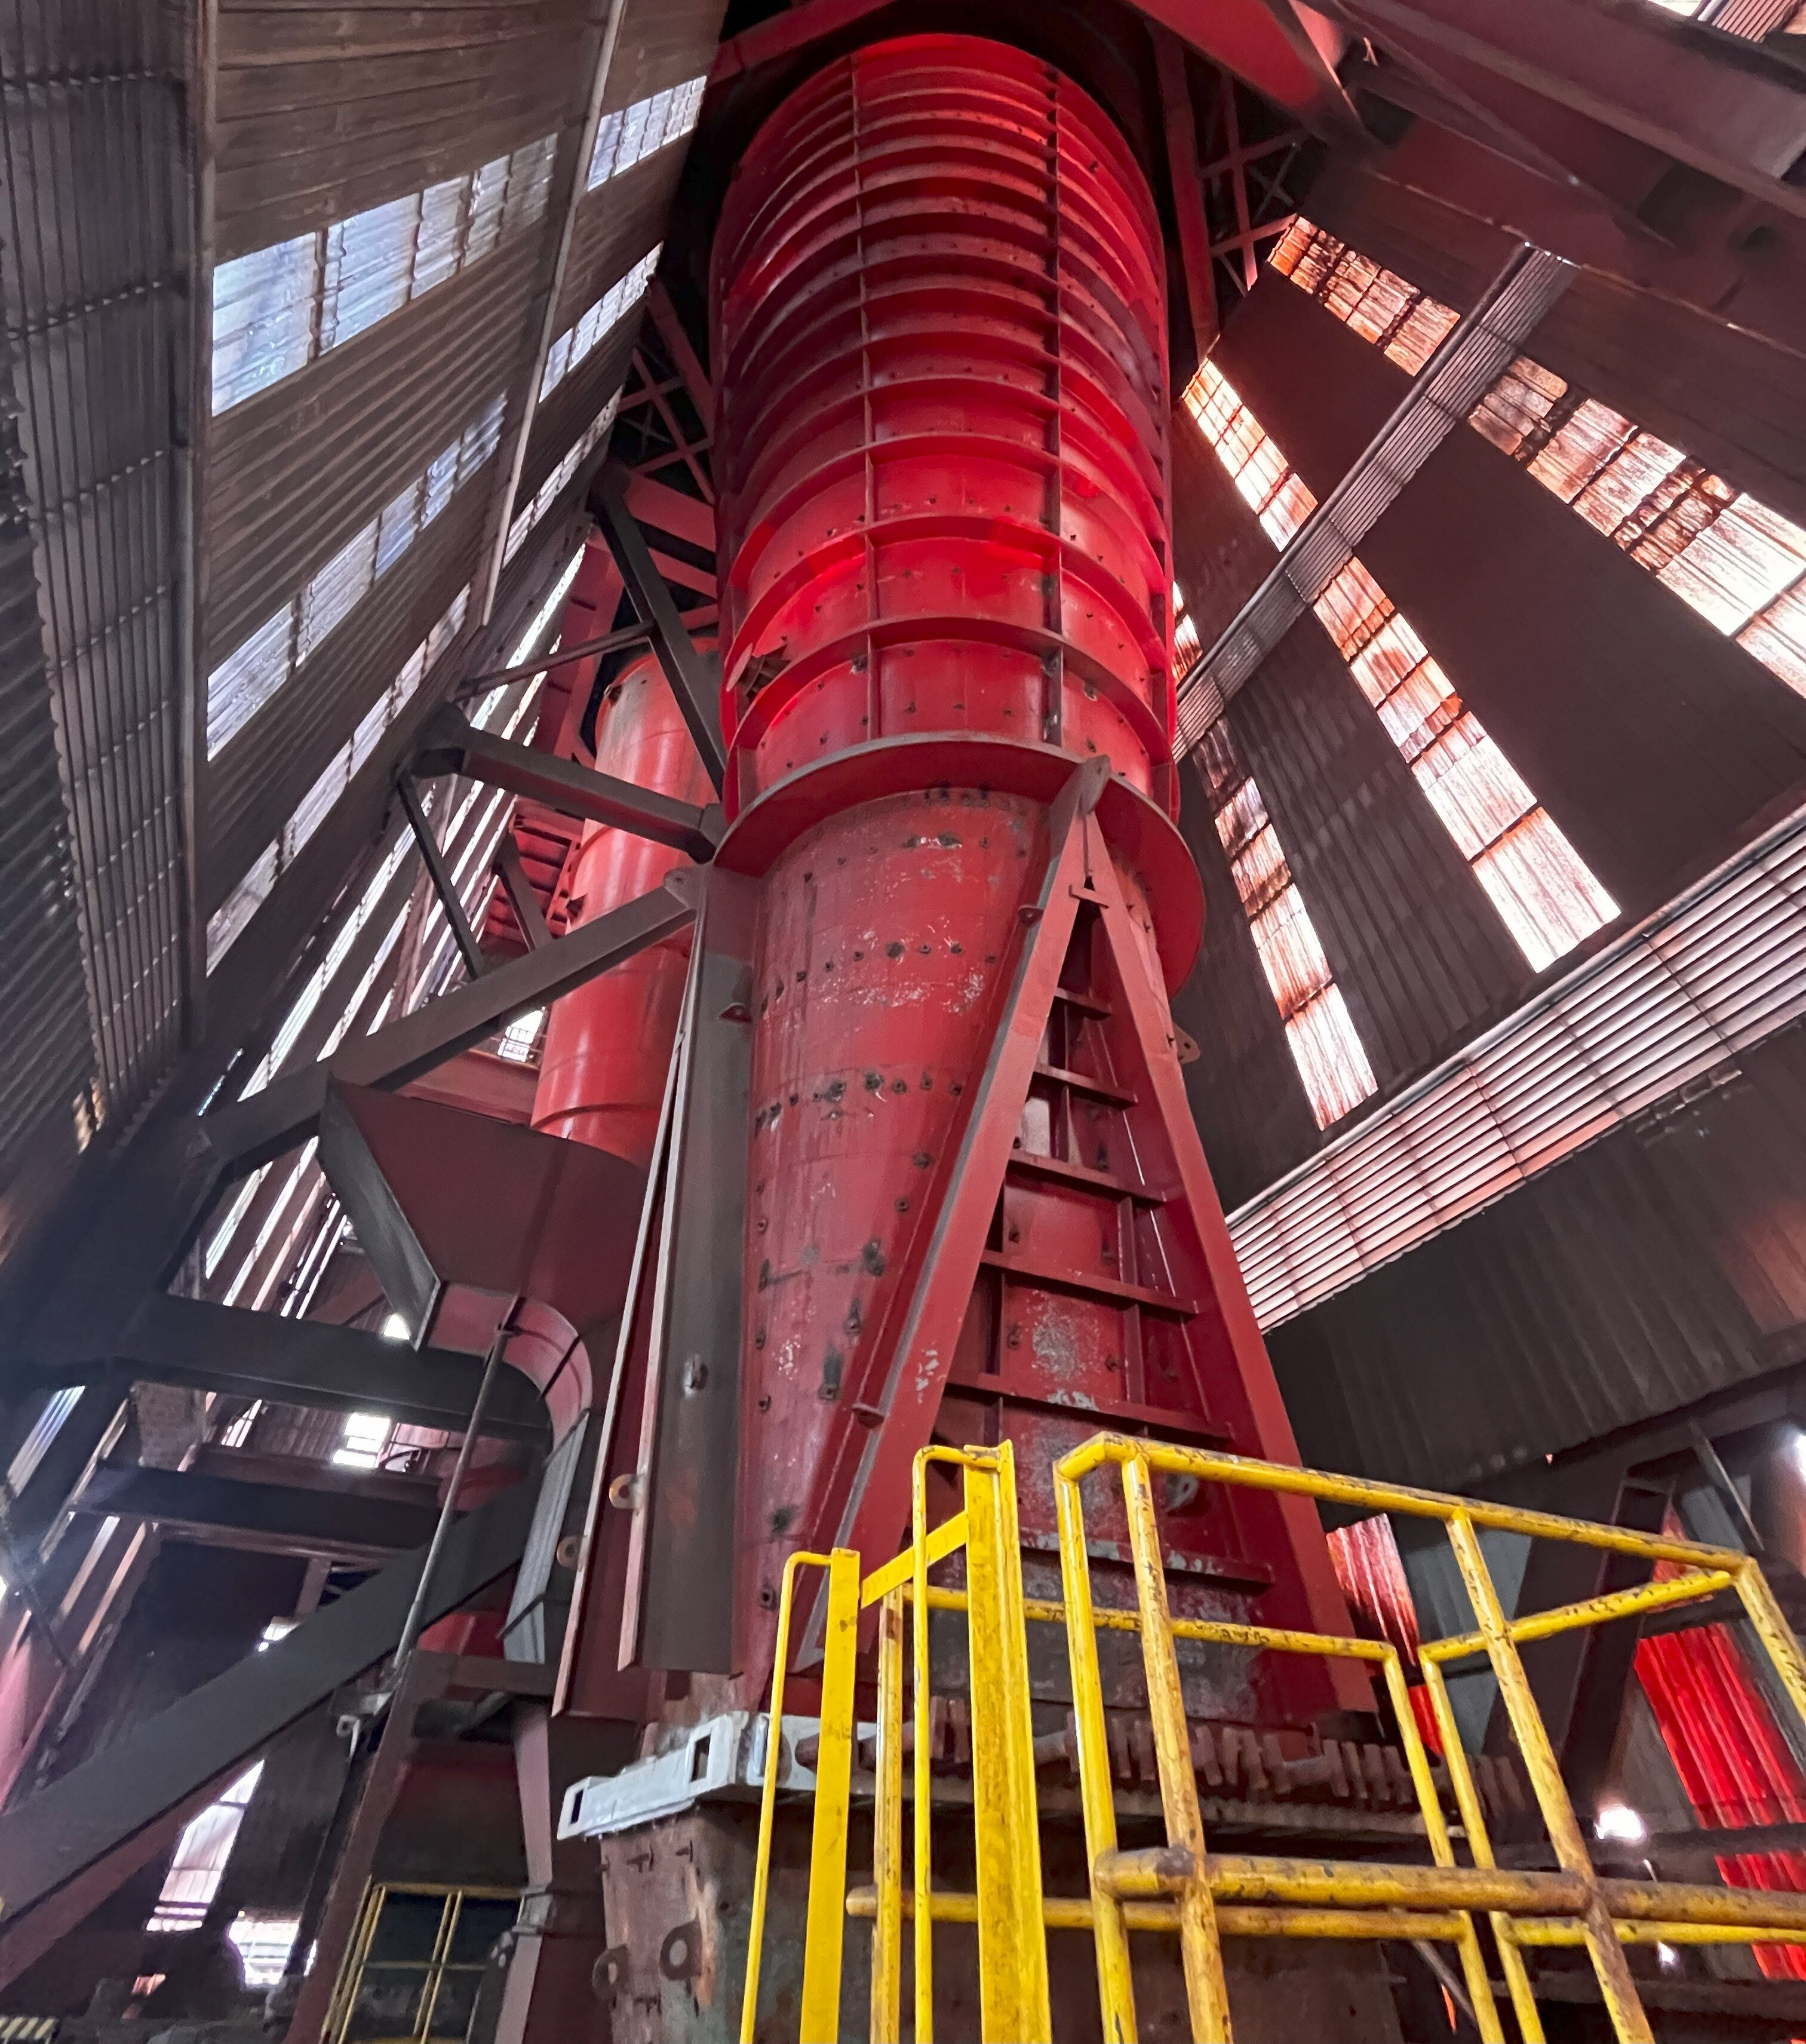
Tank Ultrasonic Thickness Measurement With The Elios 3
Case studies
|
Mining
Mining
175751758009
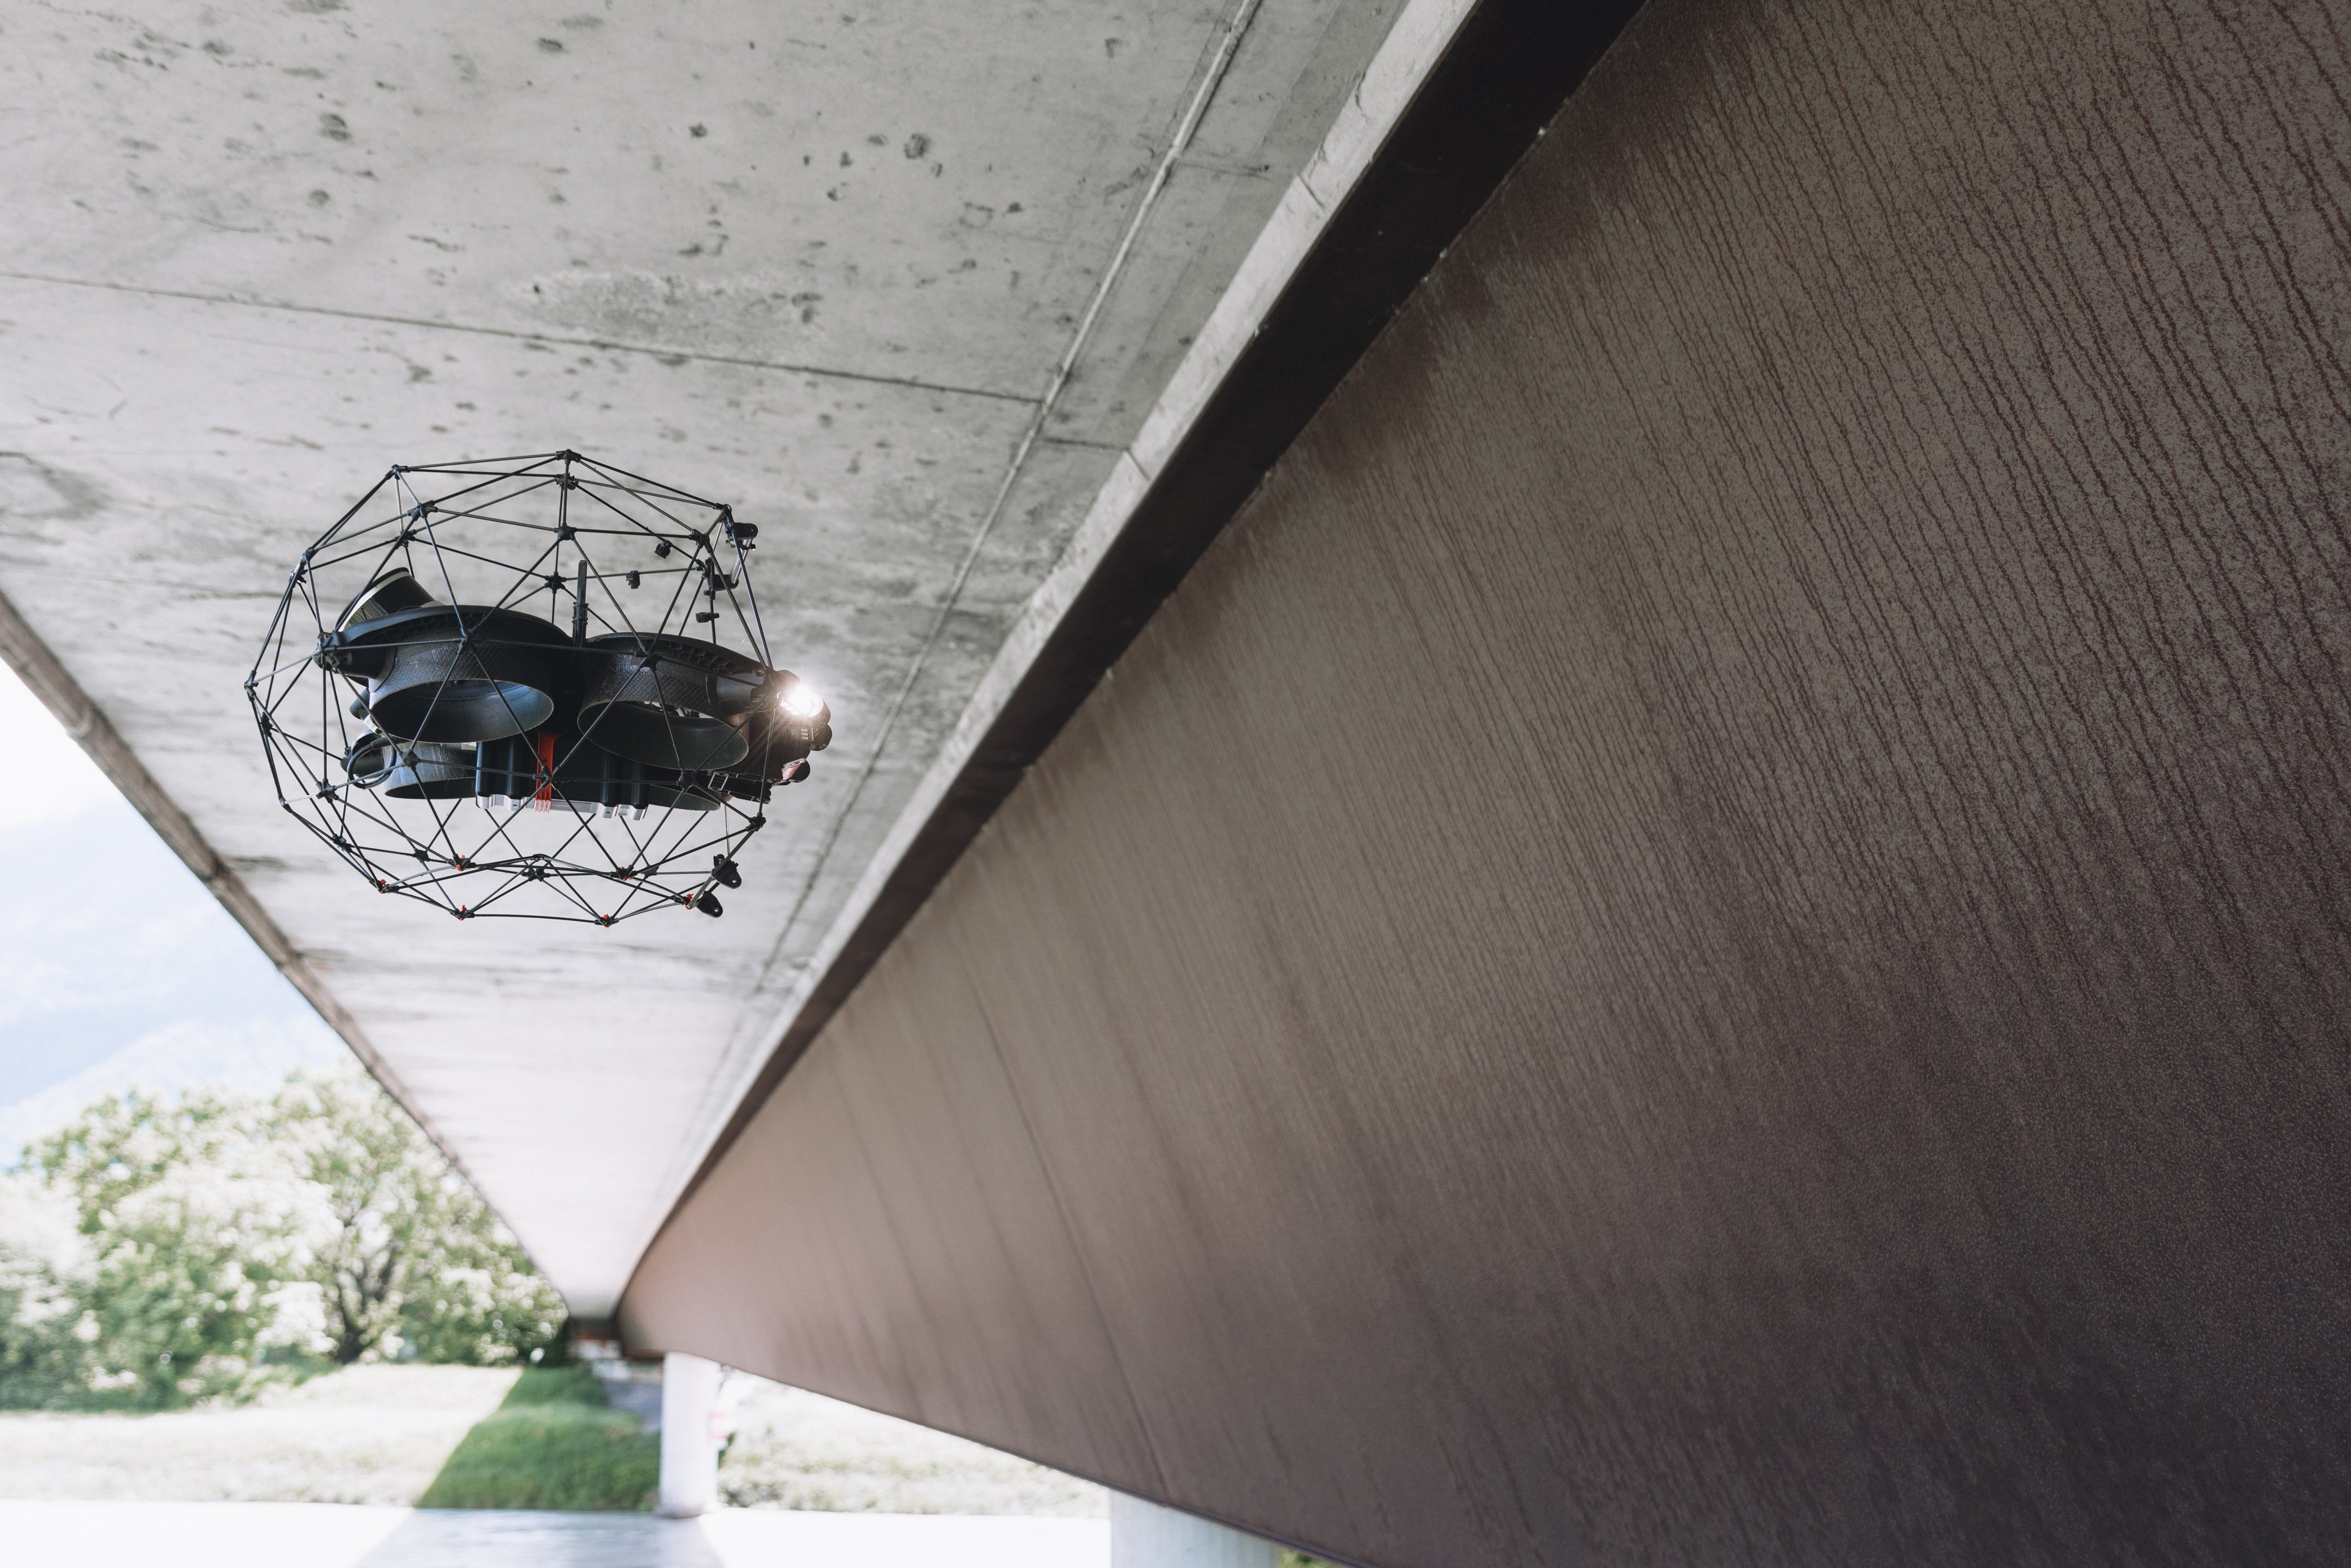
A Storage Bin Inspection with the Elios 3 at a mine

Case studies
|
Power Generation
Power Generation
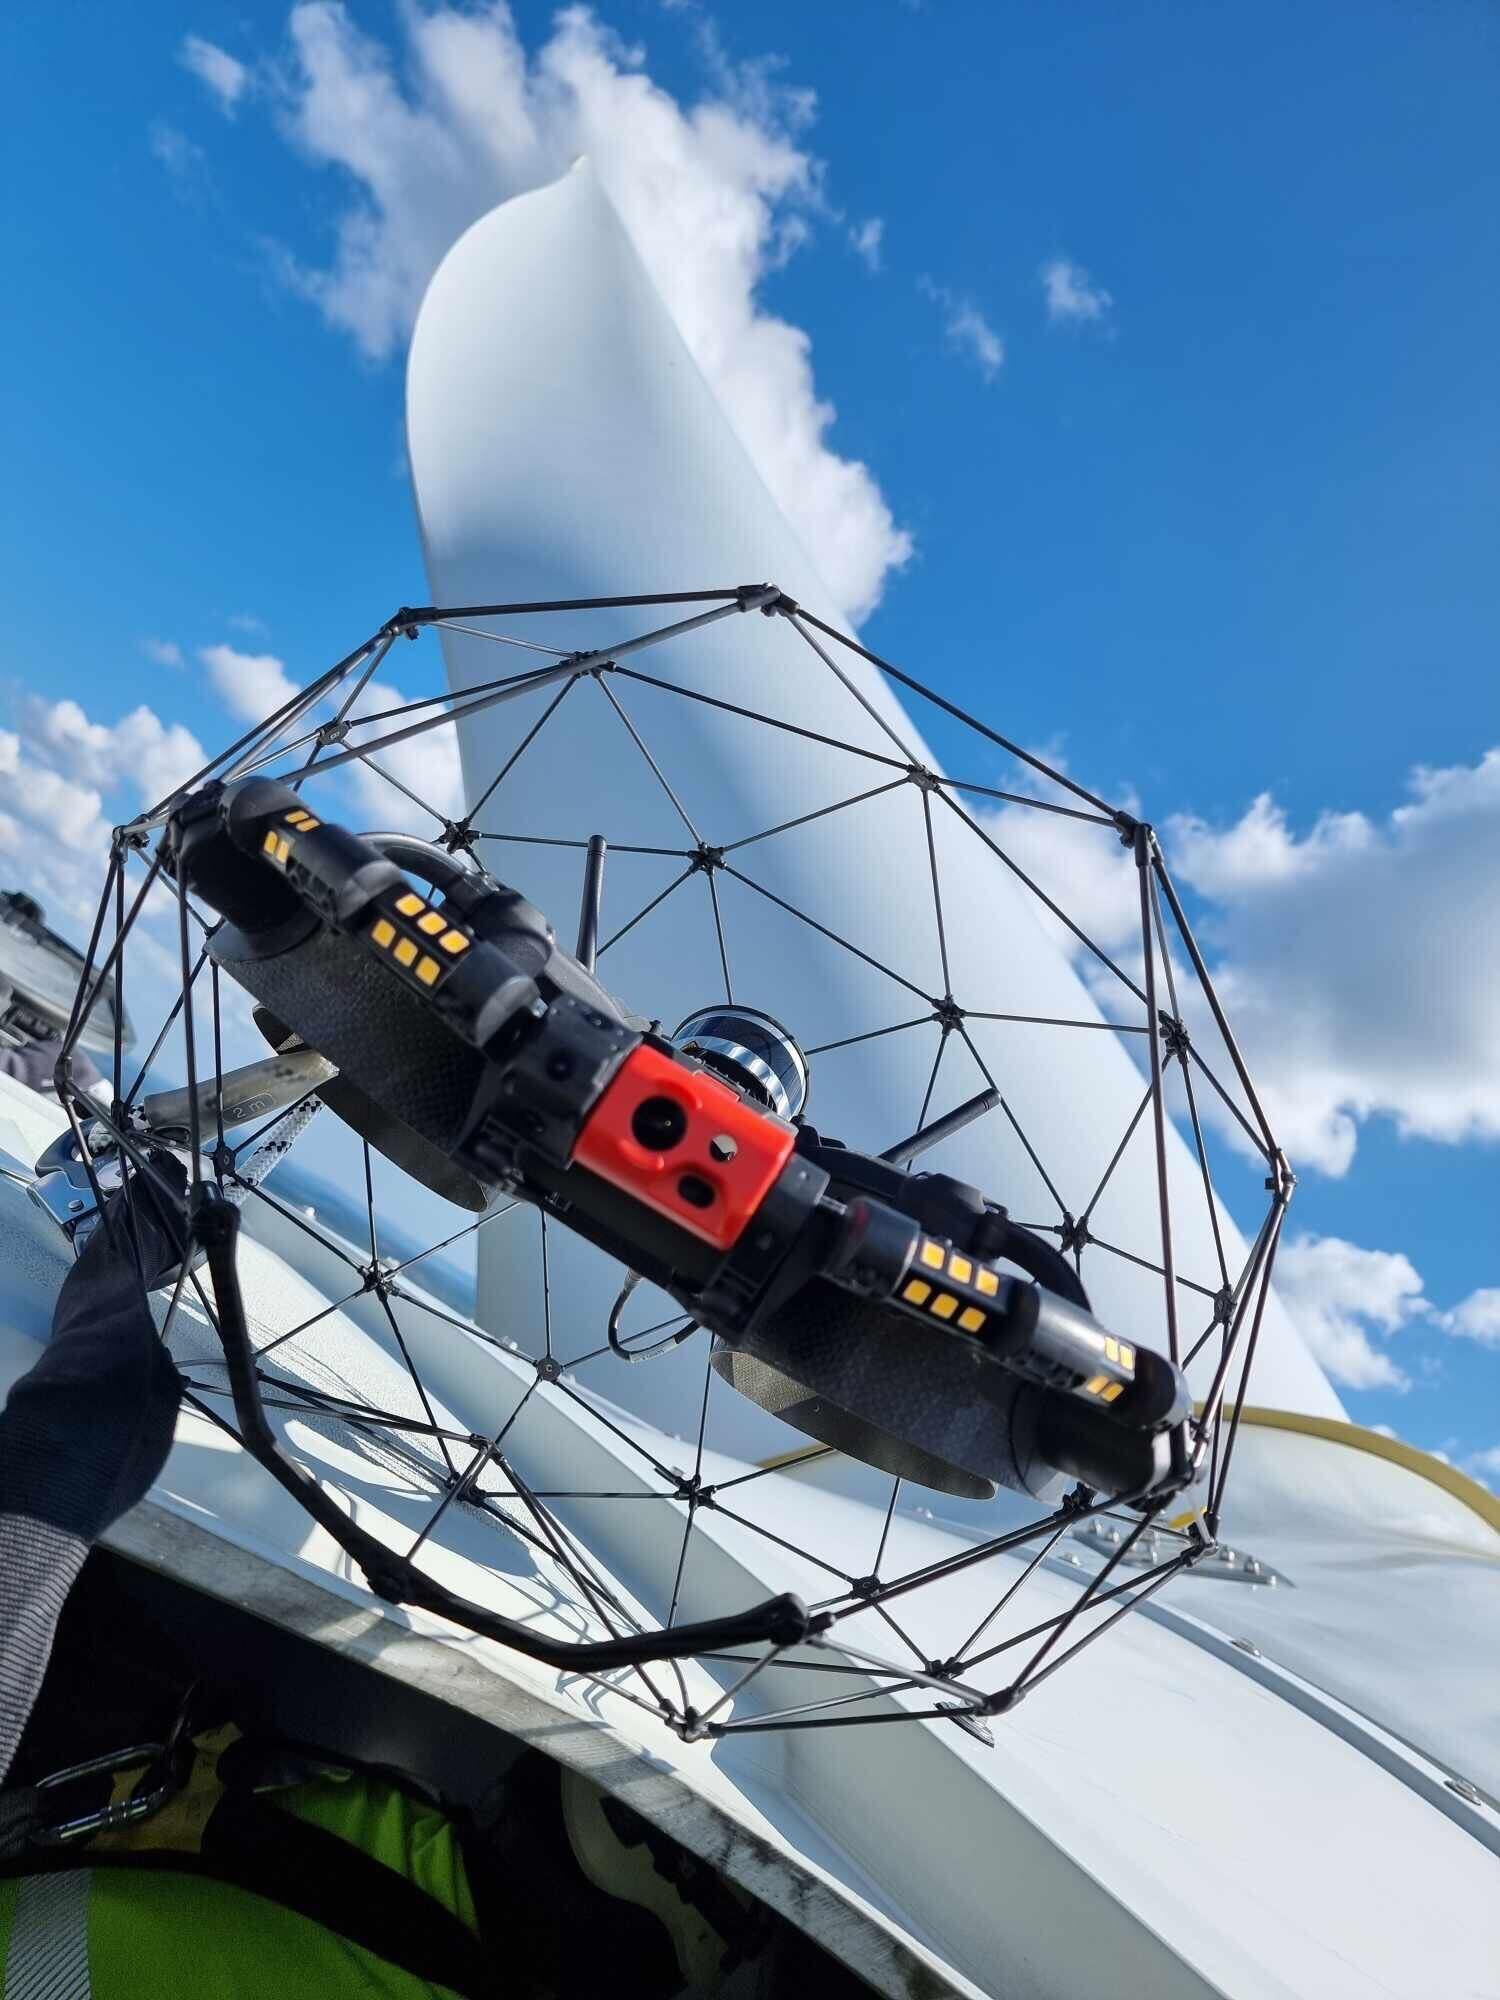
173959040527
Drone wind turbine blade inspections with the Elios 3
Case studies
|
Infrastructure
Infrastructure
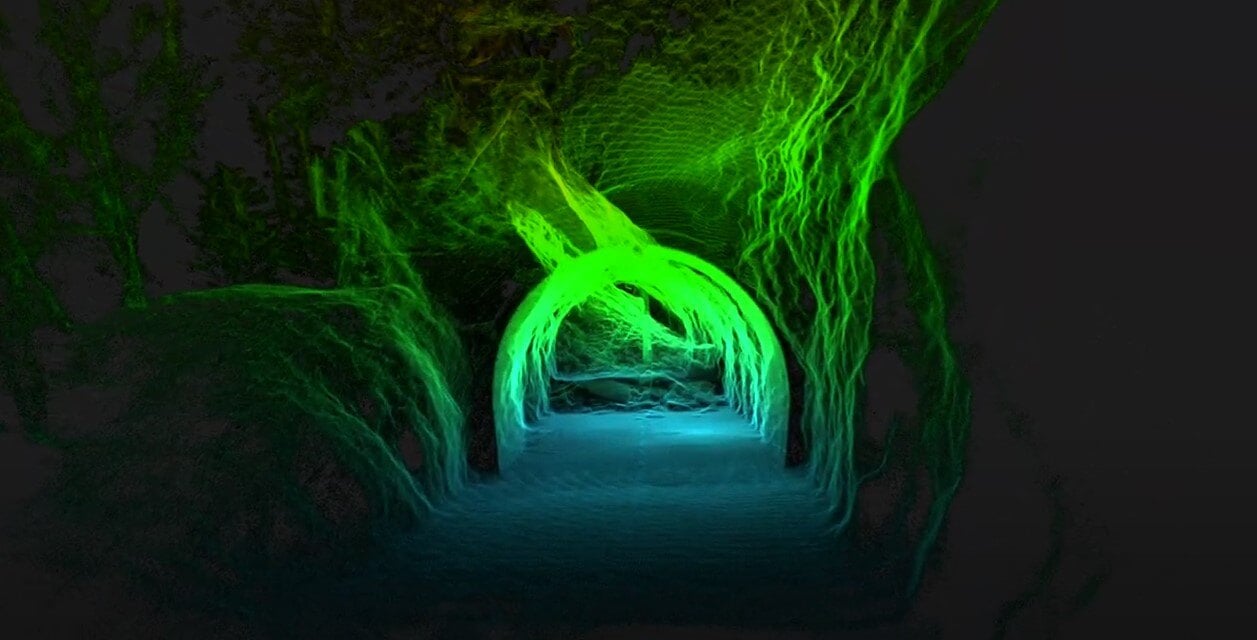
173843256620
Investigating a collapsed tunnel after a landslide in the...

Case studies
|
Infrastructure
Infrastructure
173334266236
Drone Scan to BIM: the Elios 3 digitizes a cement plant

Blog
|
Mining
Mining
172508753466
Drones for Mining: Safety, Efficiency, and Data Collection...

Webinar
|
Oil & Gas
{name=Oil & Gas, label=Oil & Gas}
171466793731
Discover the Elios 3 UT Payload
Case studies
|
Infrastructure
Infrastructure
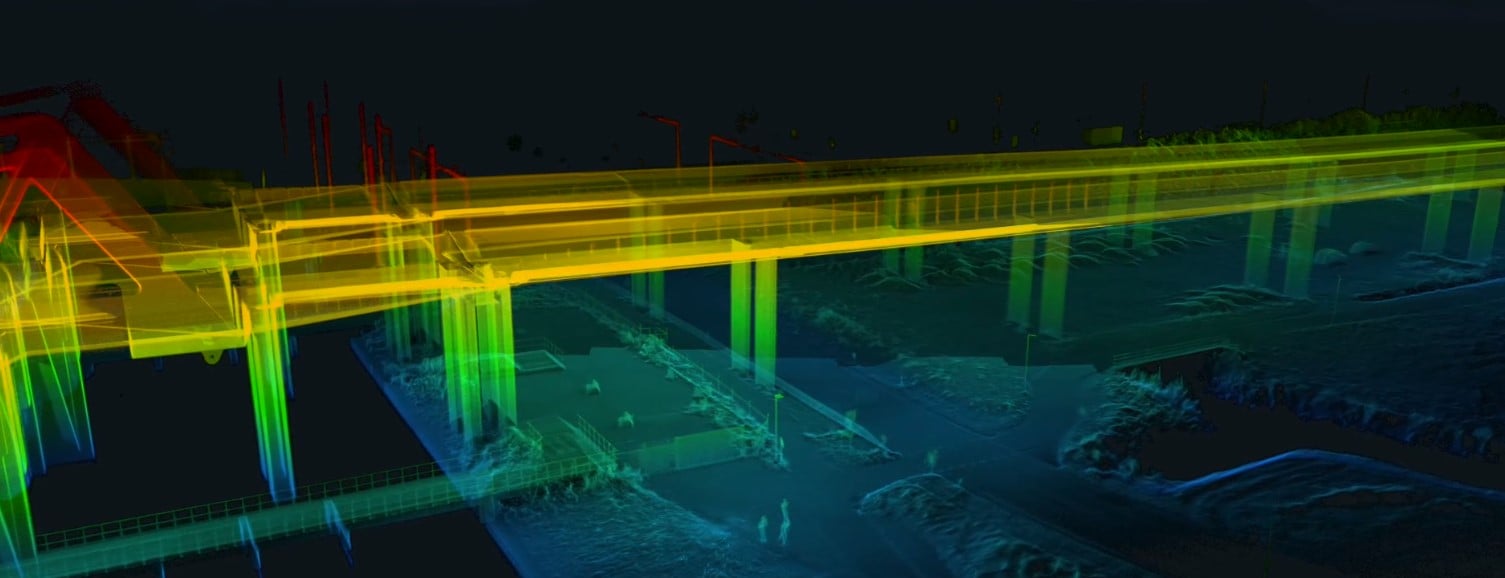
145632795500
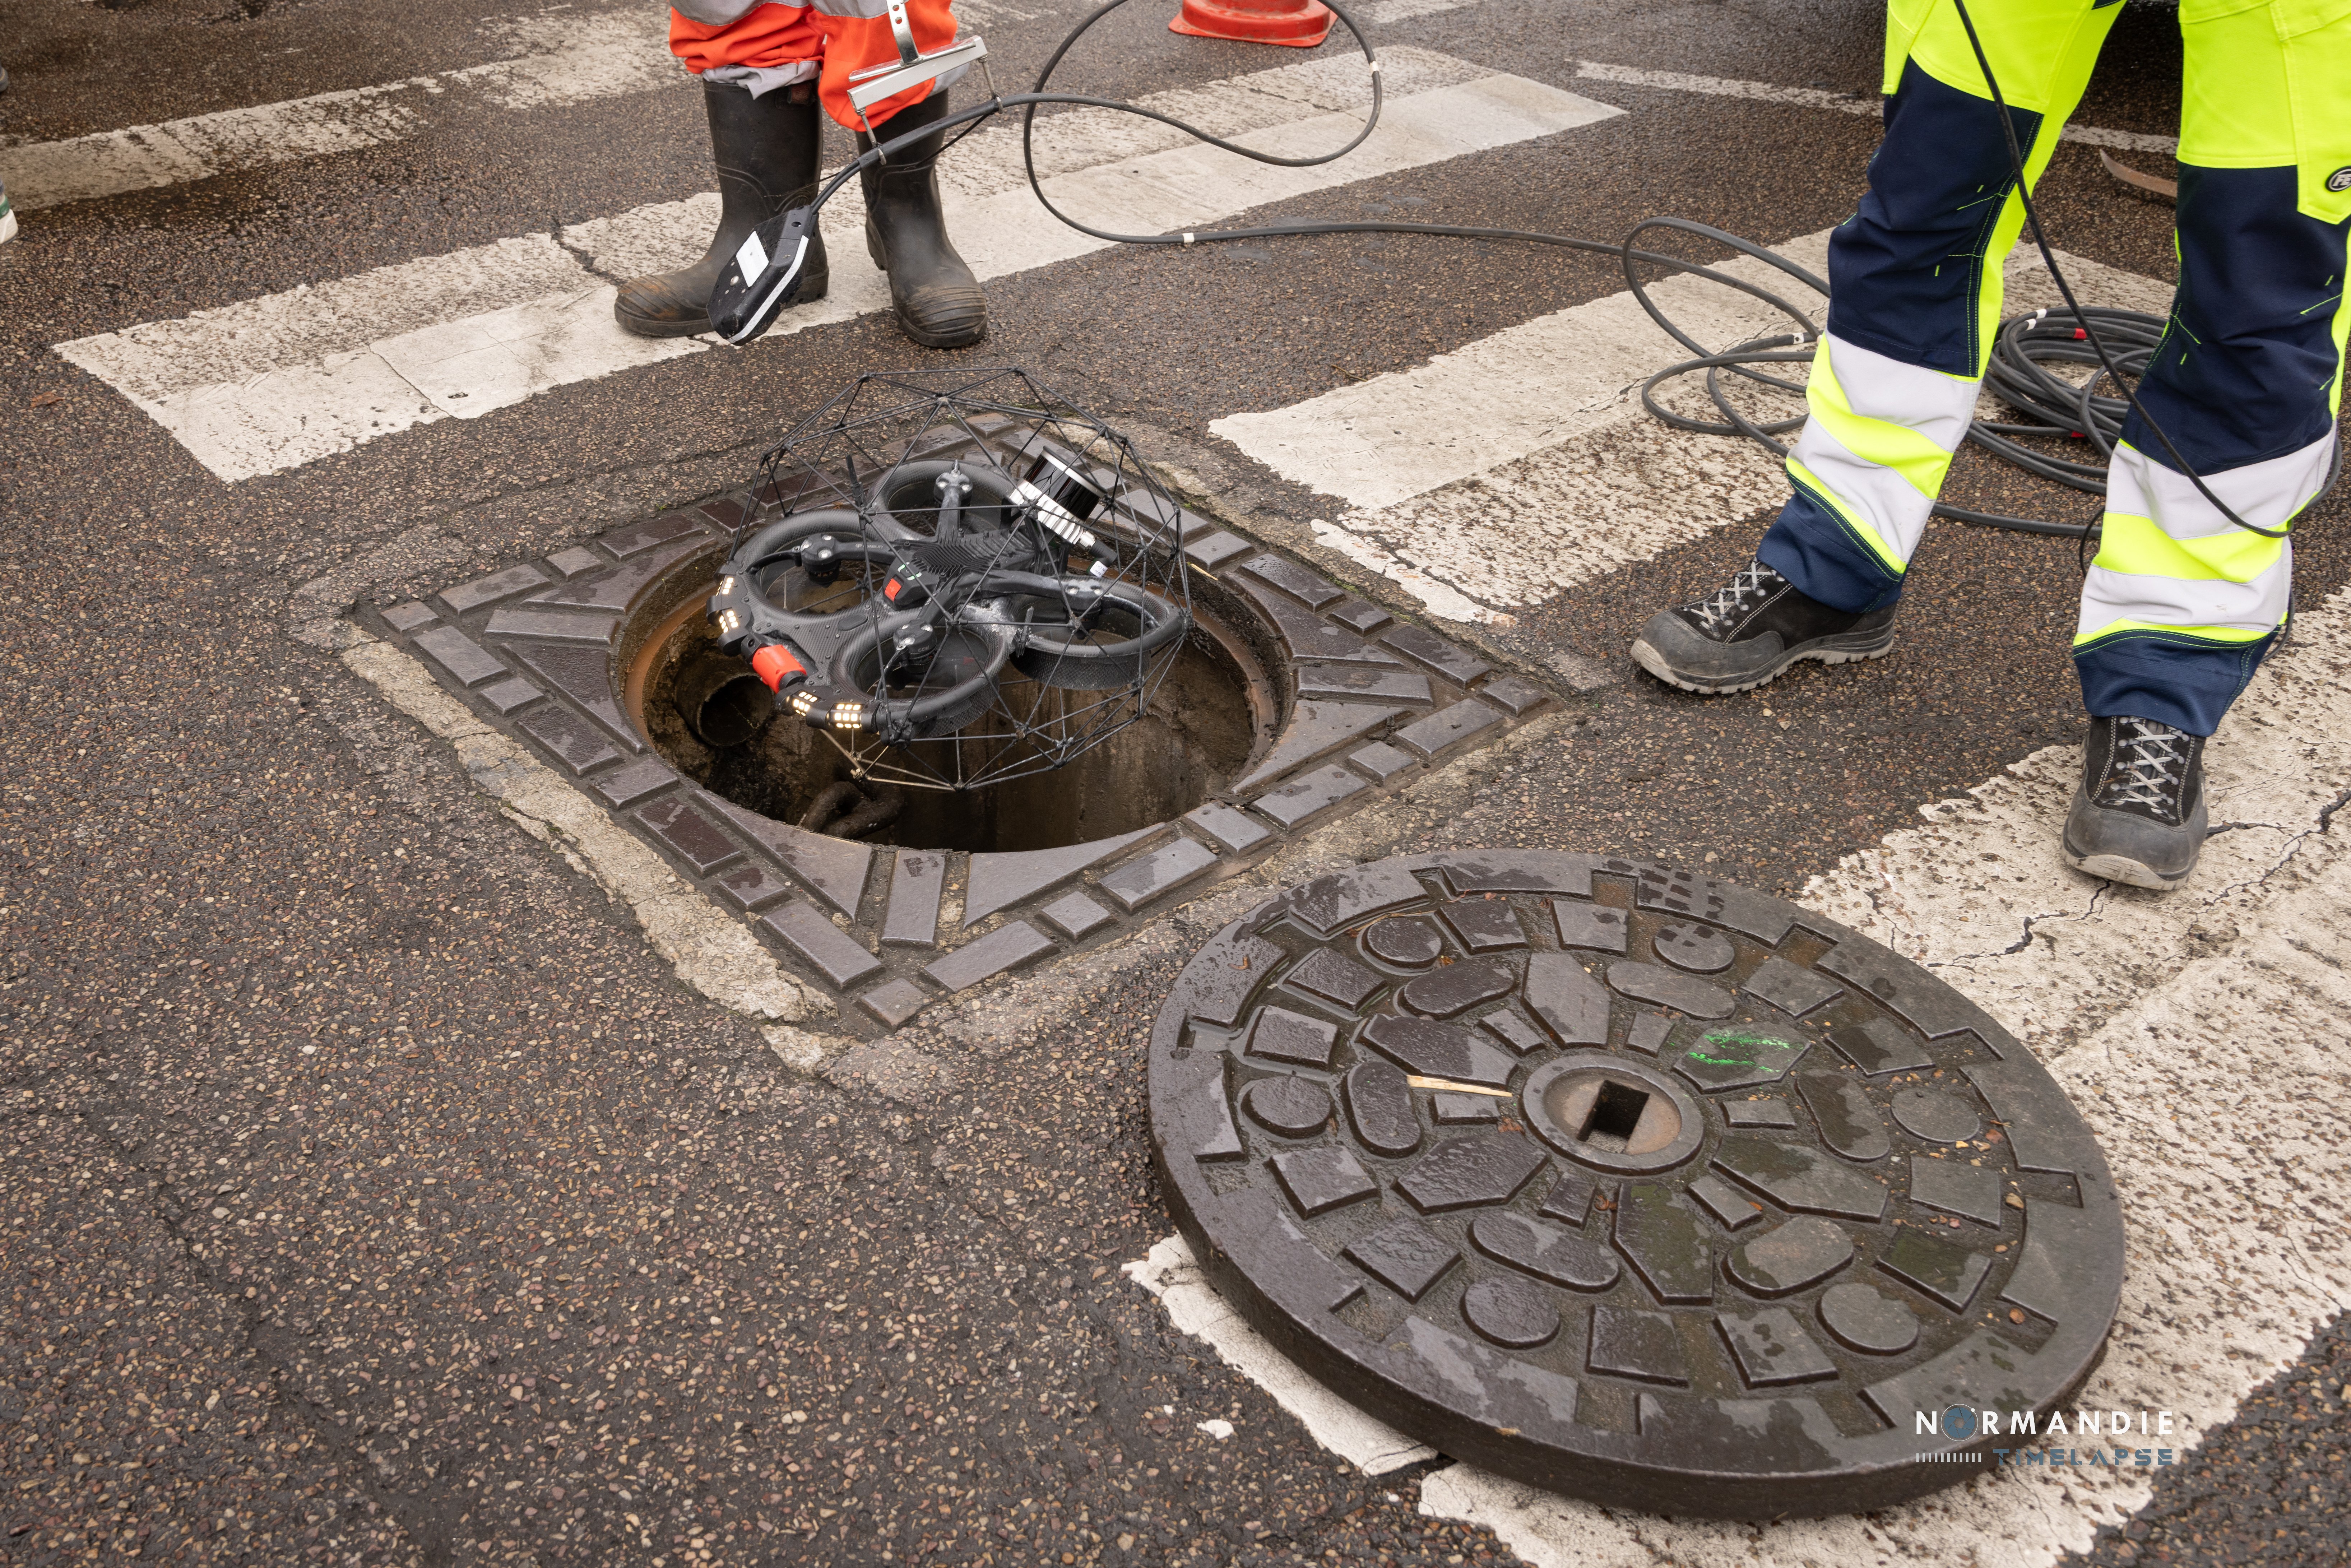
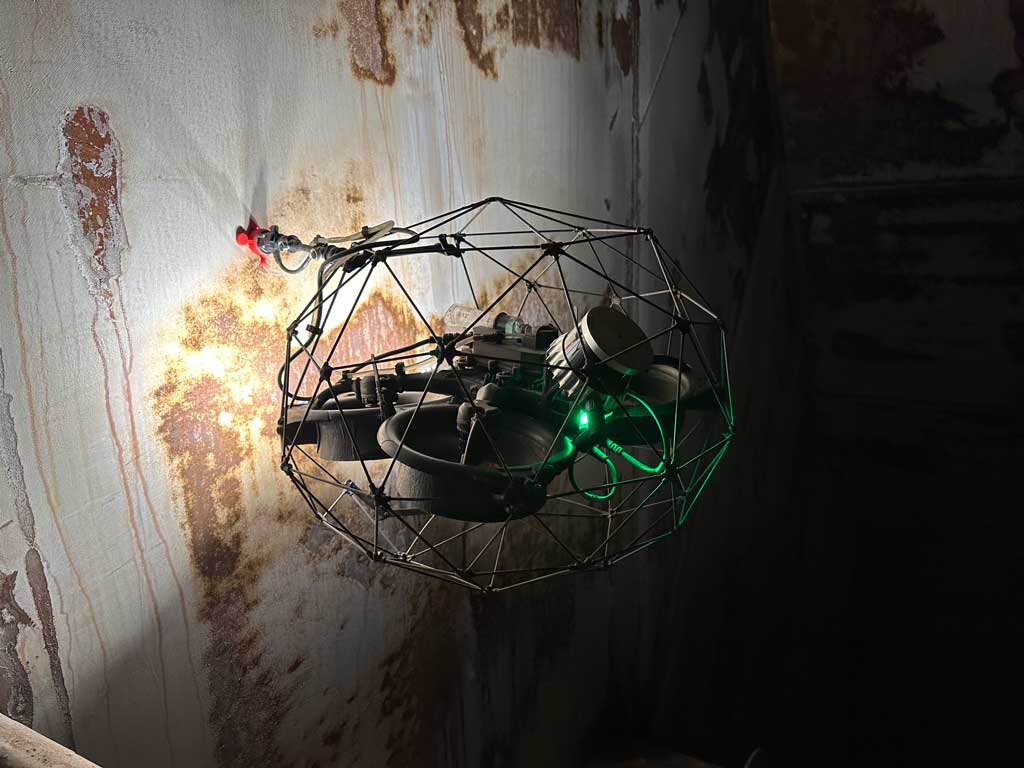
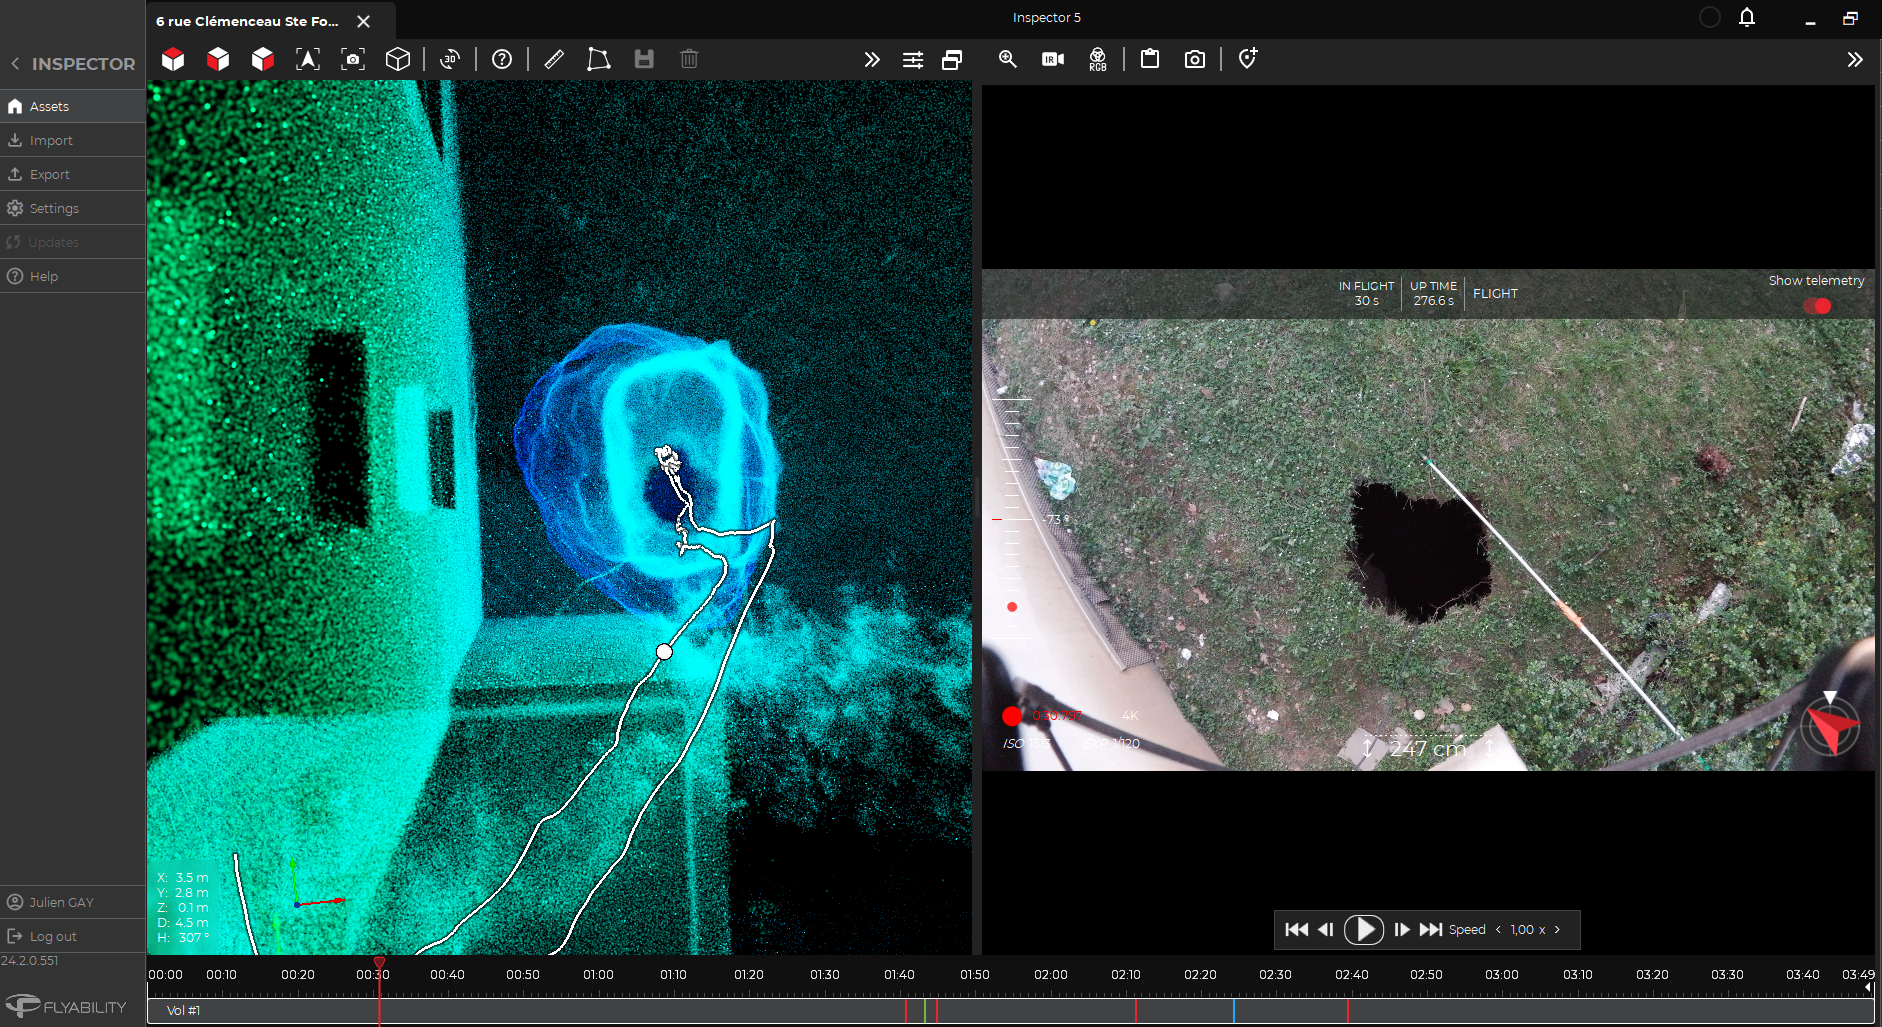
Testing the Elios 3 Surveying Payload: Mapping a 600m...

Case studies
|
General
General
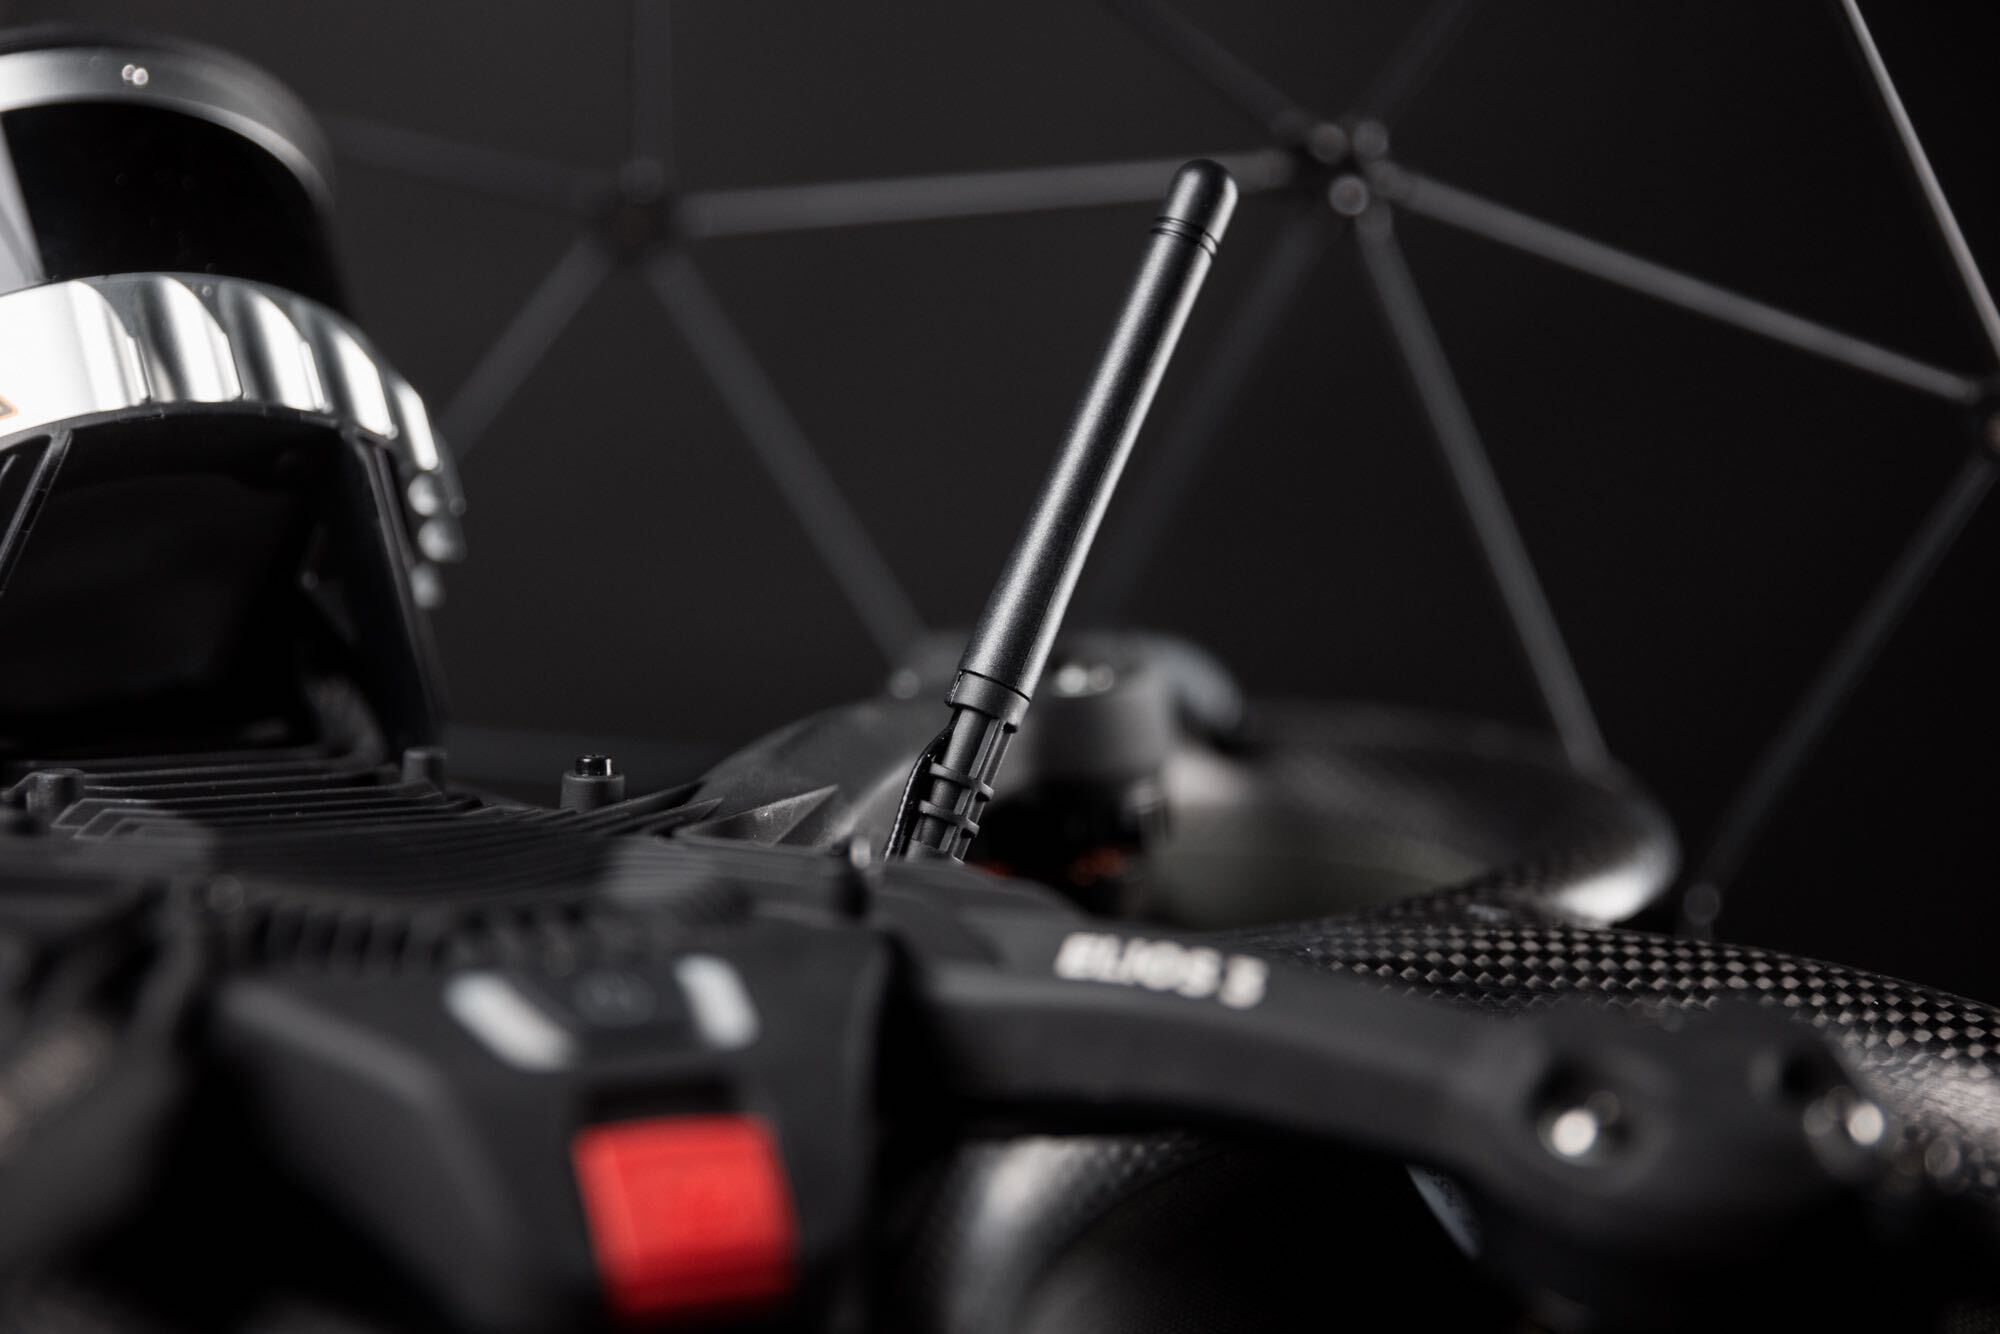
166292775793
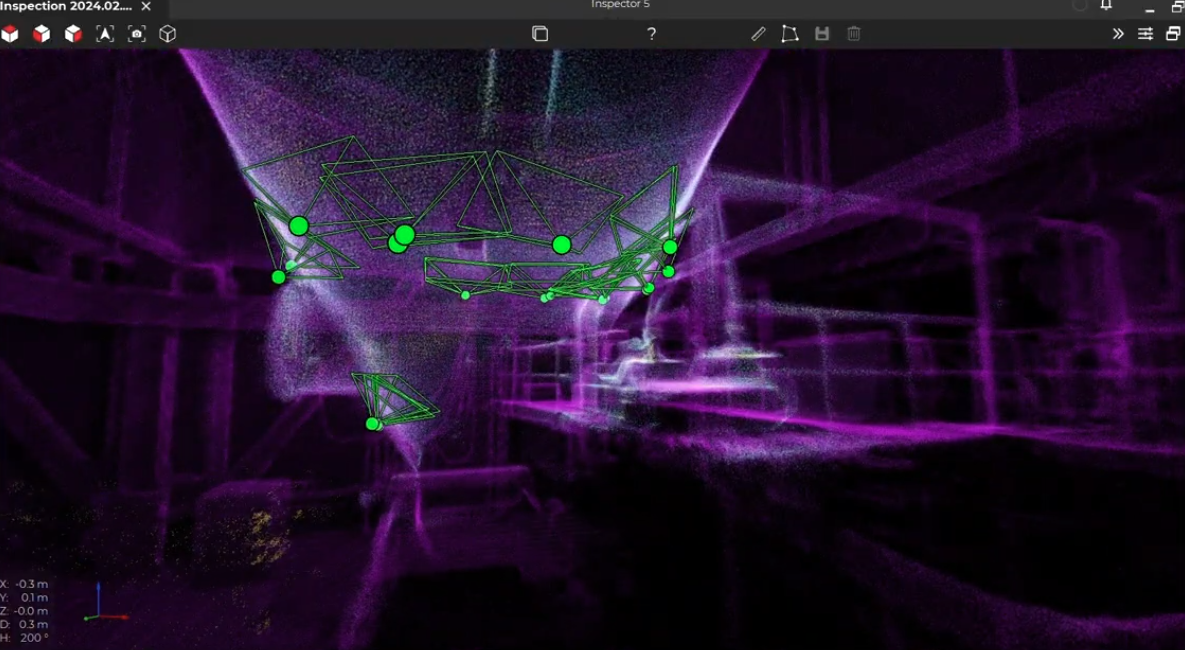
Underground drones for emergency response: investigating a...

Blog
|
Power Generation
|
General
Power Generation General
164799472751
Boiler Inspections: A Complete Guide

Blog
|
Infrastructure
Infrastructure
164772679838
Bridge Inspections —Everything You Need to Know
Blog
|
Chemicals
|
Oil & Gas
Chemicals Oil & Gas
164752004924
A Complete Guide to Corrosion Monitoring
Blog
|
General
General
164725112604
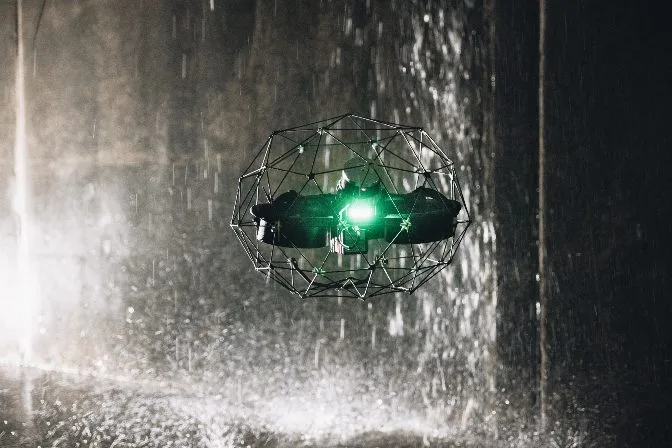
What Does a Drone Cage Do? Use Cases, Types & Indoor...
Blog
|
Infrastructure
Infrastructure
164743513000
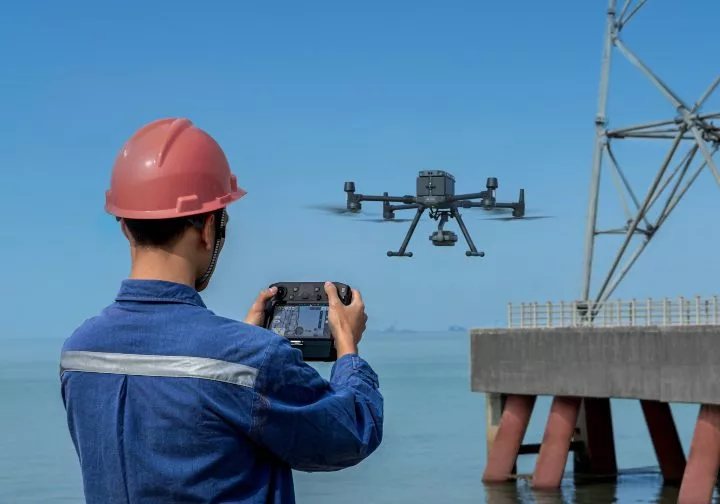
A Guide to How Drones are Used for Inspections
Blog
|
General
General
164721831248
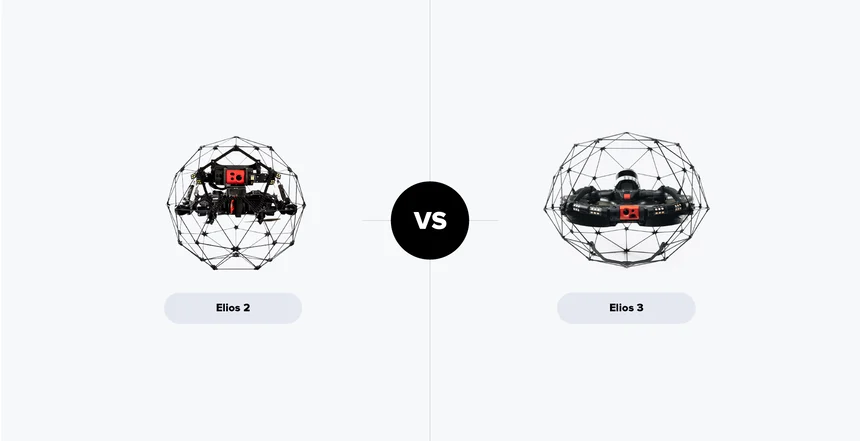
Elios 3 vs. Elios 2: How do the Flyability drones compare?
Blog
|
Sewer
|
Maritime
|
Mining
|
General
Sewer Maritime Mining General
164719776790
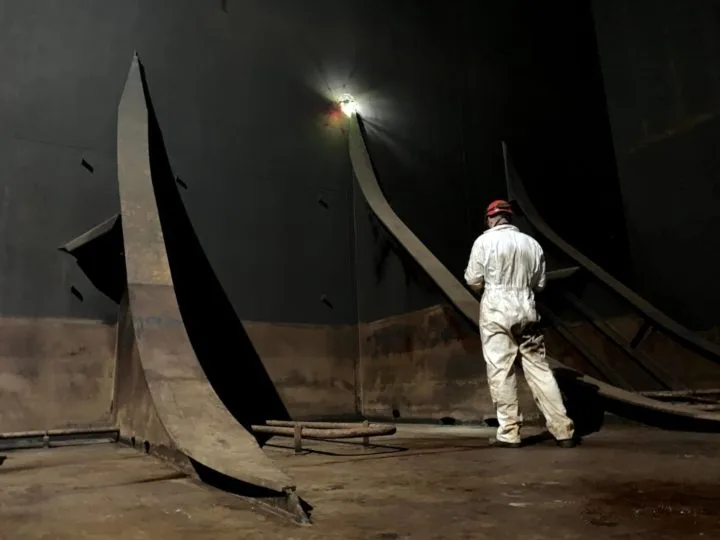
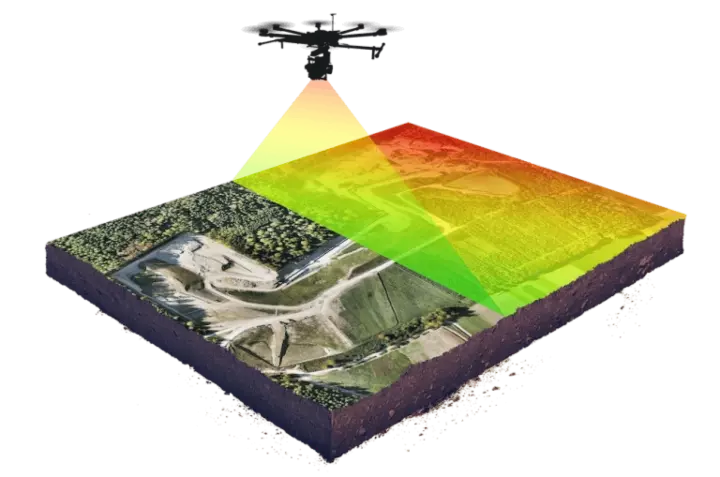
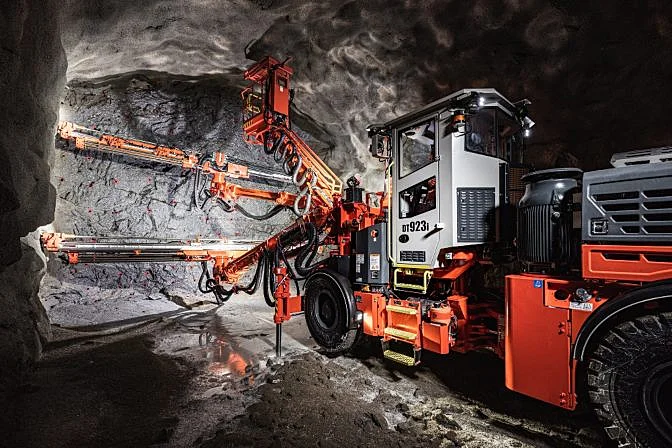
What Is a GPS-DENIED Drone?

Blog
|
Mining
Mining
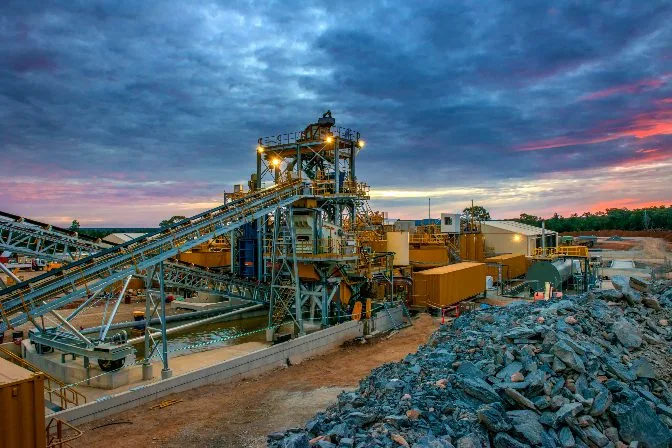
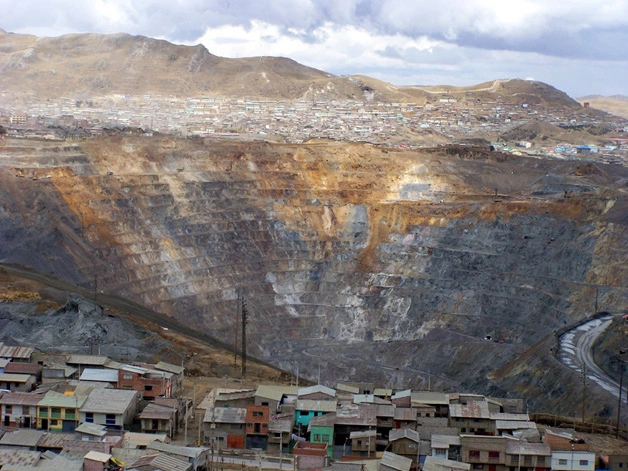
164665724584
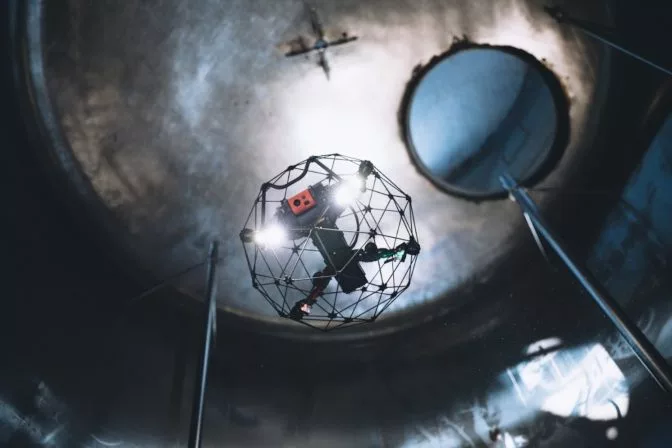
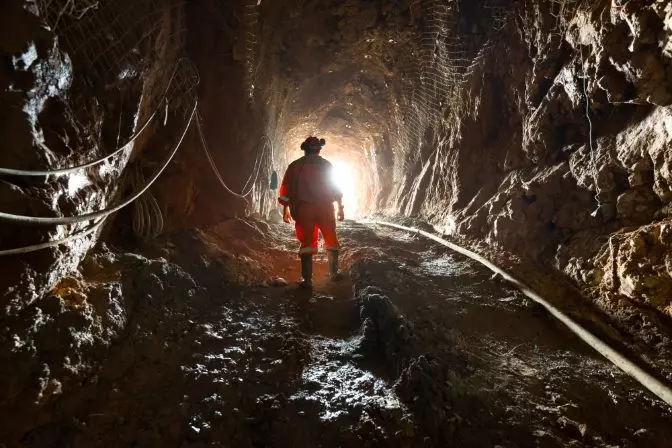
How Mine Drones Are Improving Safety and Optimizing Mining


Blog
|
Power Generation
Power Generation
164583719465
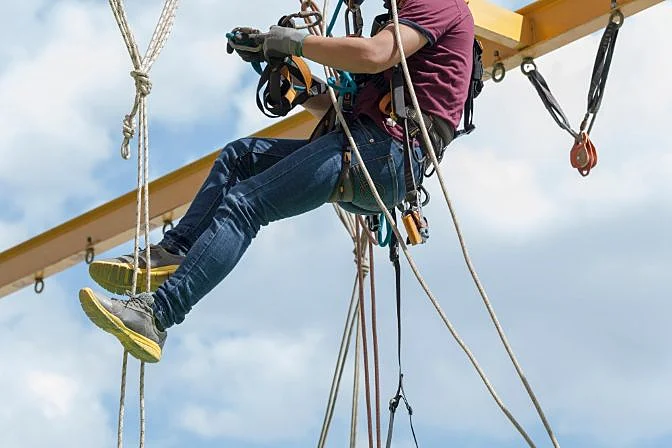
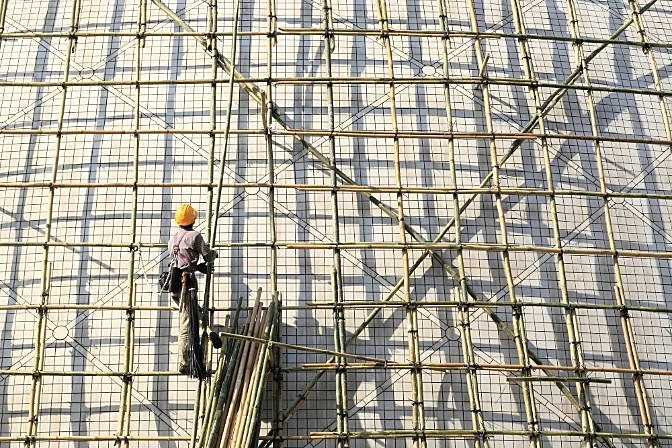
POWER PLANT MAINTENANCE: WHAT IS REQUIRED AND HOW DRONES...
Blog
|
Sewer
Sewer
164385558606
The Reality of Sewer Inspections—Everything You Need to Know
Blog
|
Power Generation
|
Oil & Gas
|
General
Power Generation Oil & Gas General
164254076452
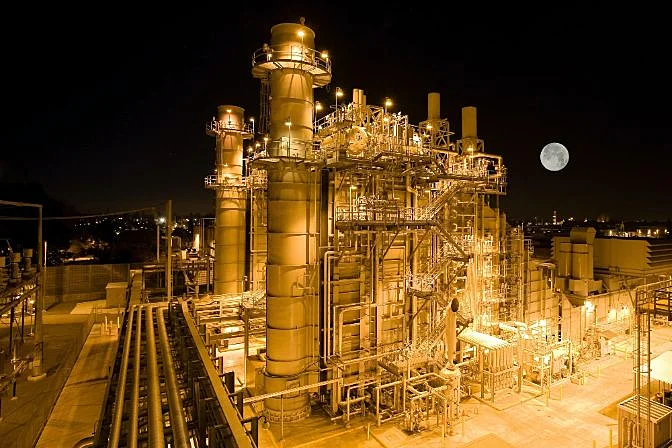
What Is Turnaround Time? What Is Downtime?

Case studies
|
Power Generation
Power Generation
163246809670
A drone stack inspection with the Elios 3 UT
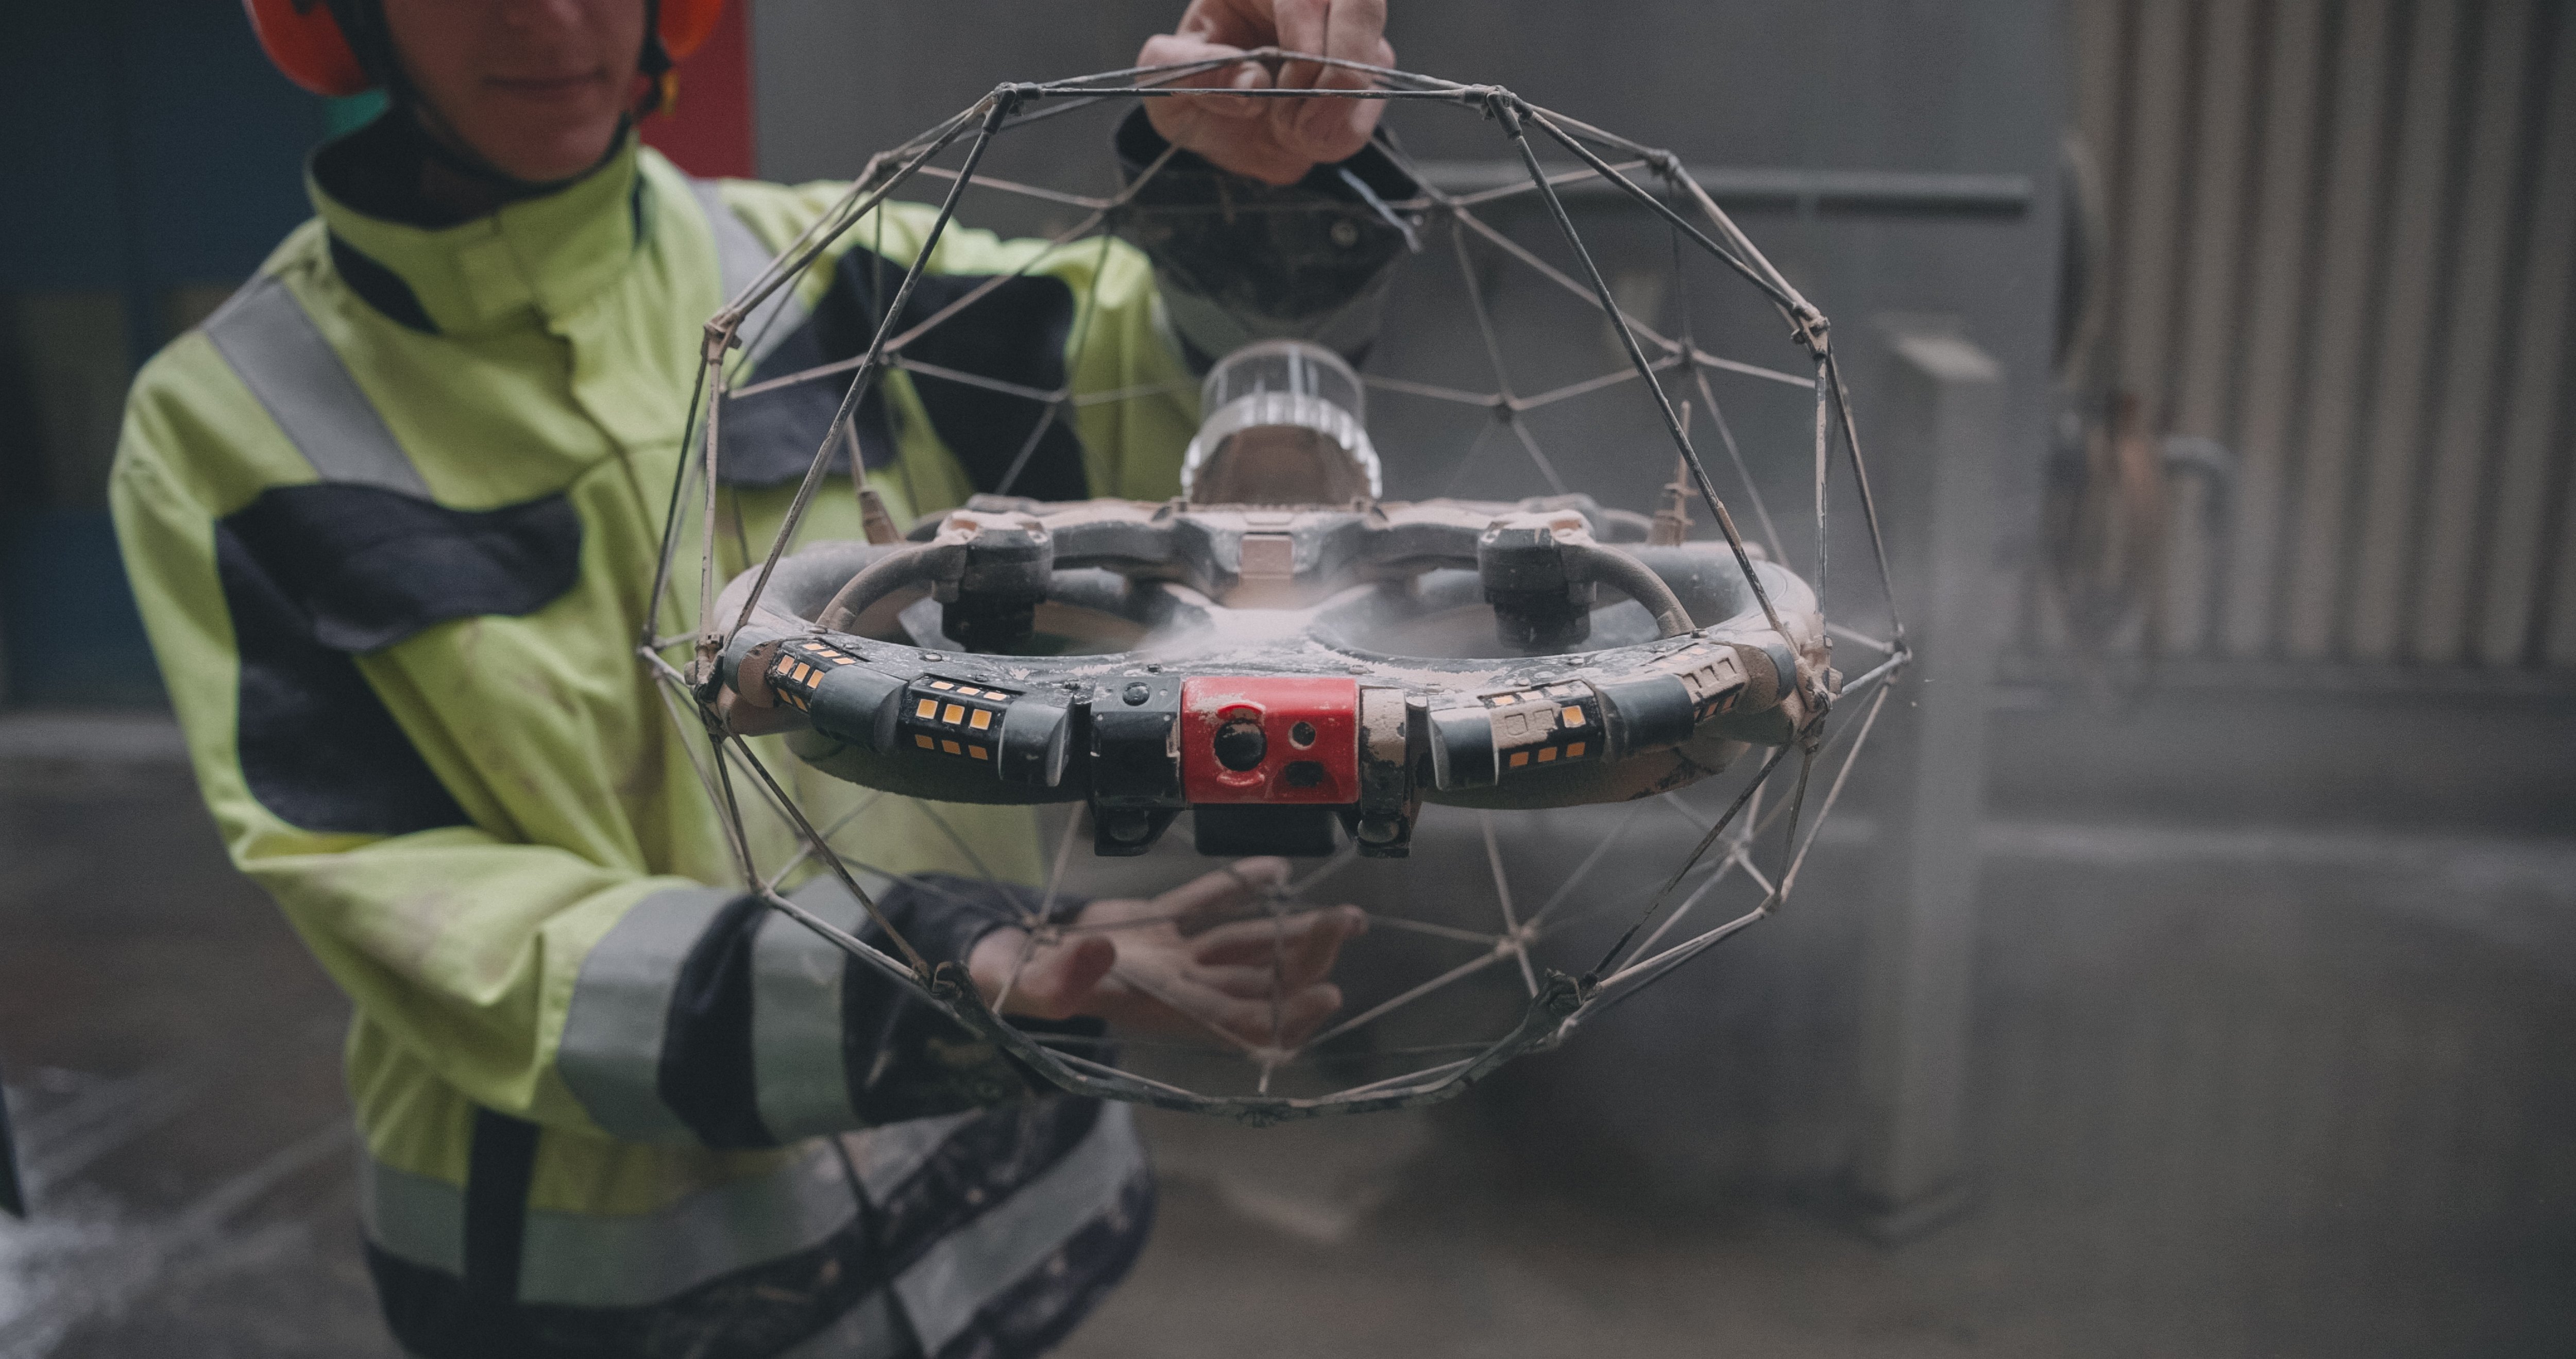
Case studies
|
General
General
160689626759
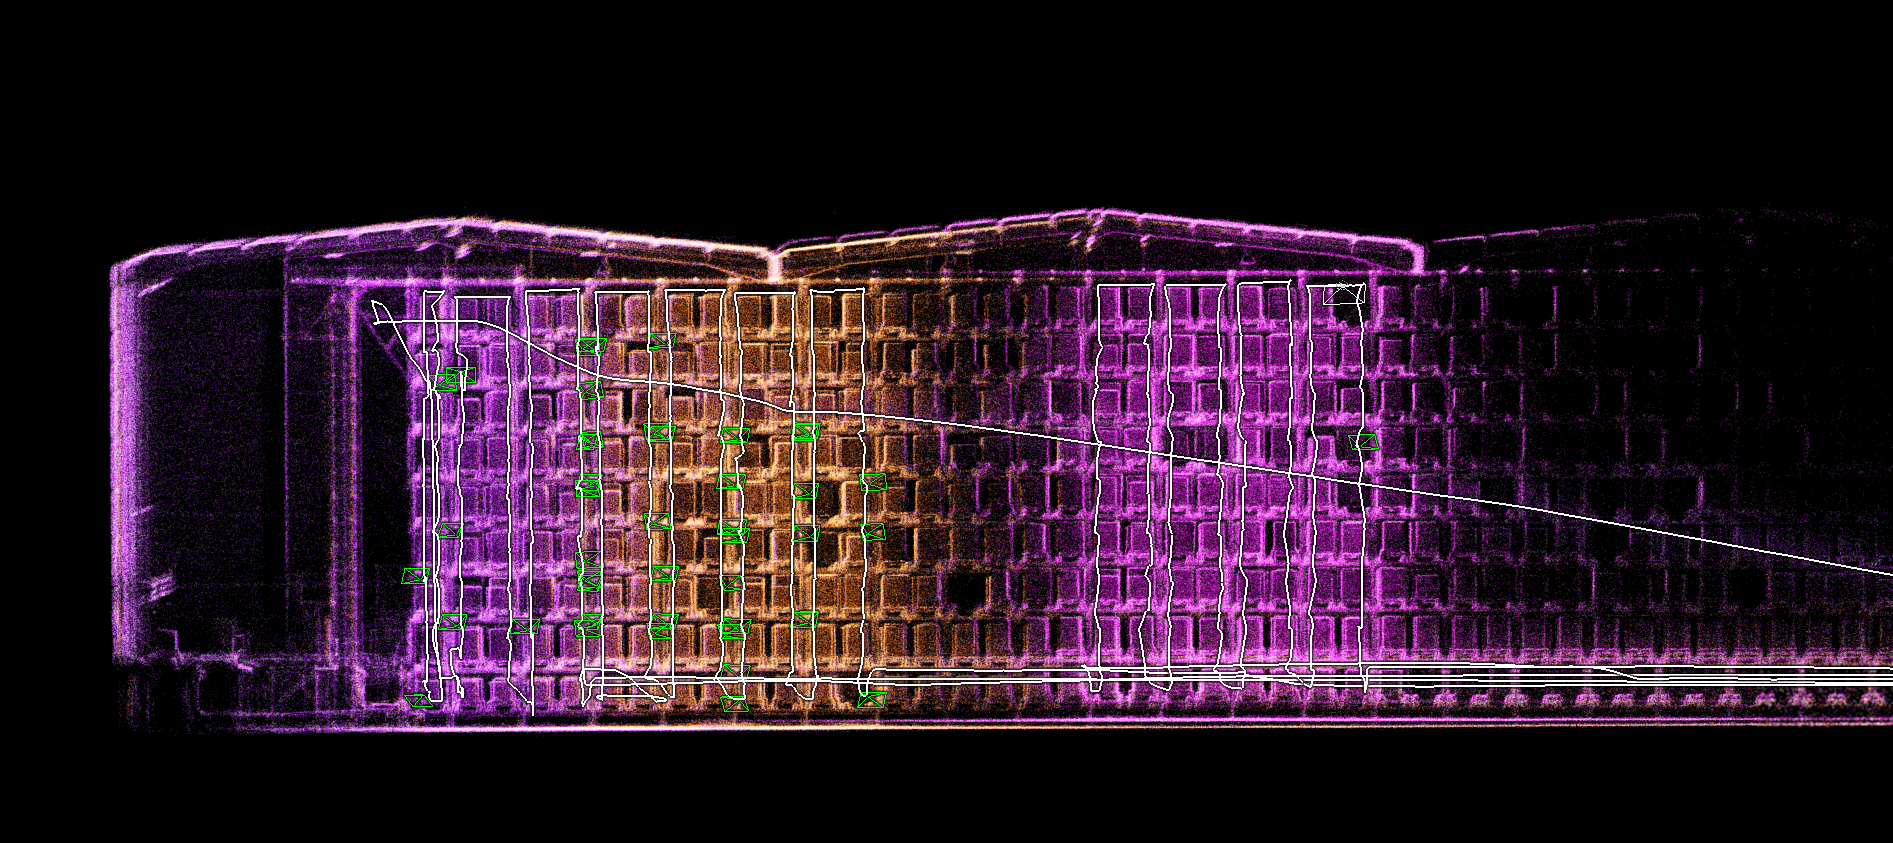
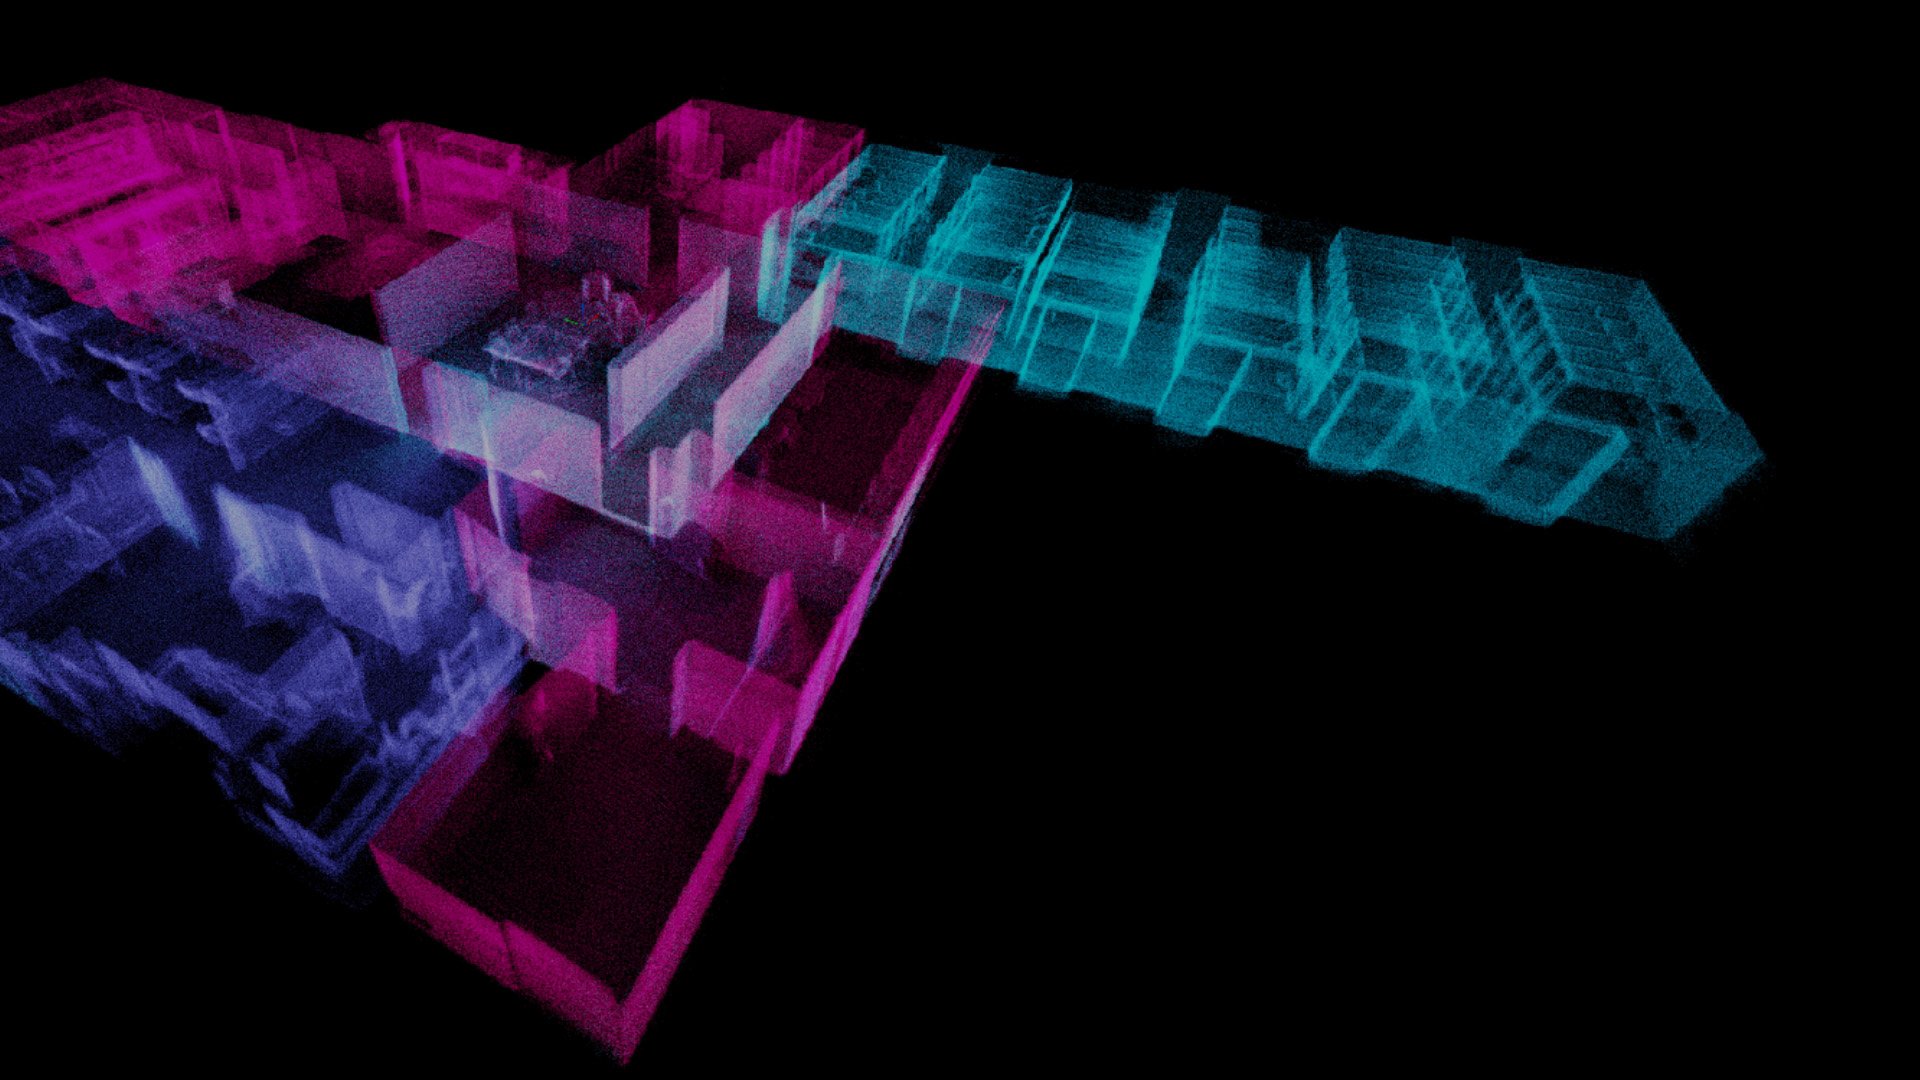
Automating flight merging at a sugar refinery with the...
Case studies
|
General
General
163862259590
How can the Asset Management extension reinvent your Elios...

Infographics
|
Power Generation
Power Generation
161622486043
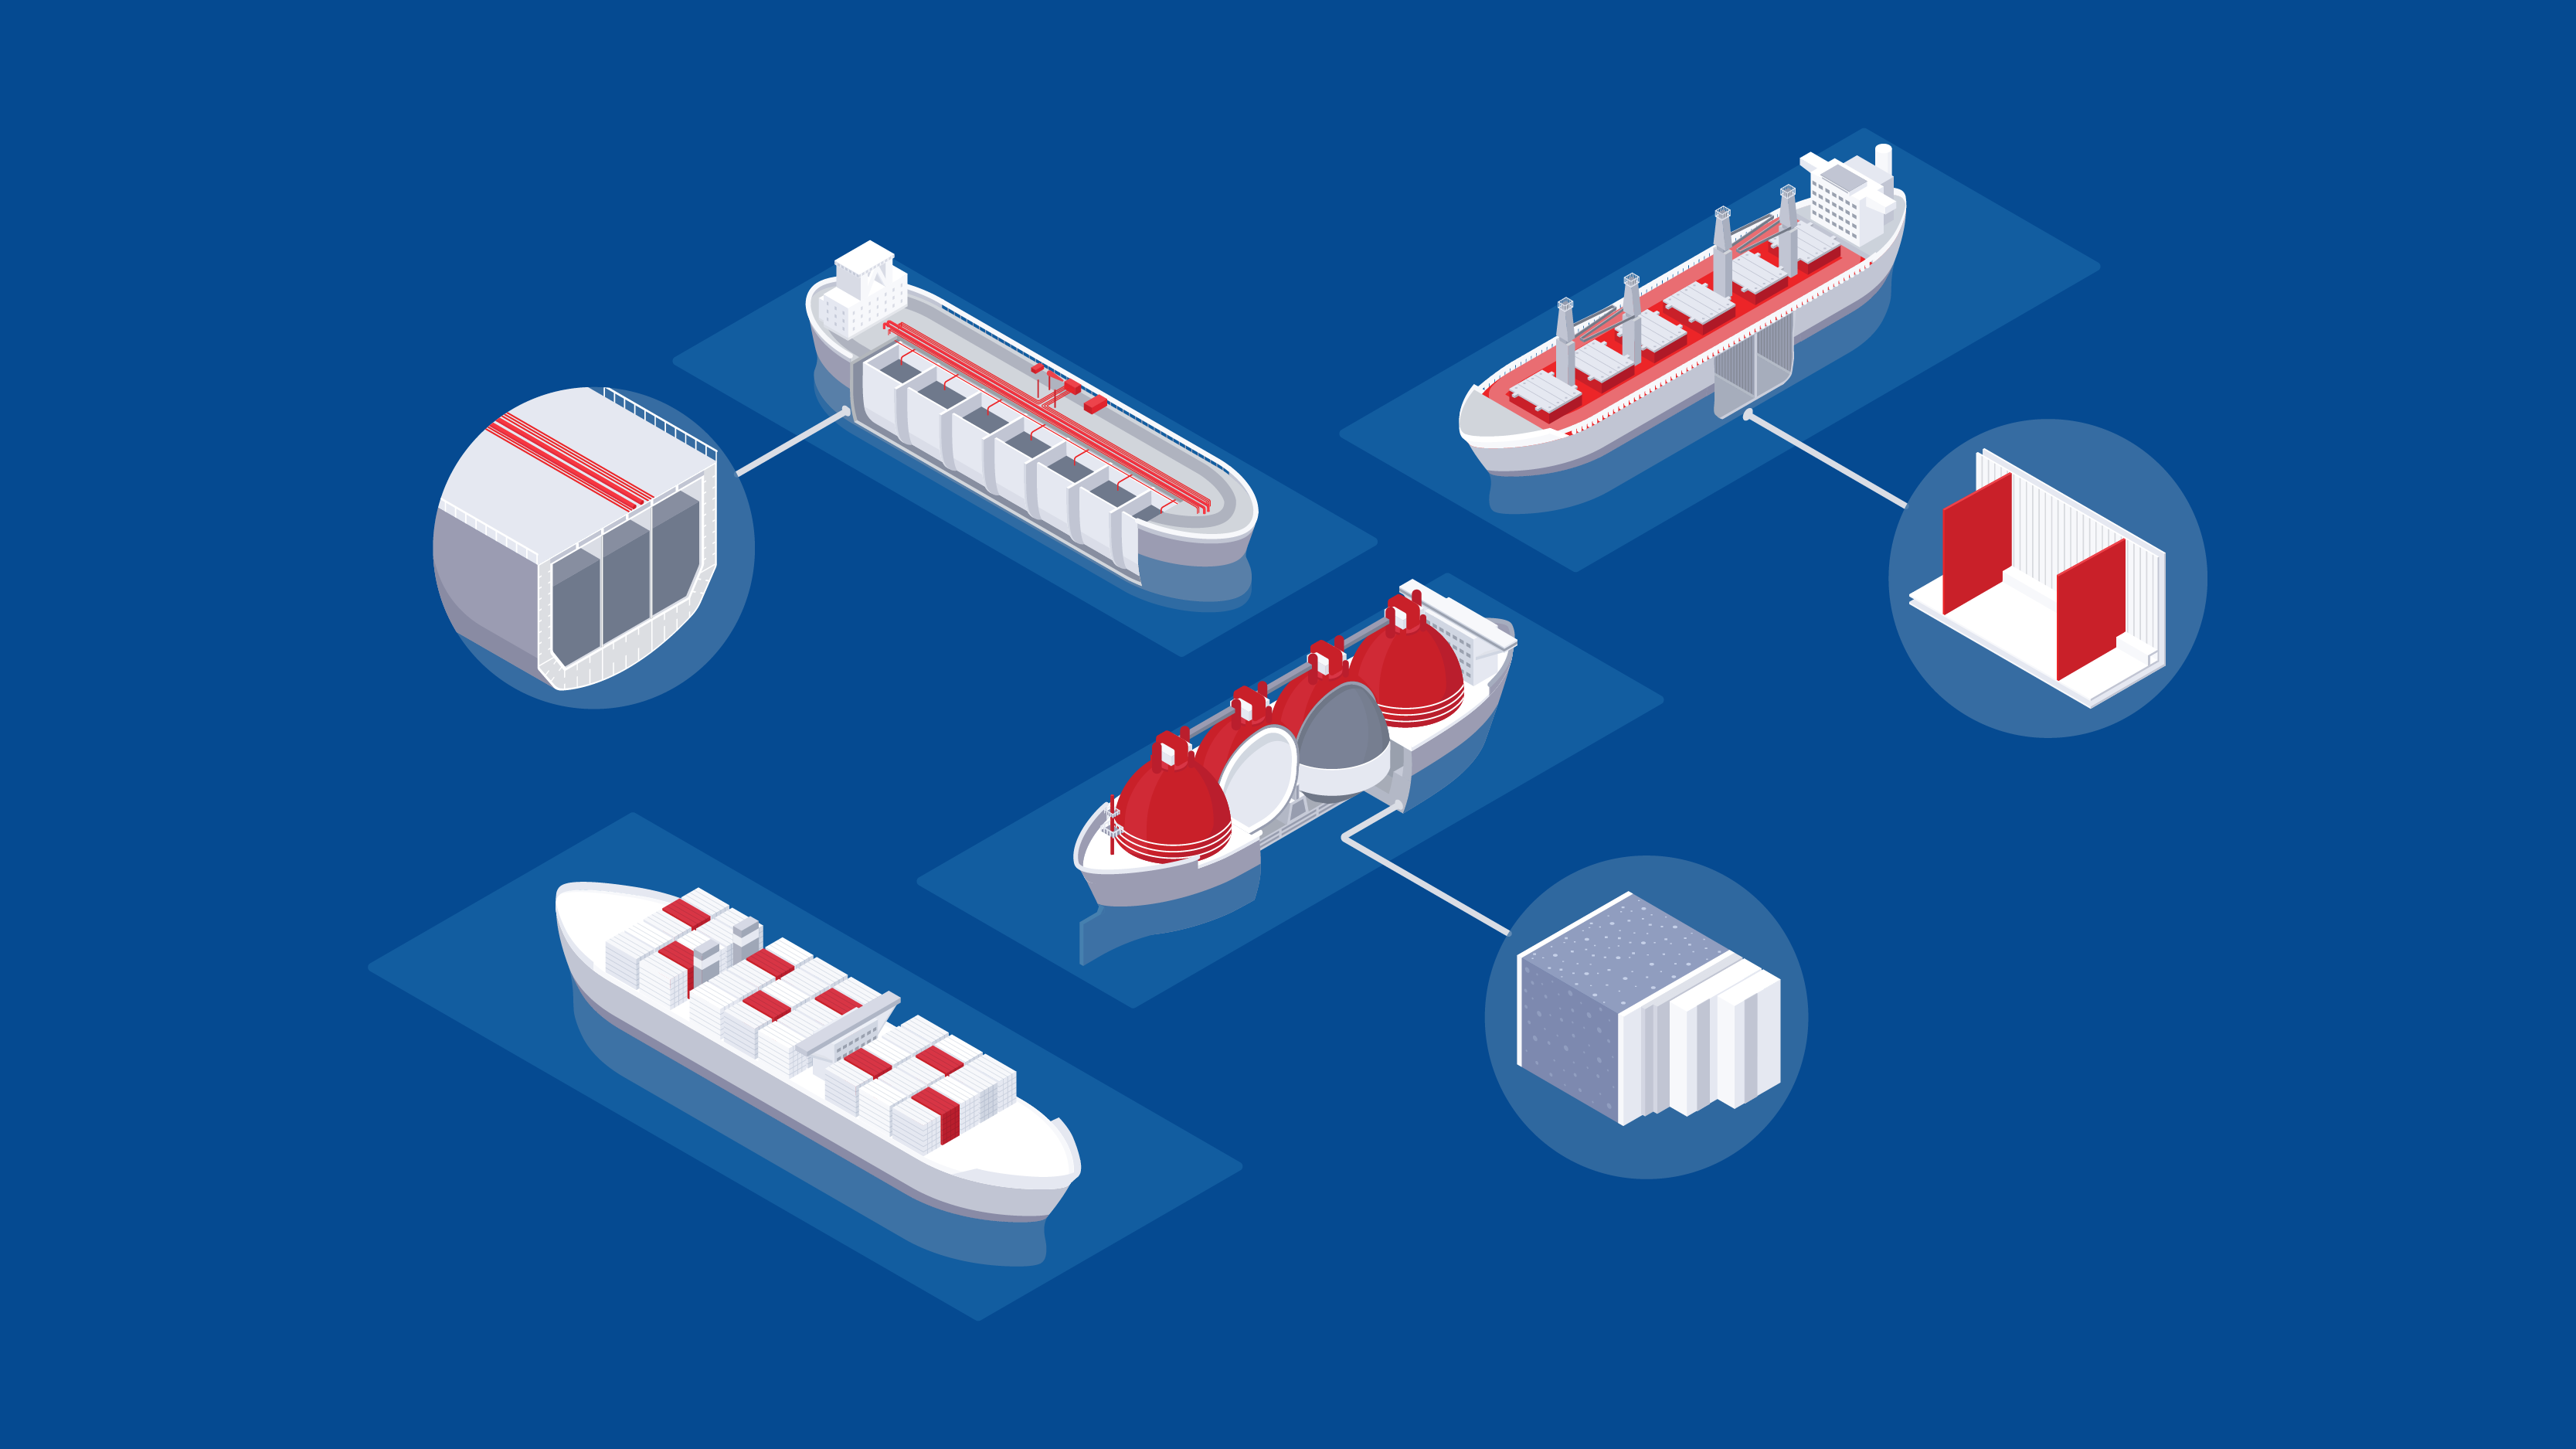
Elios 3 Applications in Power Generation

Webinar
|
Oil & Gas
{name=Oil & Gas, label=Oil & Gas}
160655216437
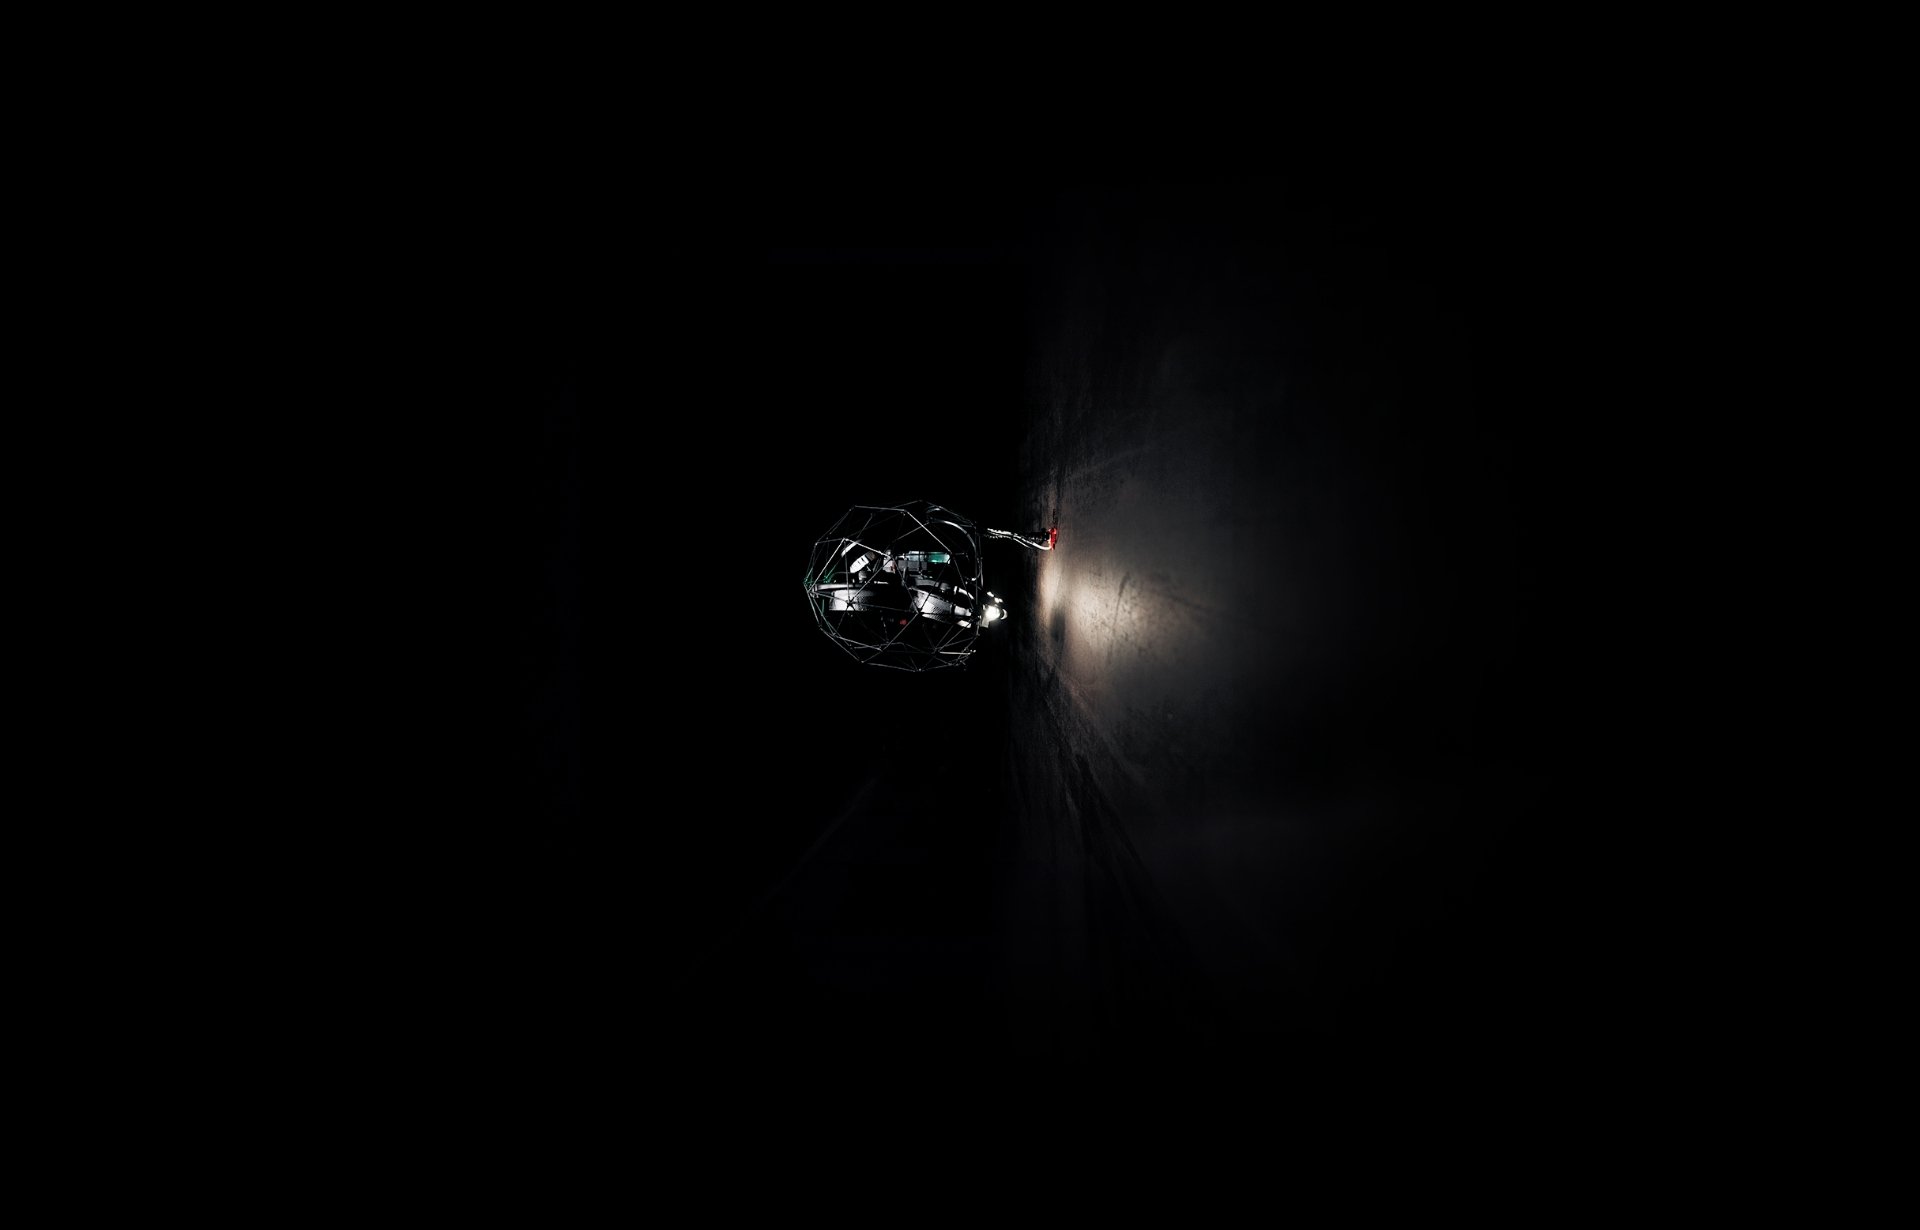
Discover the Elios 3 UT Payload
Case studies
|
Maritime
Maritime
158873985867
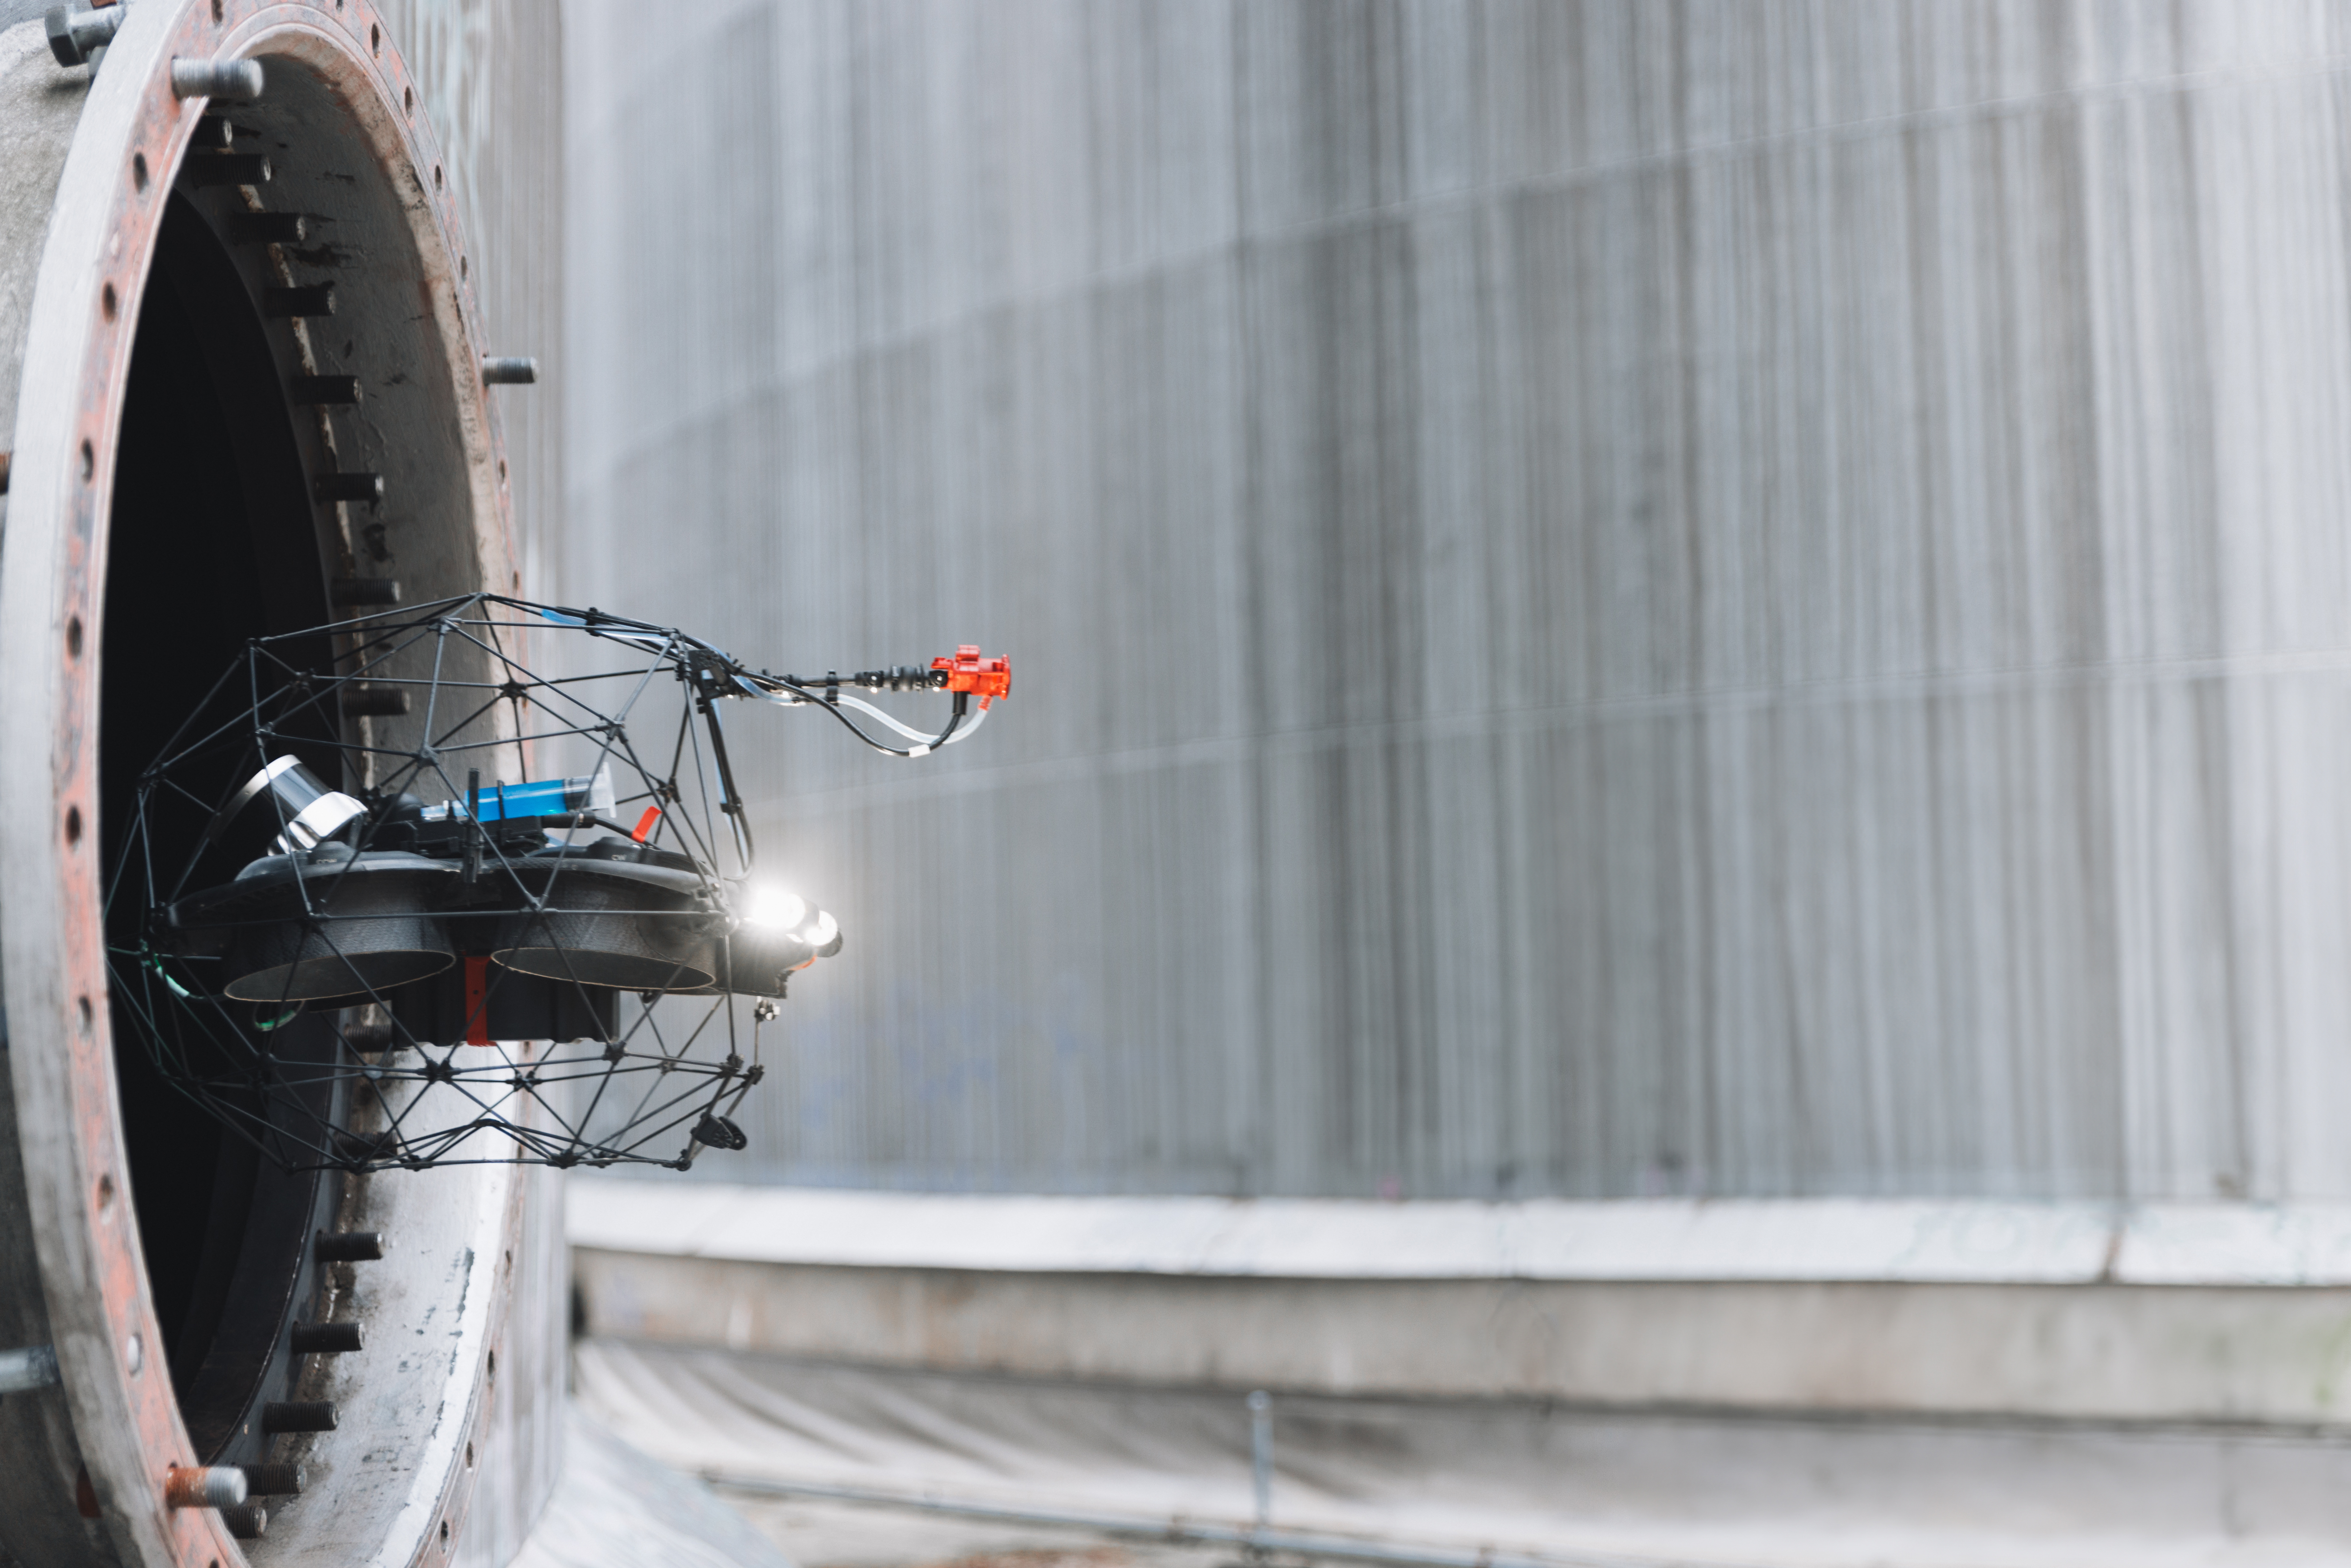
The Elios 3 UT Payload: avoiding 15,000 hours of work at...
Blog
|
Power Generation
|
Chemicals
|
Maritime
|
Oil & Gas
Power Generation Chemicals Maritime Oil & Gas
158837901938
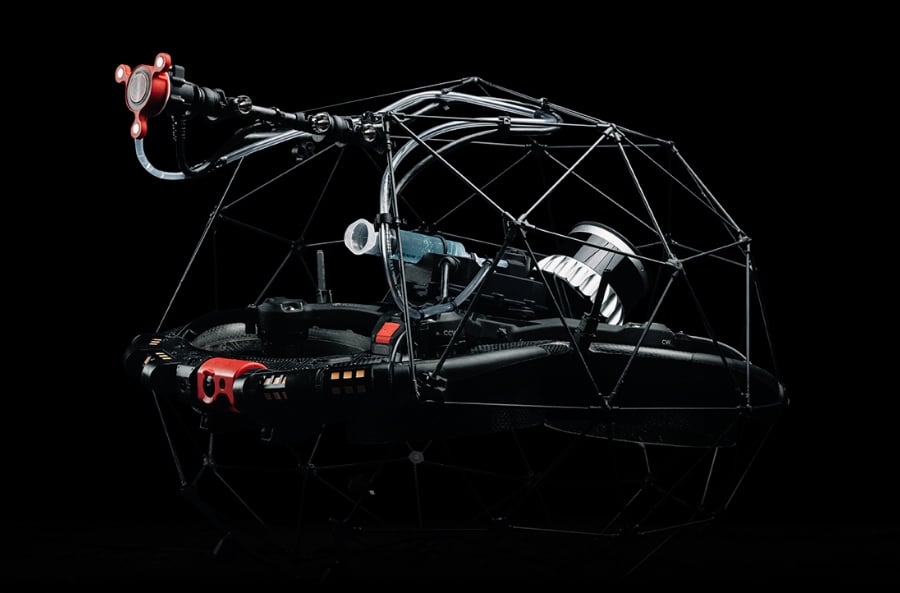
How UT drone inspections elevate safety and efficiency in...
Case studies
|
Infrastructure
Infrastructure
156557512279
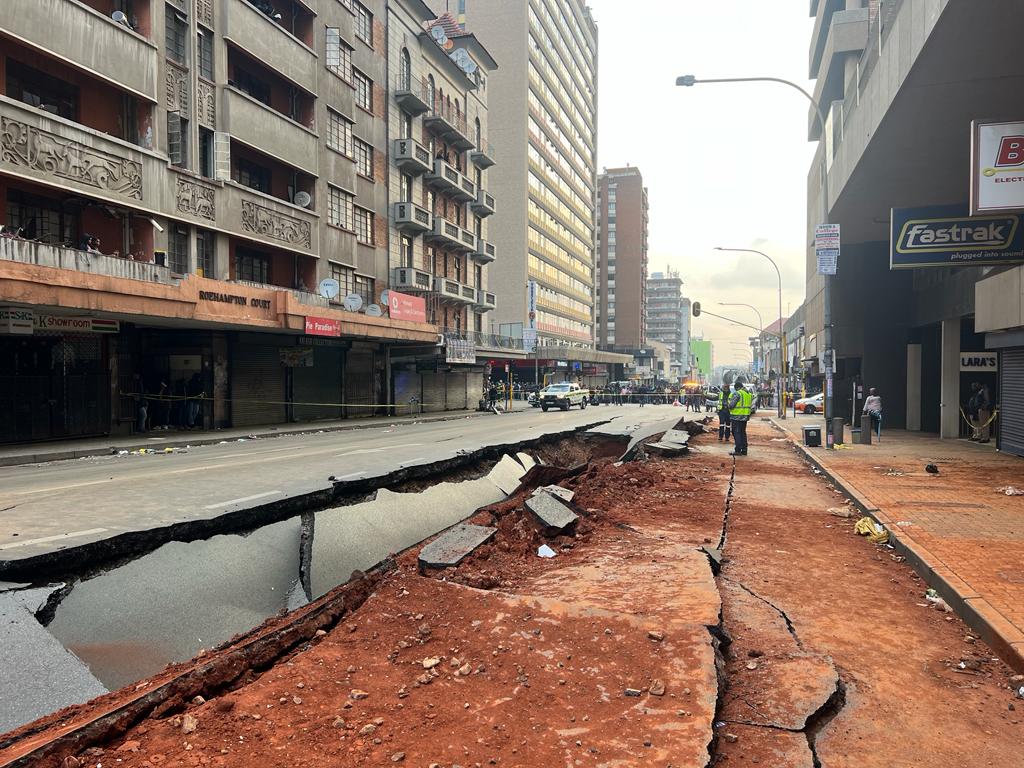
Disaster response: the Elios 3 in the Johannesburg gas...


News
|
Nuclear
Nuclear
156556943377
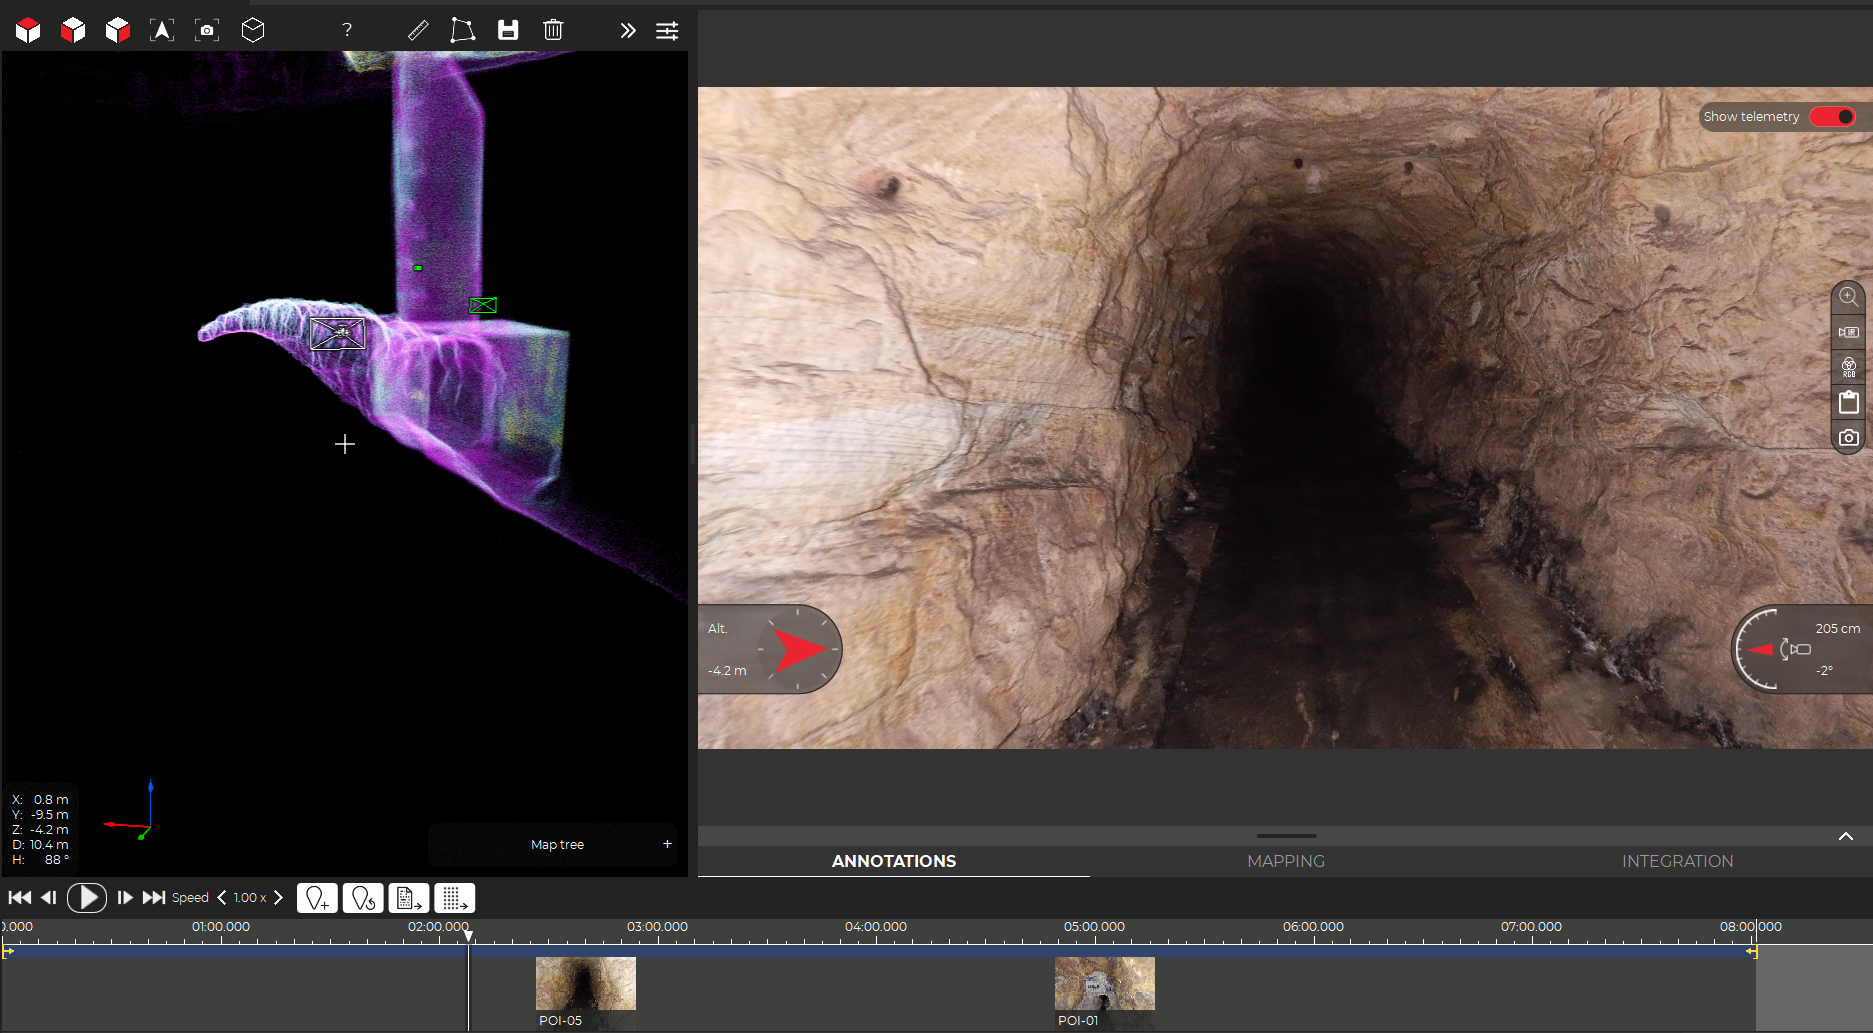
The Elios 3 RAD Wins Innovation Award at 2023 World Nuclear...
Case studies
|
Sewer
Sewer
154883483751
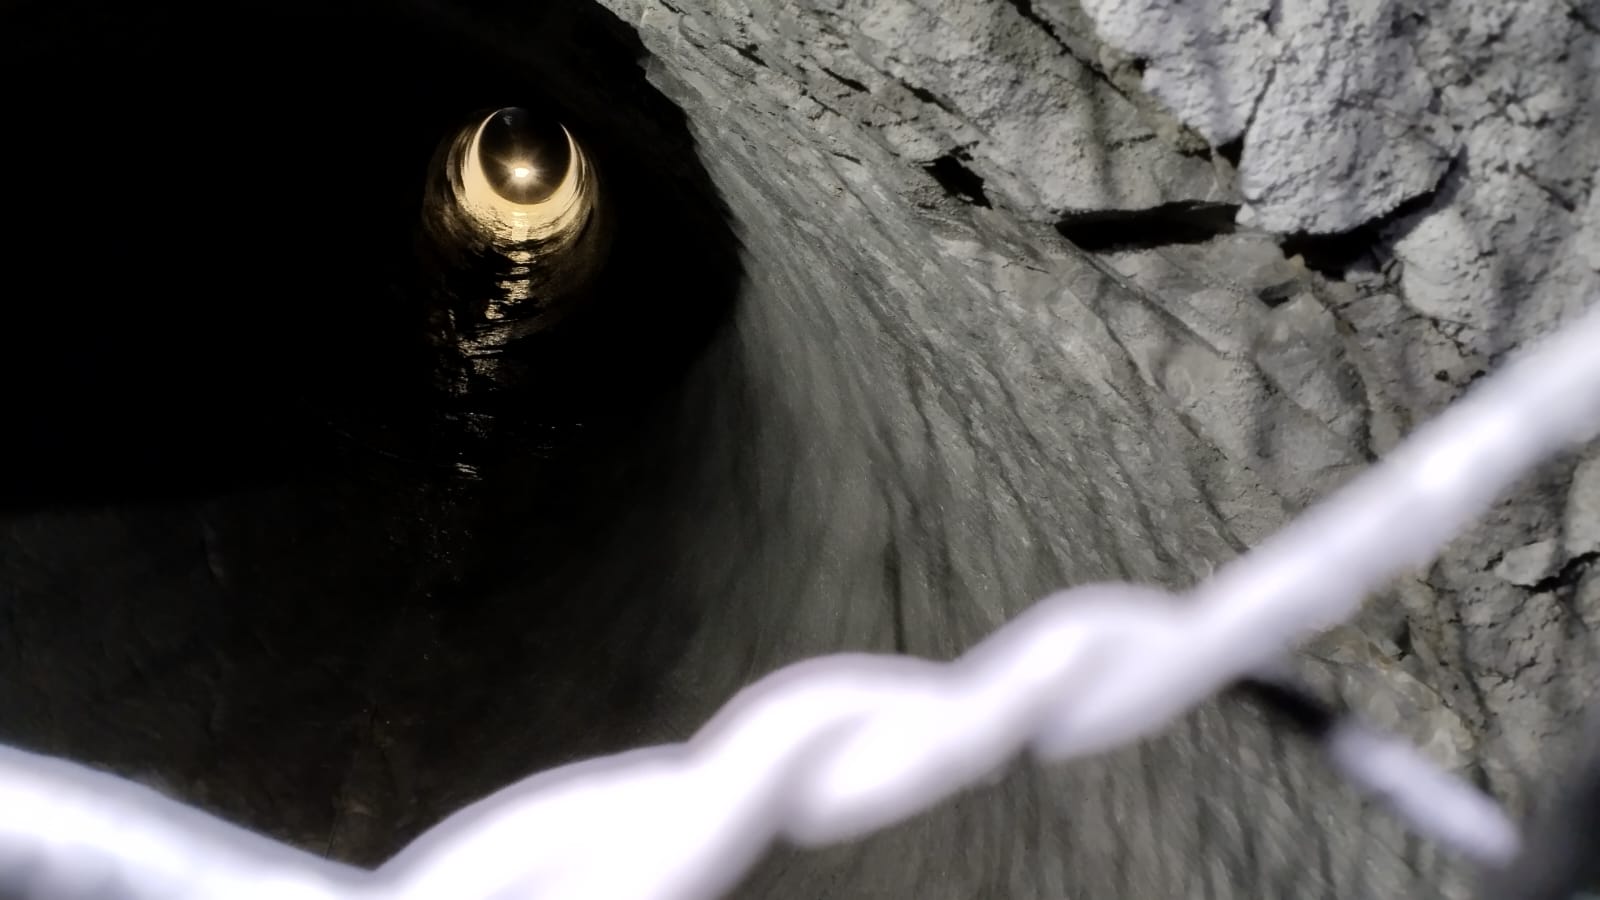
Bringing safer confined space sewer inspections to Sydney...
Case studies
|
Mining
Mining
154326323980
Optimizing confined space inspections: A success case with...
Case studies
|
Infrastructure
Infrastructure
154010151284
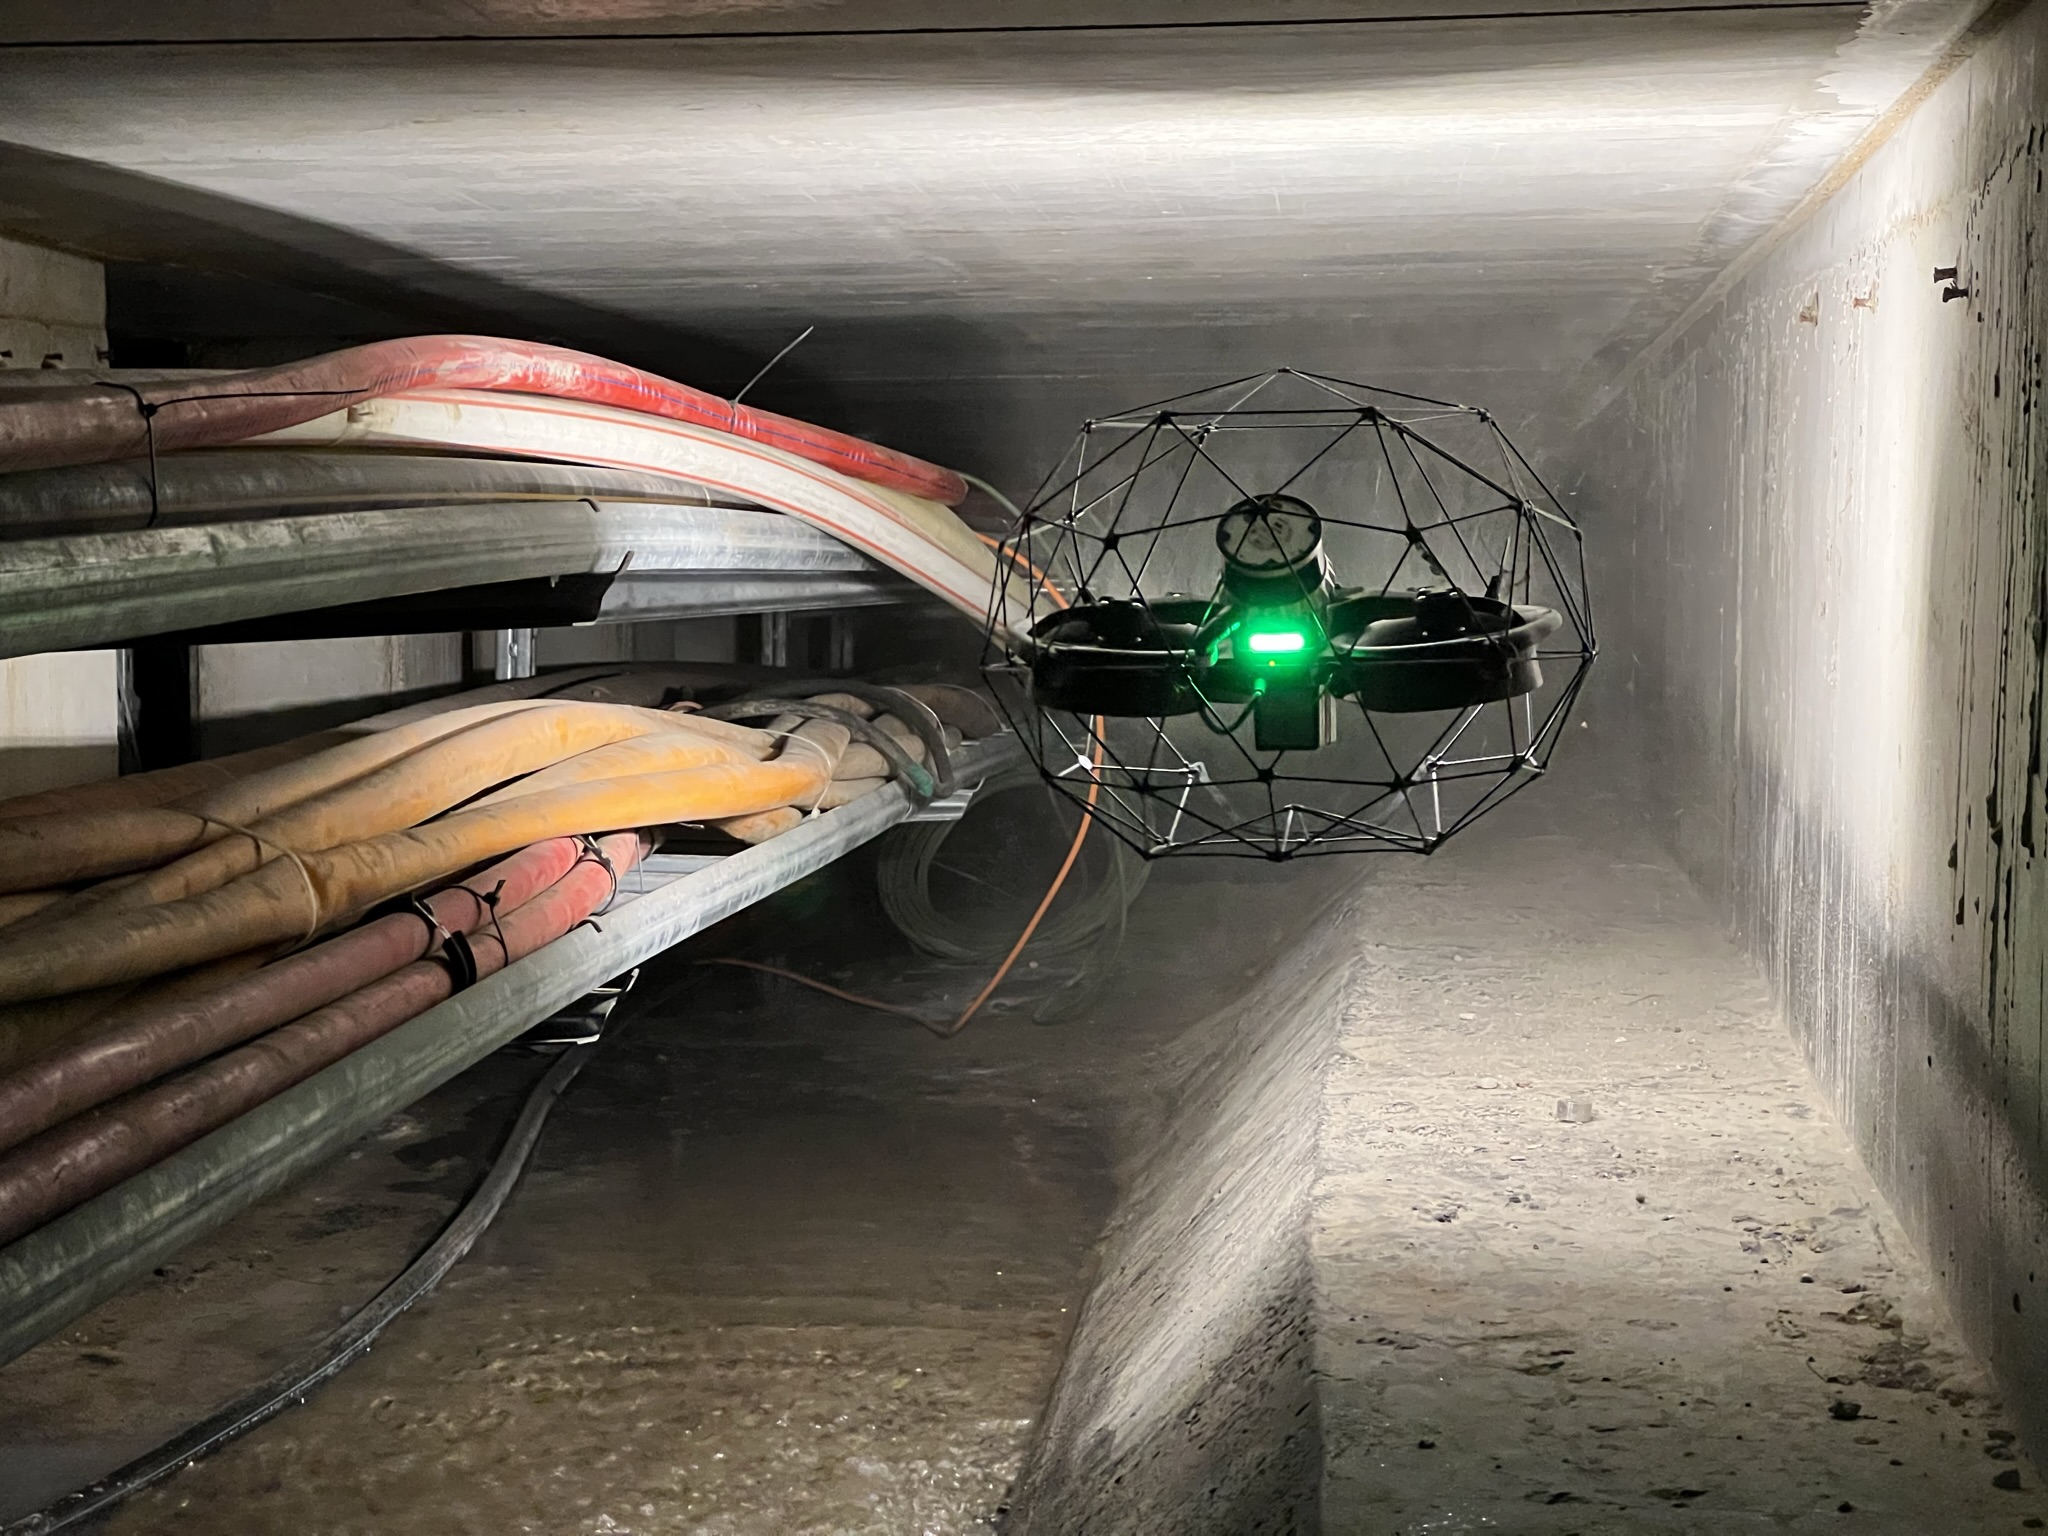
Mapping 13 kilometers of underground technical galleries in...
Case studies
|
Power Generation
Power Generation
153217186454
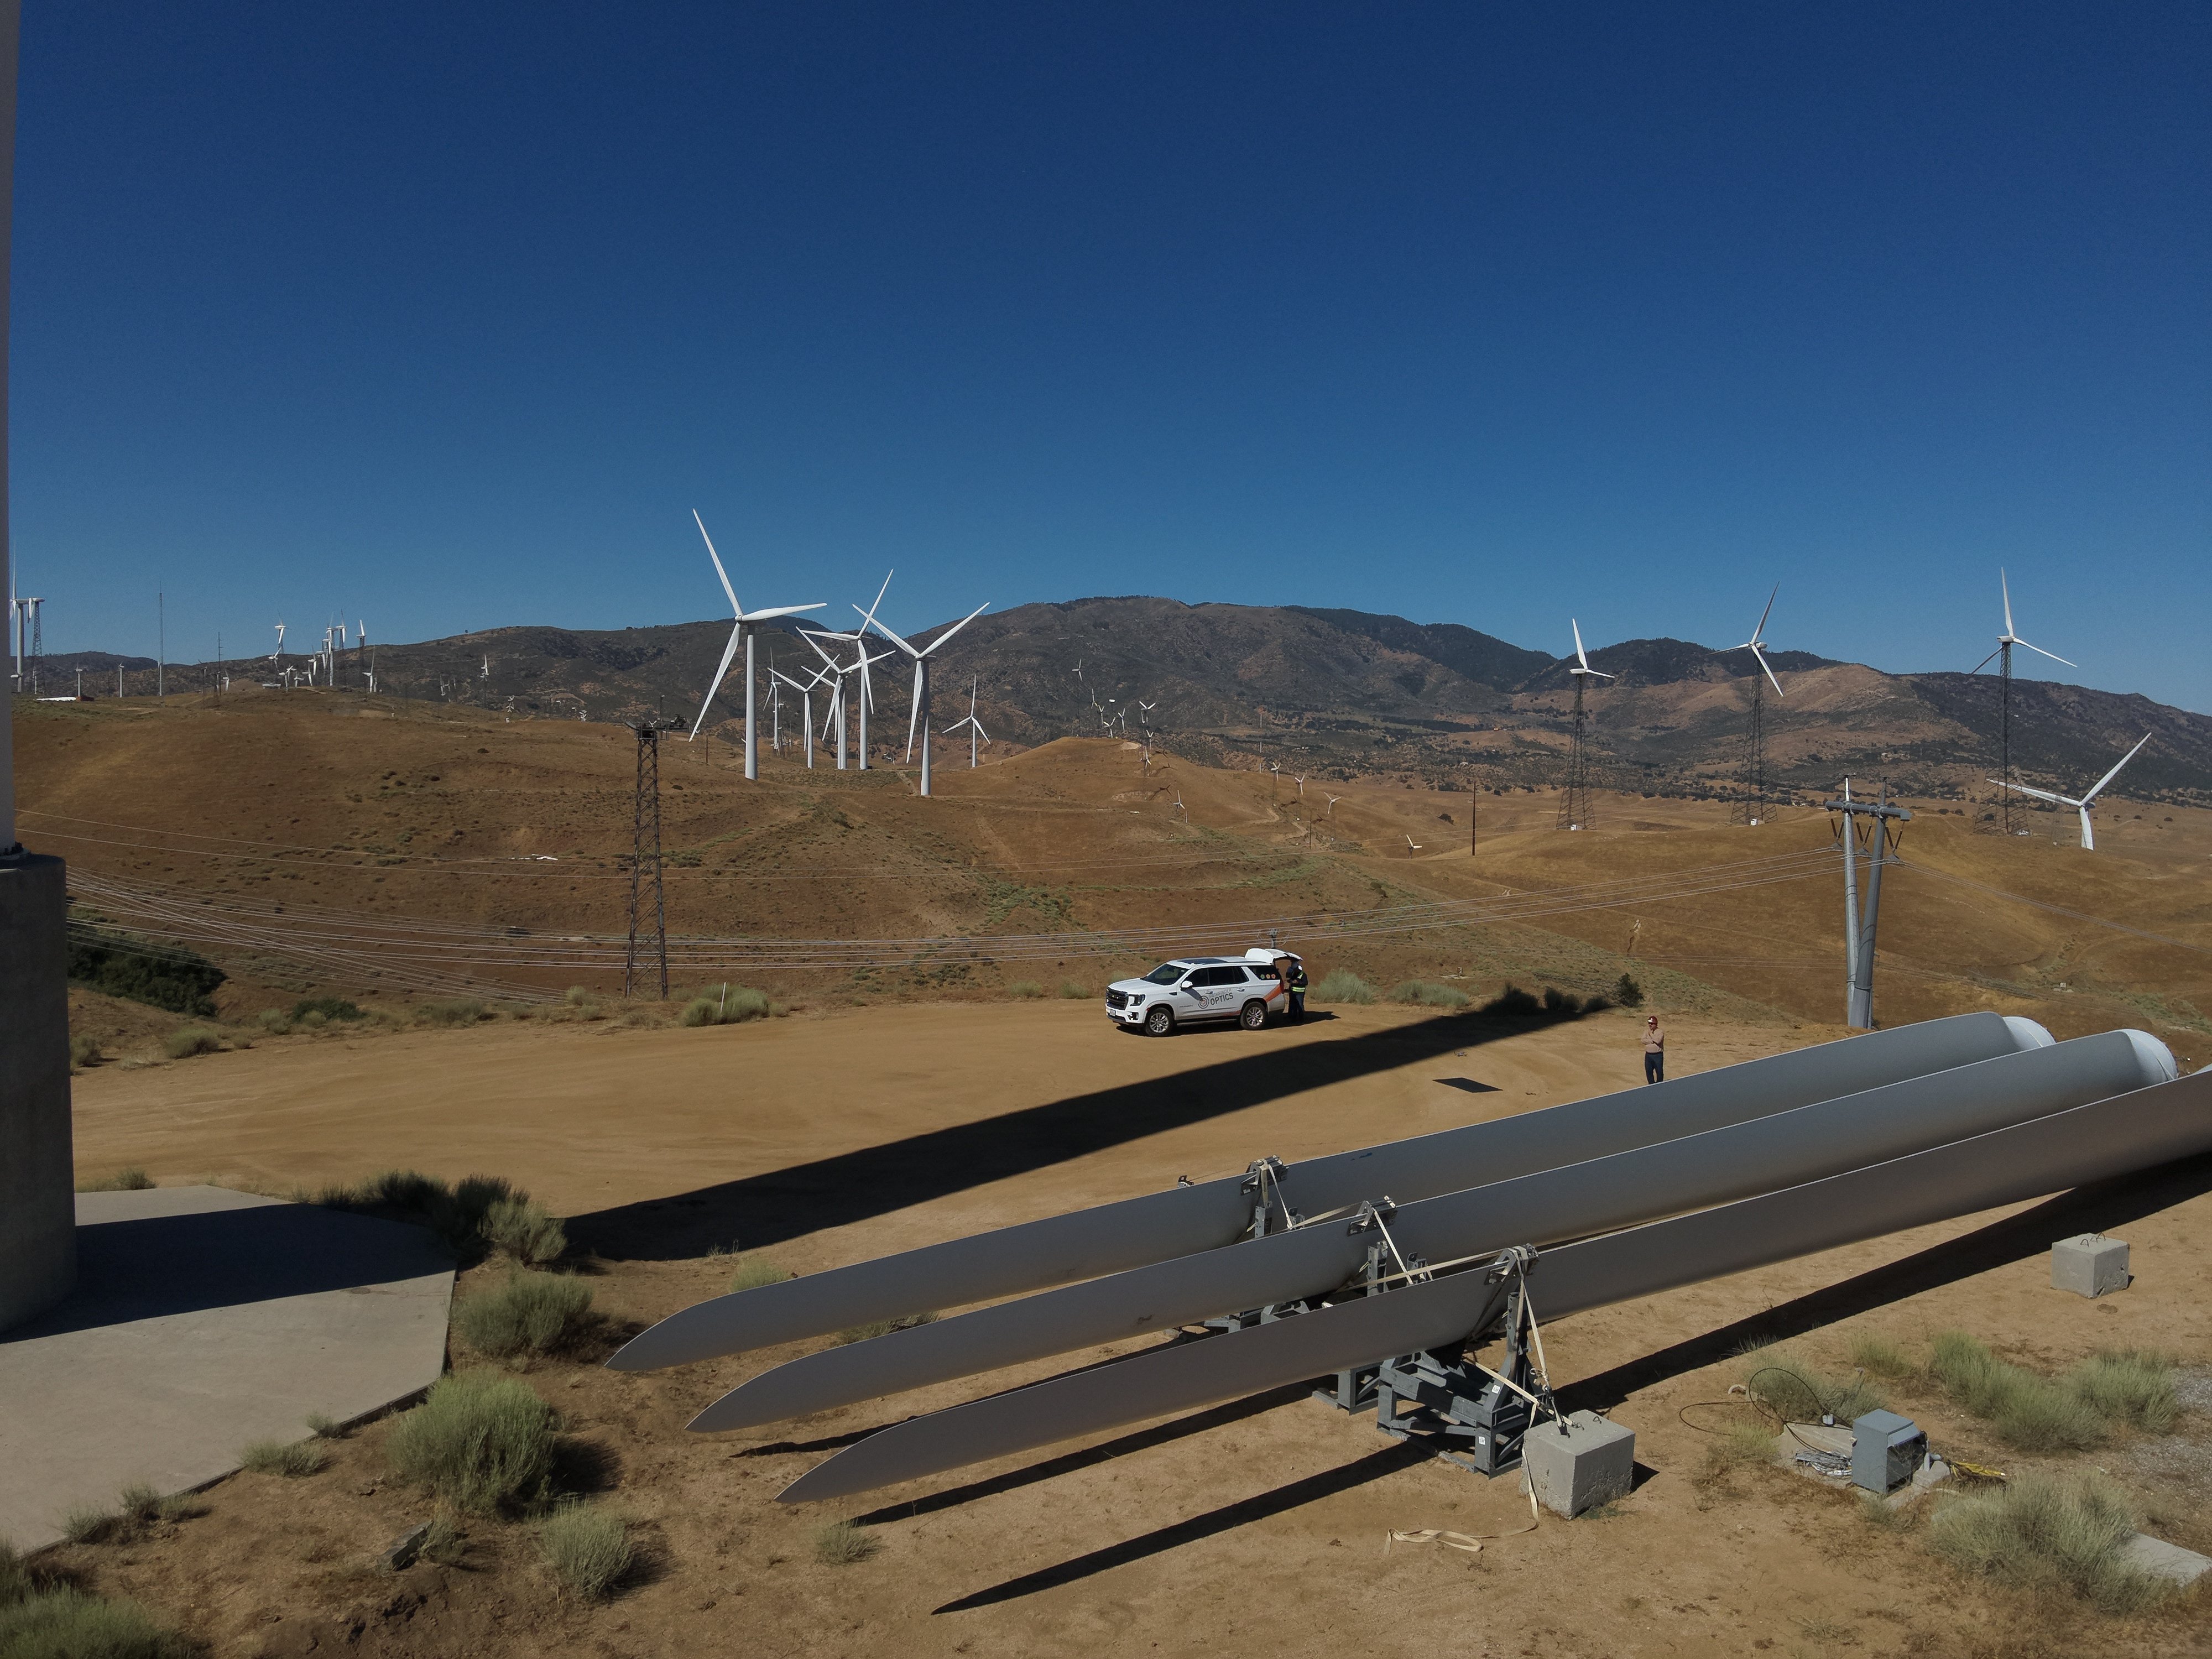
Saving over $1 million: wind turbine inspections with the...


Case studies
|
Public Safety
Public Safety
152854151297
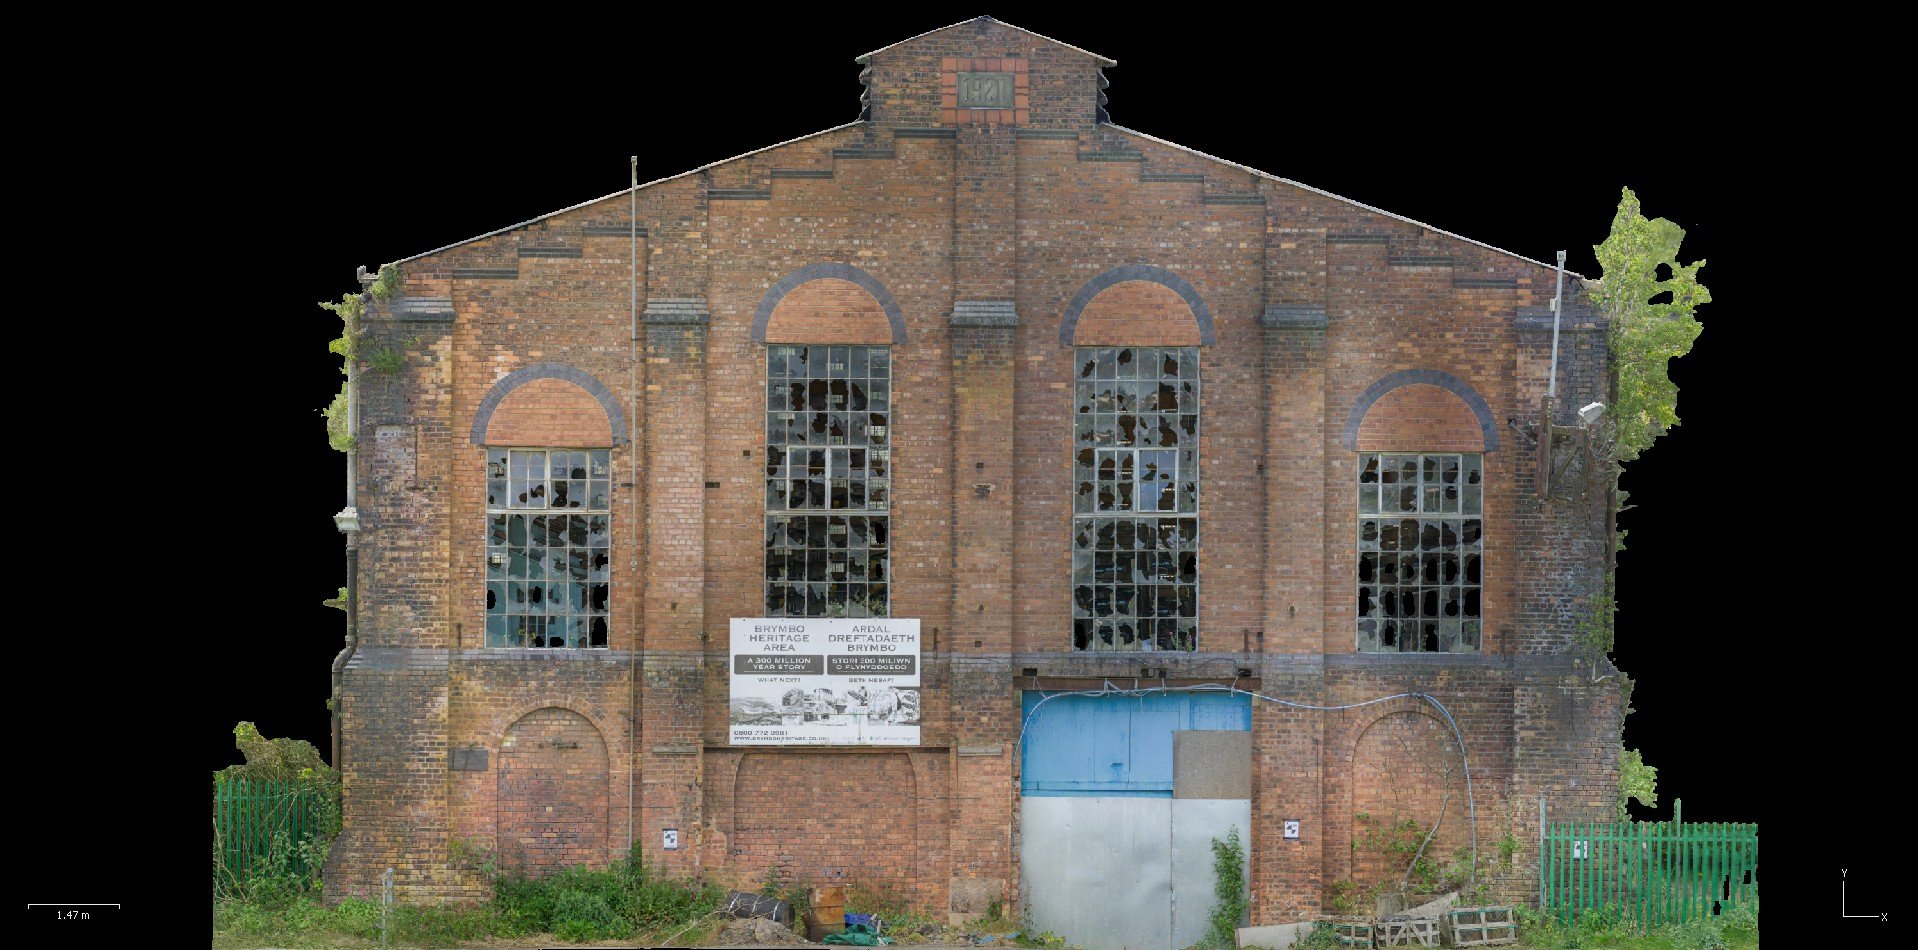
Bringing the Elios 2 and Elios 3 to firefighting
Case studies
|
Power Generation
Power Generation
152606600547
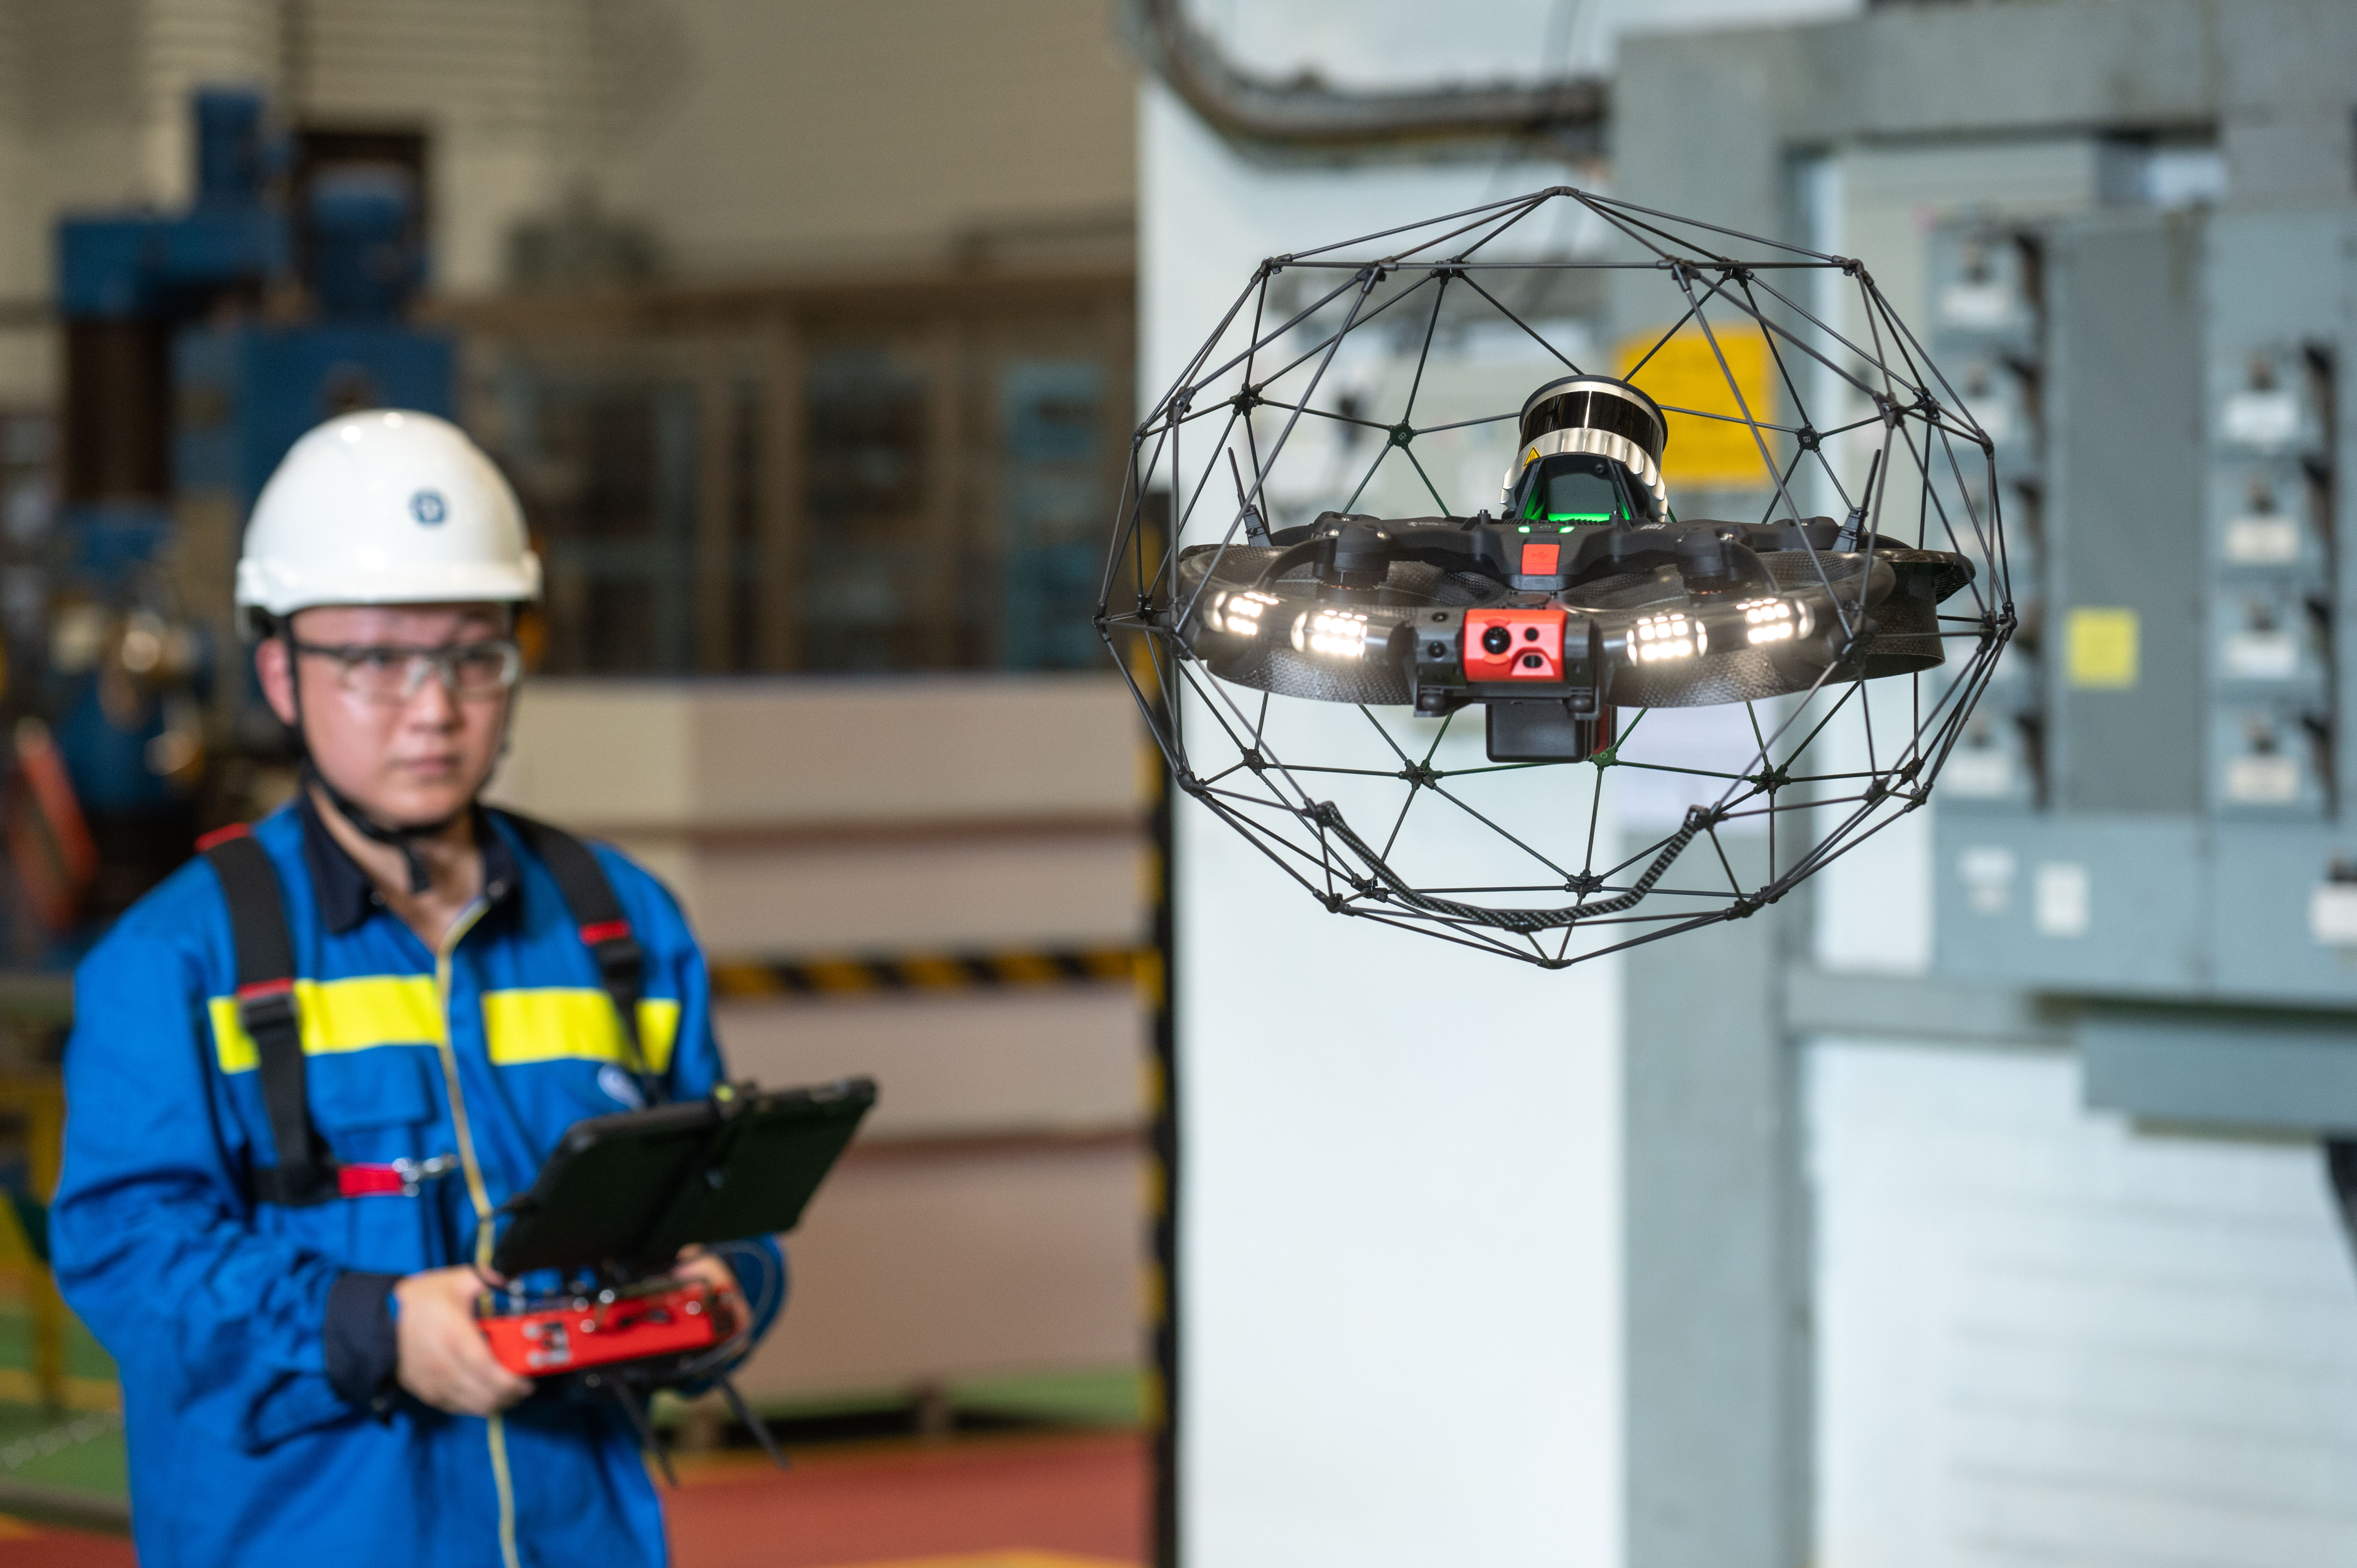
Surveying a disused coal plant with the Elios 3
Case studies
|
Power Generation
Power Generation
152594999356
Power station inspections in Hong Kong with the Elios
Case studies
|
Mining
Mining
150814375275
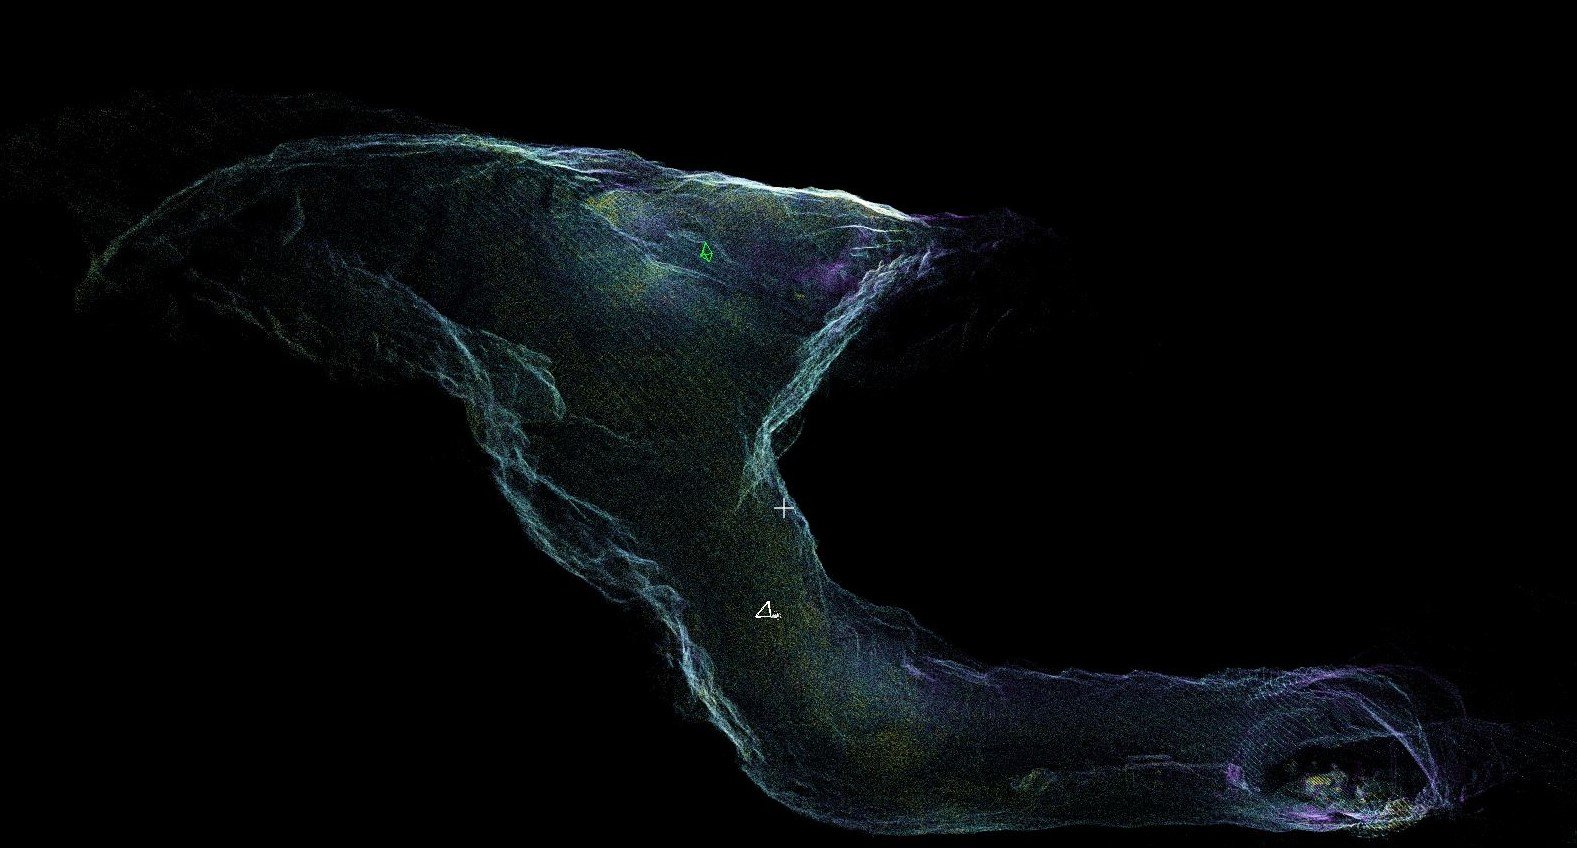
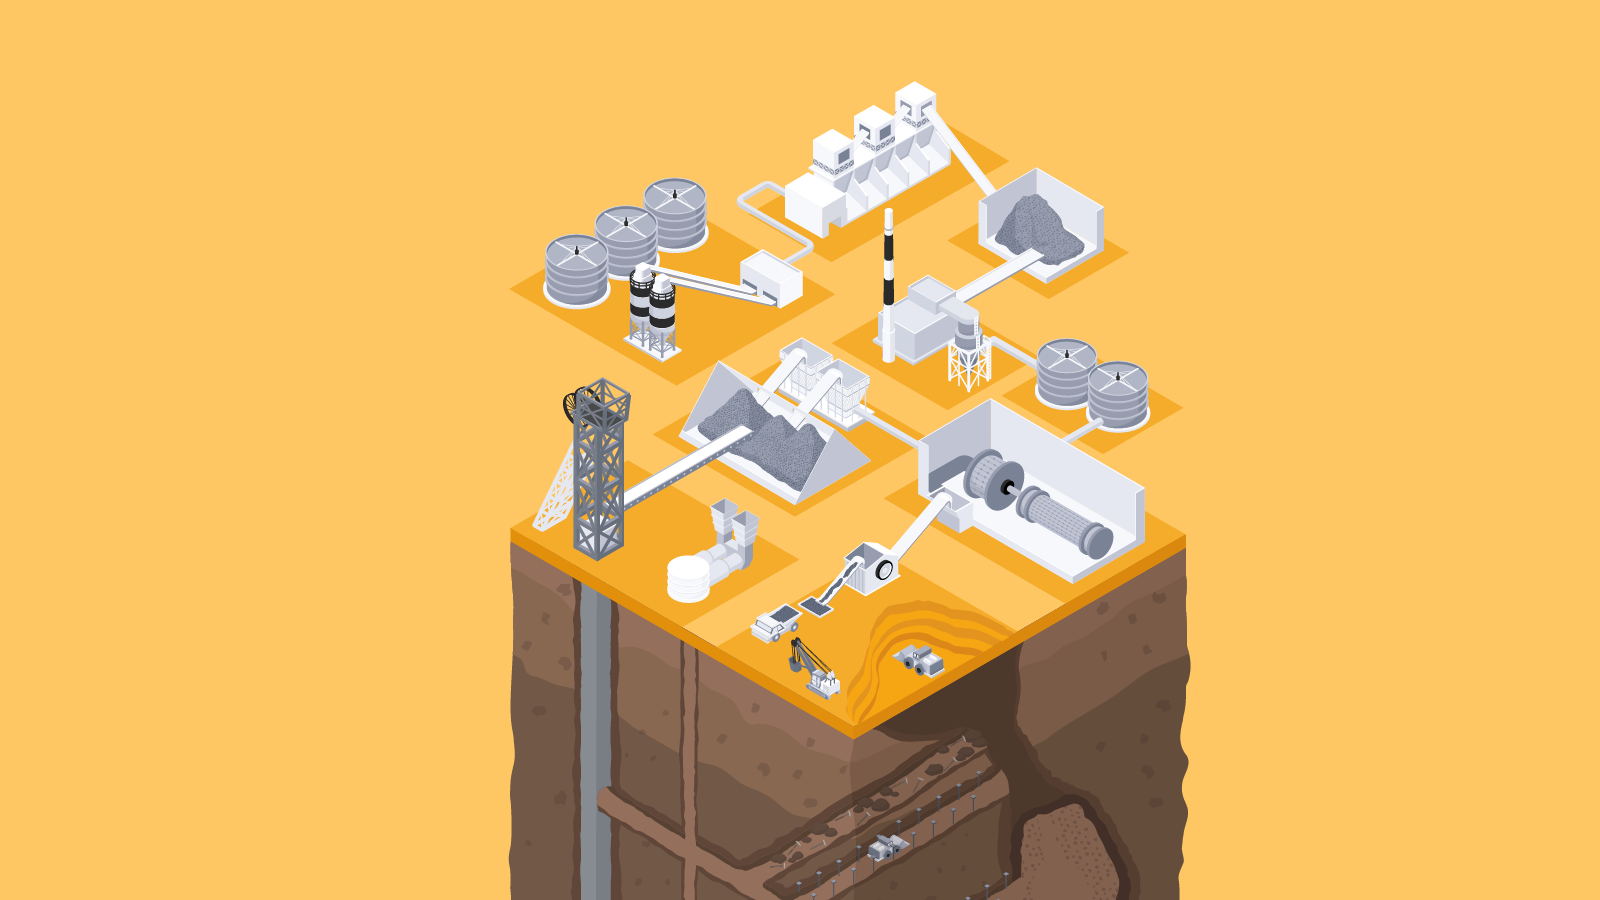
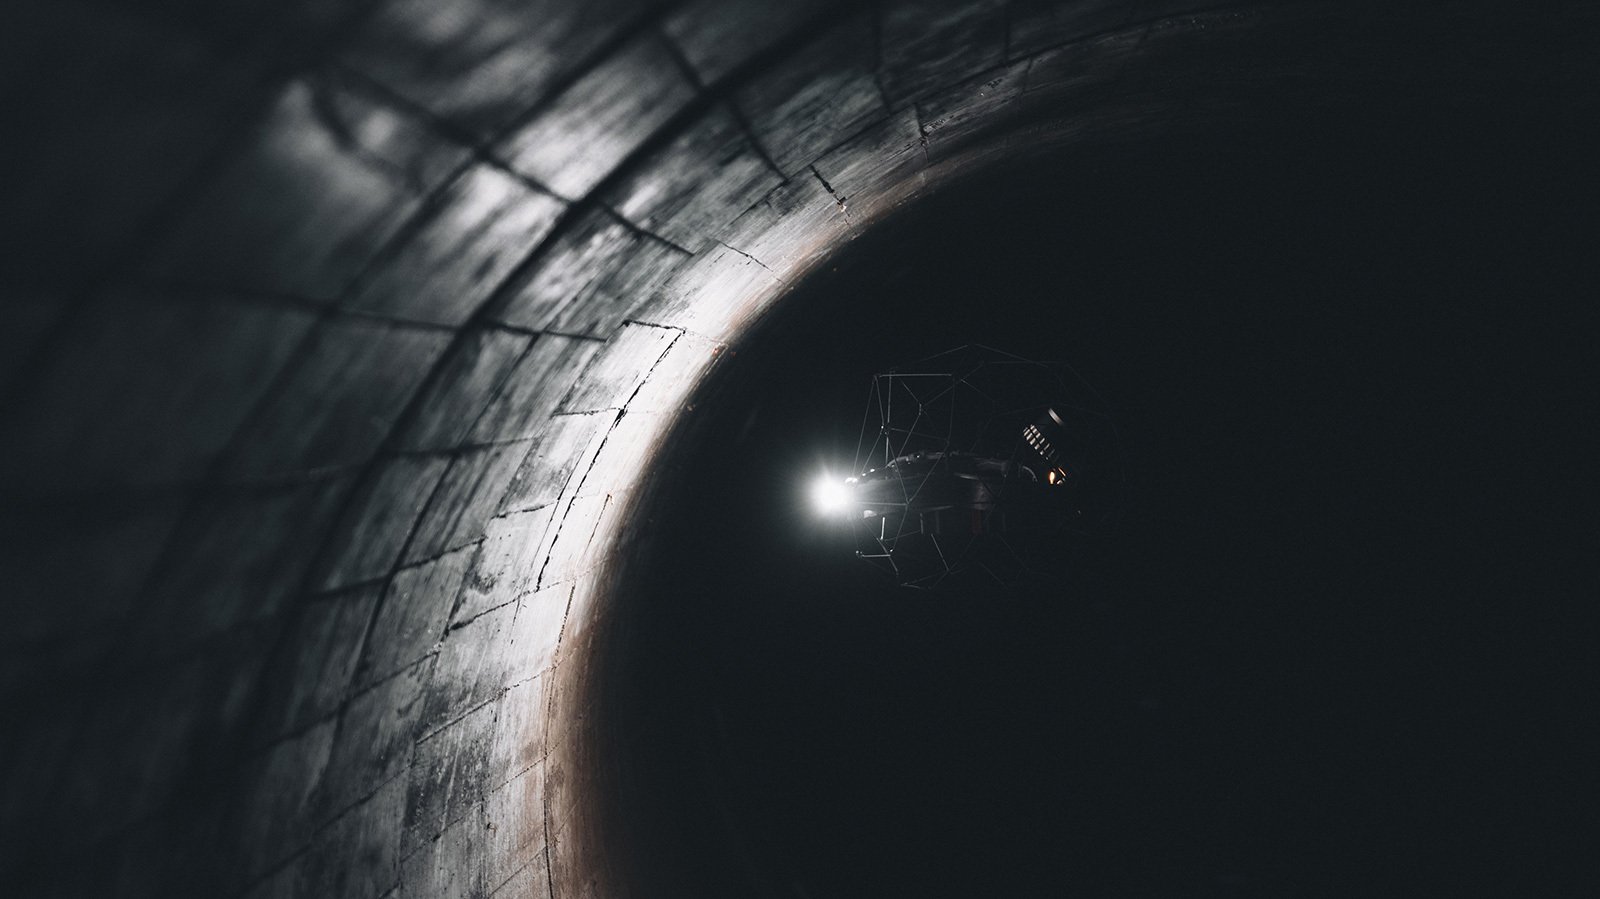
Surveying Old Workings in a Mine with the Elios 3

Blog
|
Sewer
|
Mining
|
General
Sewer Mining General
147423405988
Taking the pressure off pilots: Return-to-Signal for the...
Case studies
|
Power Generation
Power Generation
147553752151
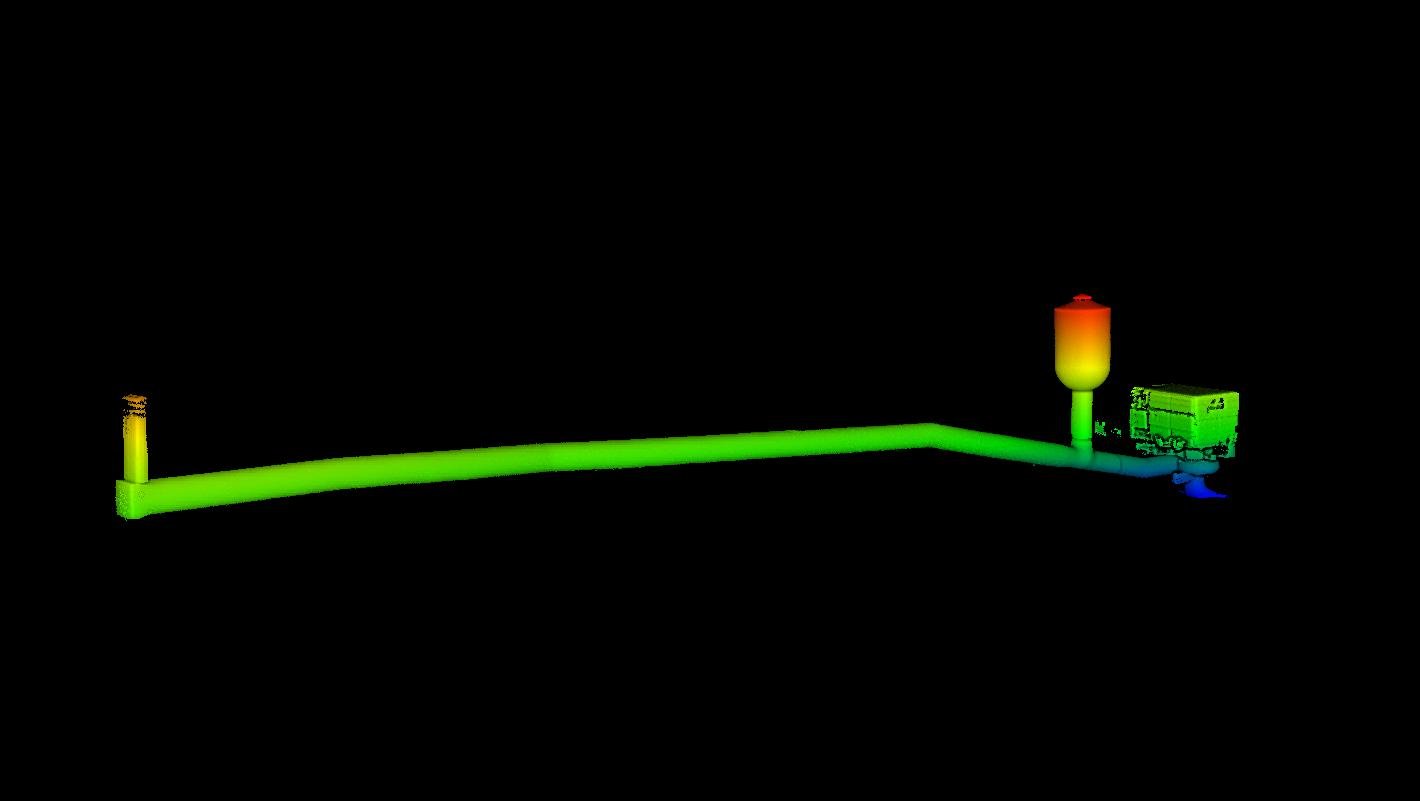
Analyzing a 35-meter dam surge tank with the Elios 3 in...
Case studies
|
Mining
Mining
146815429187
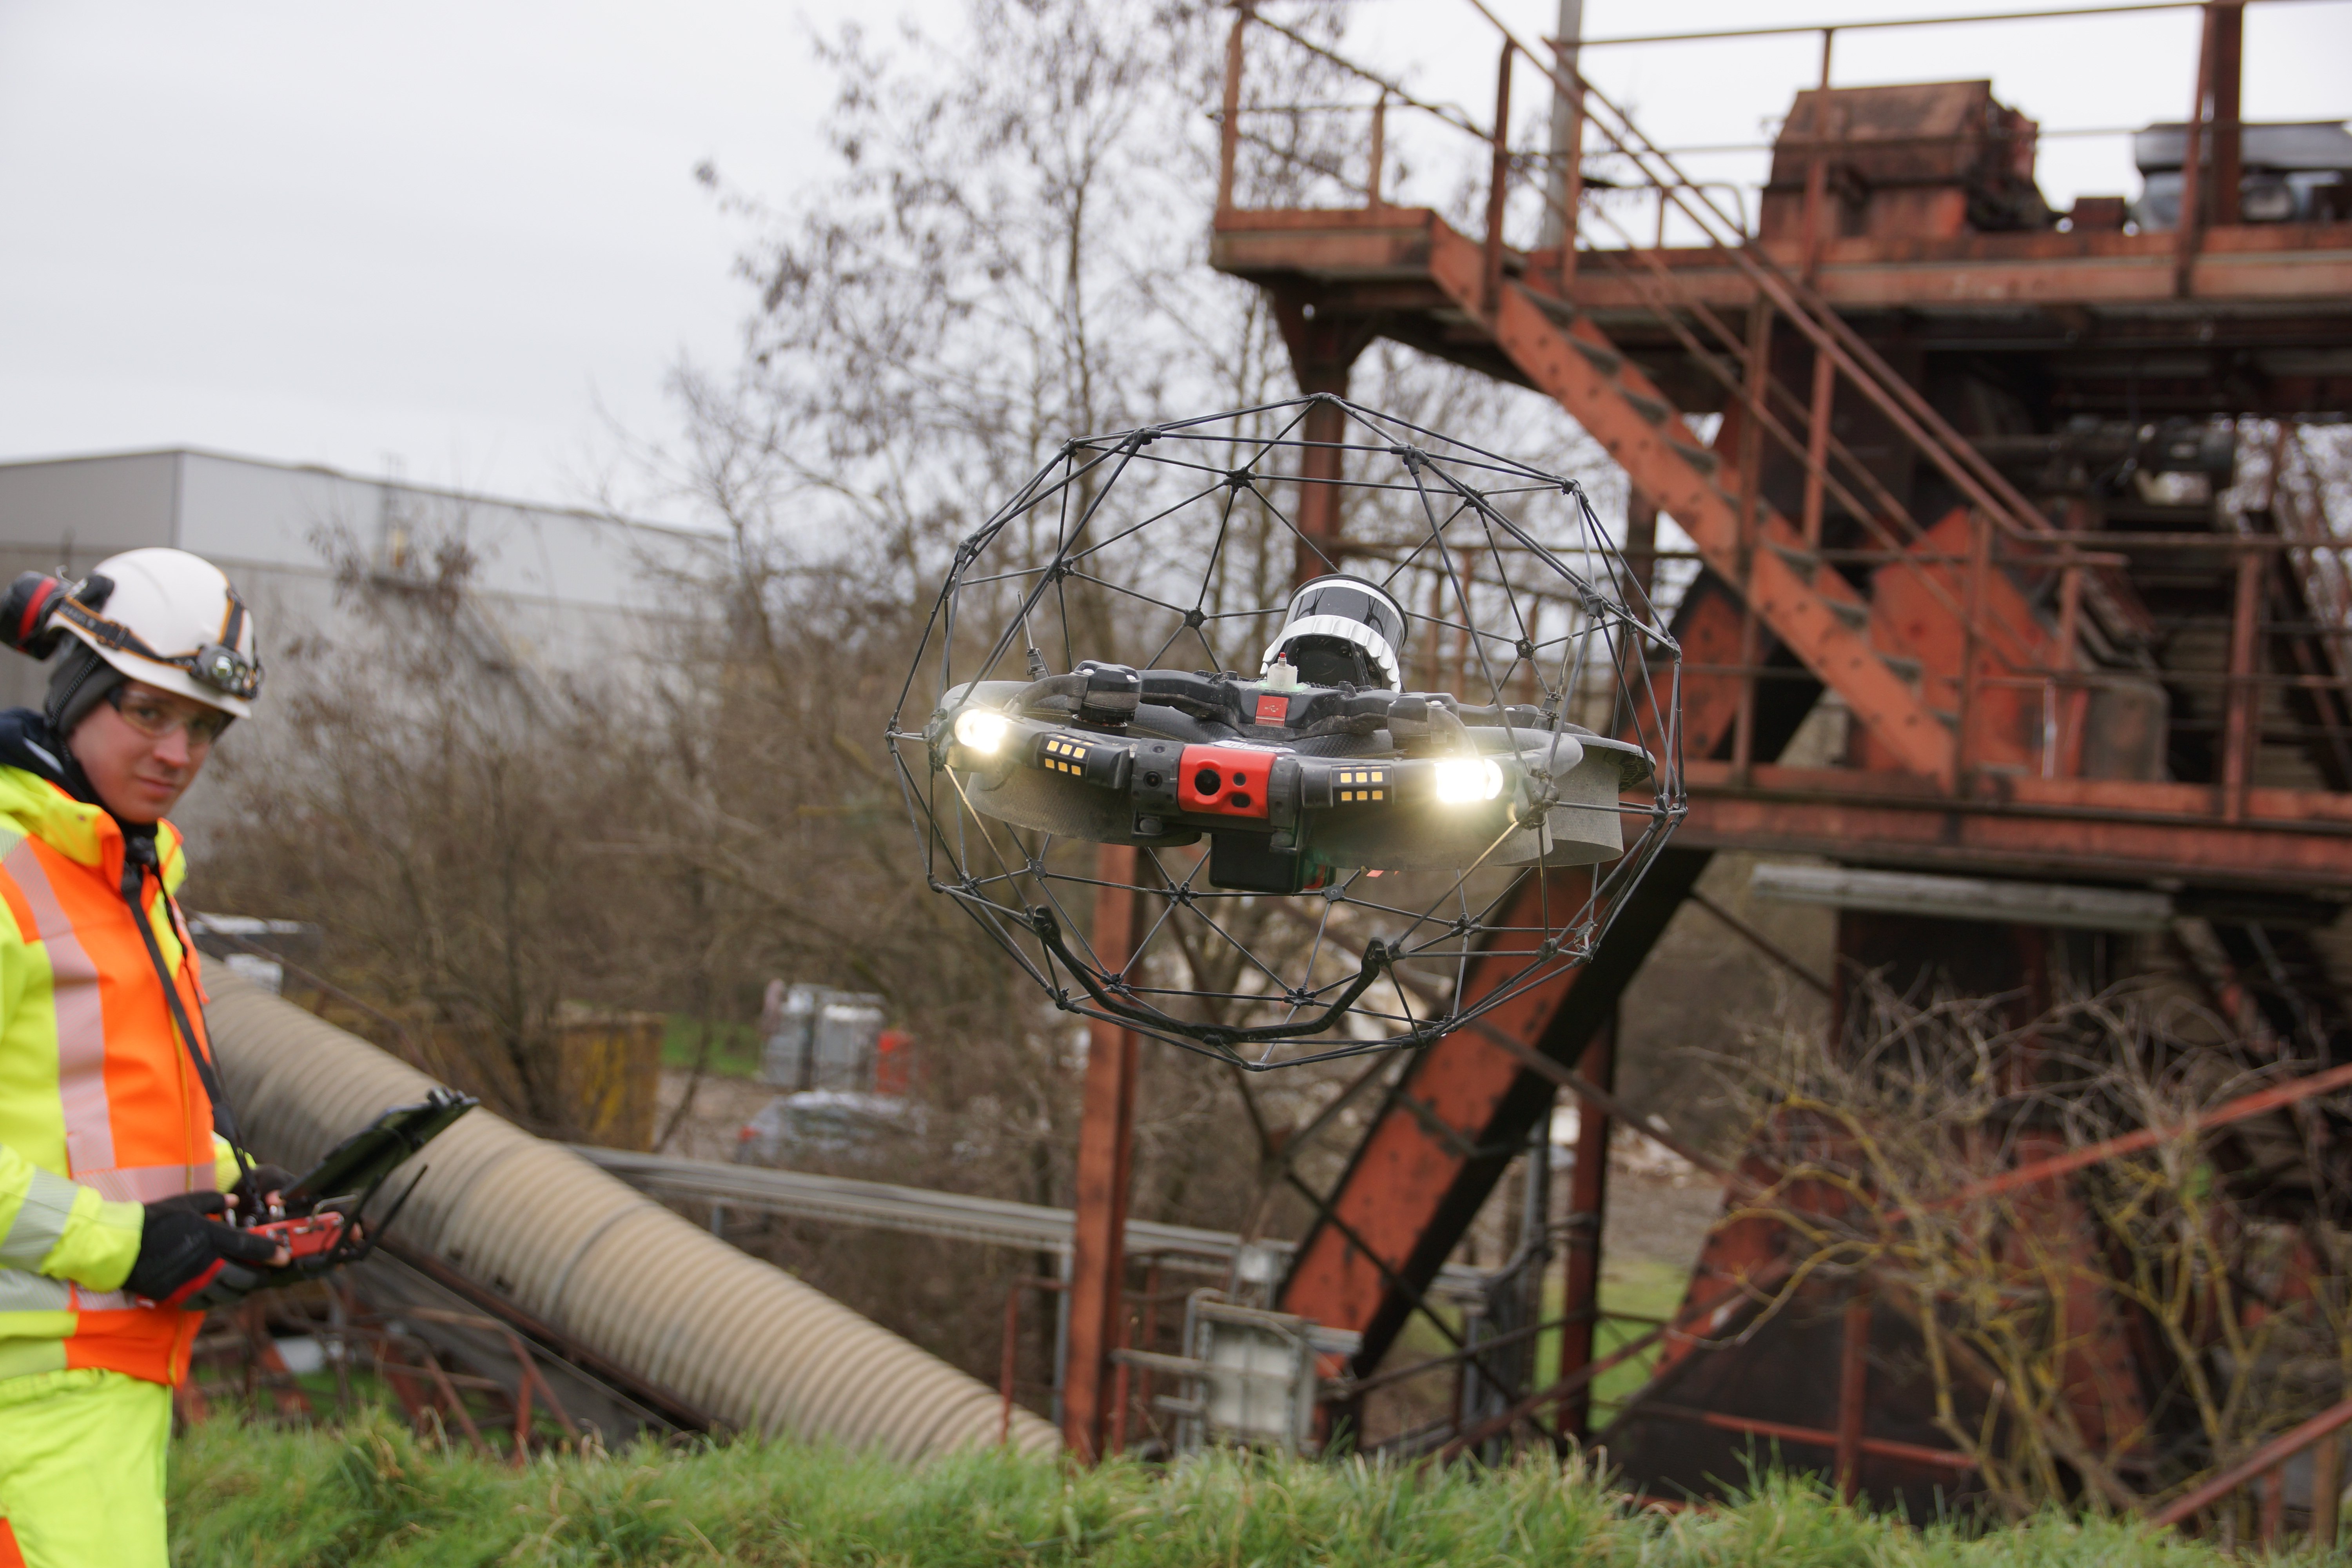
Testing The Elios 3 Surveying Payload at ICL Boulby Mine
Case studies
|
Cement
Cement
146466826811
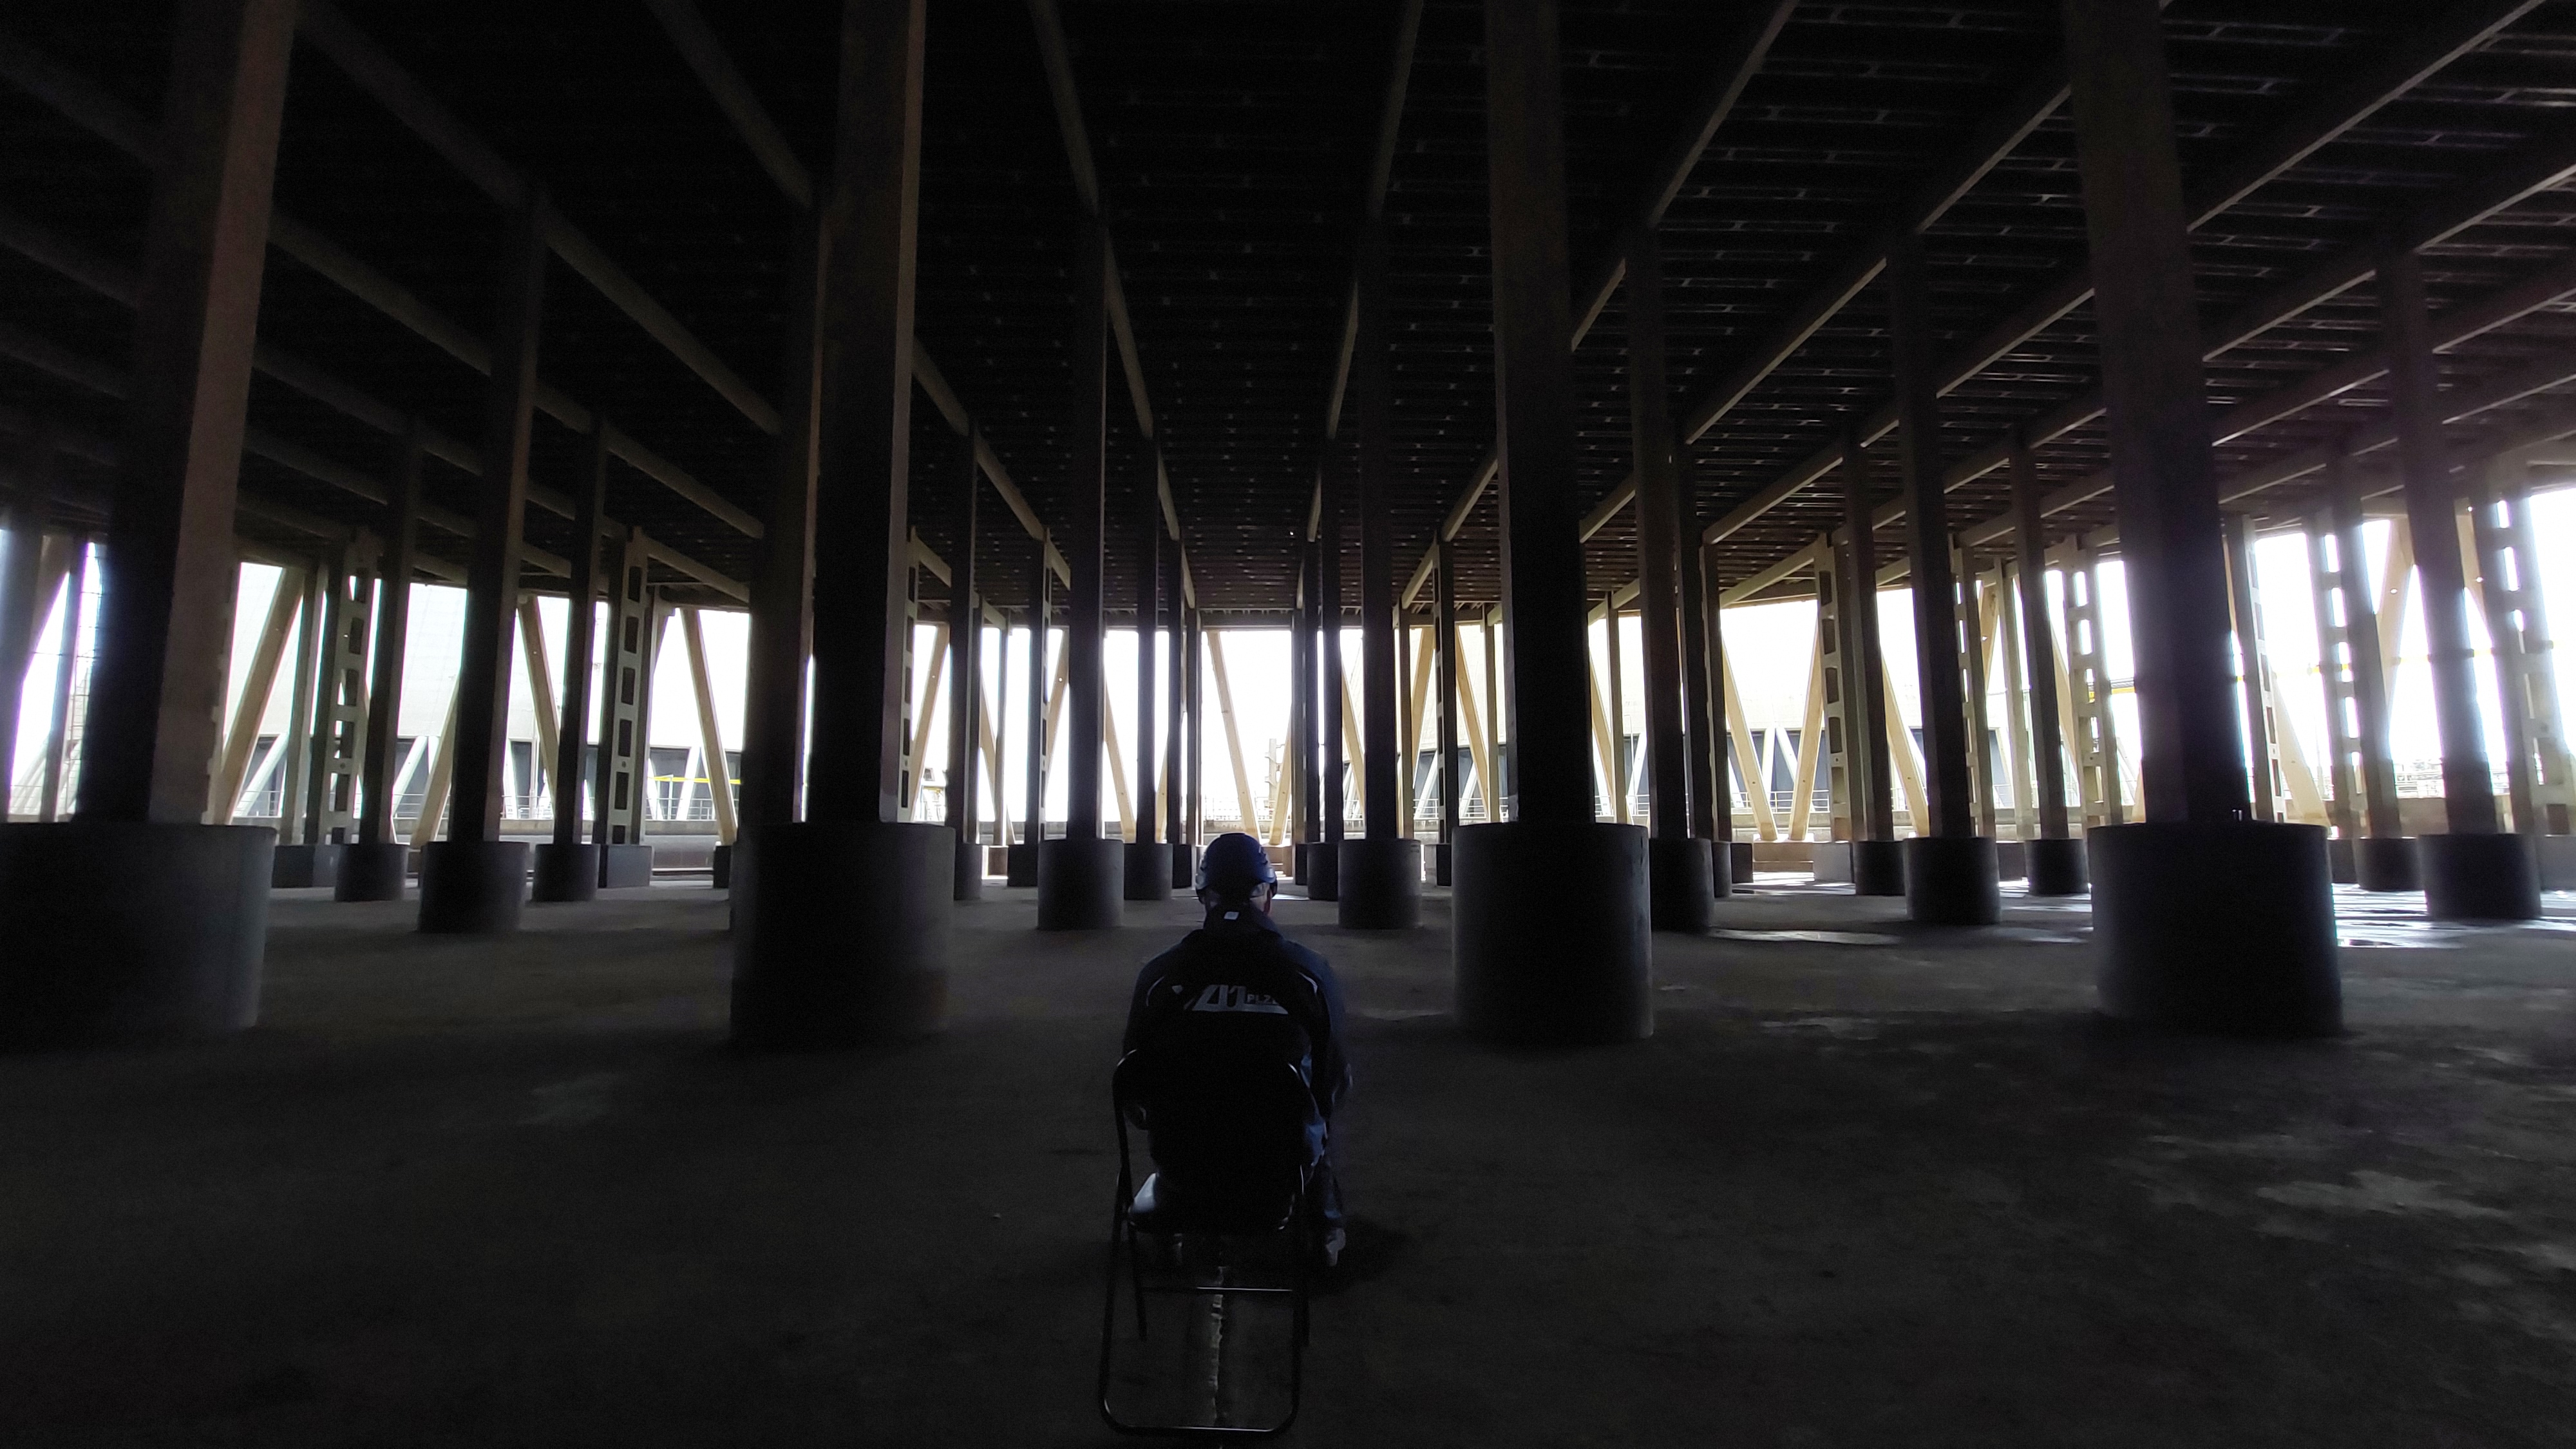
Using the Elios 3 drone to monitor stockpiles at a cement...
Case studies
|
Power Generation
|
Nuclear
Power Generation Nuclear
145290841353
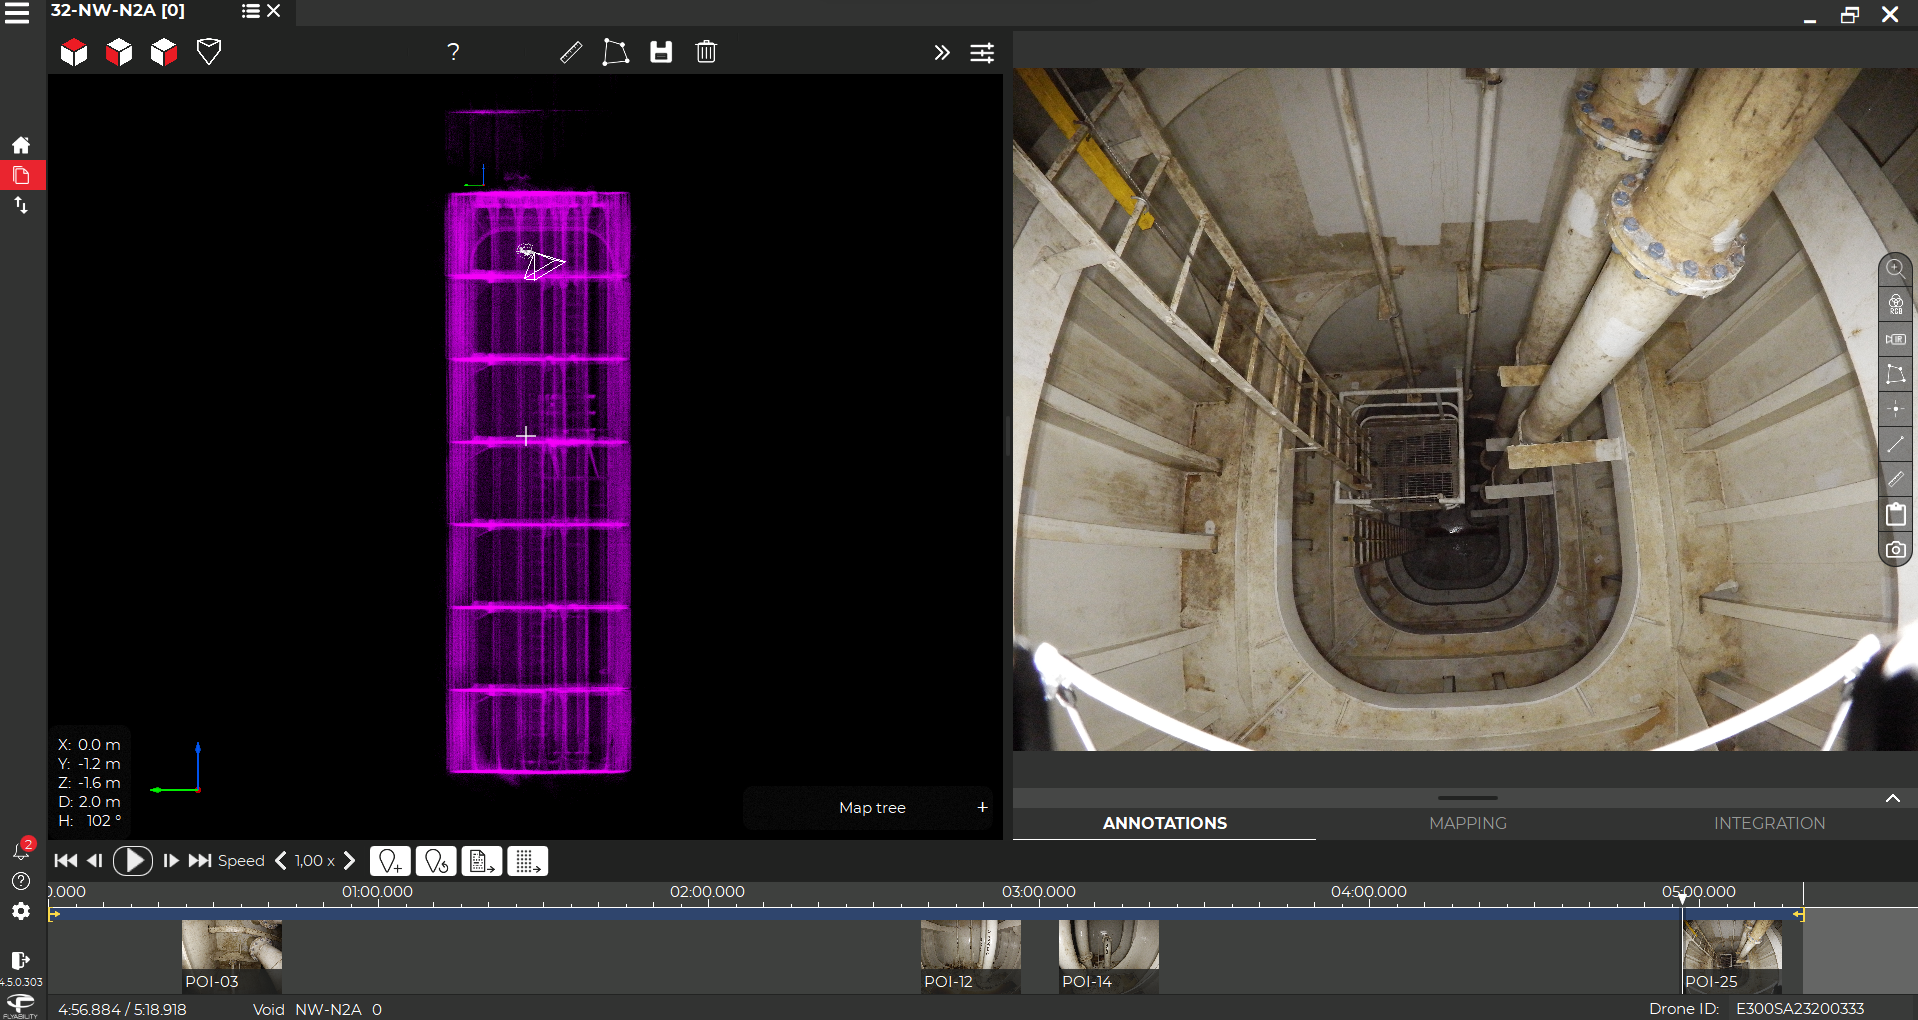
Unlocking NDT inspections for power generation with the...

Case studies
|
Maritime
Maritime
144058337121
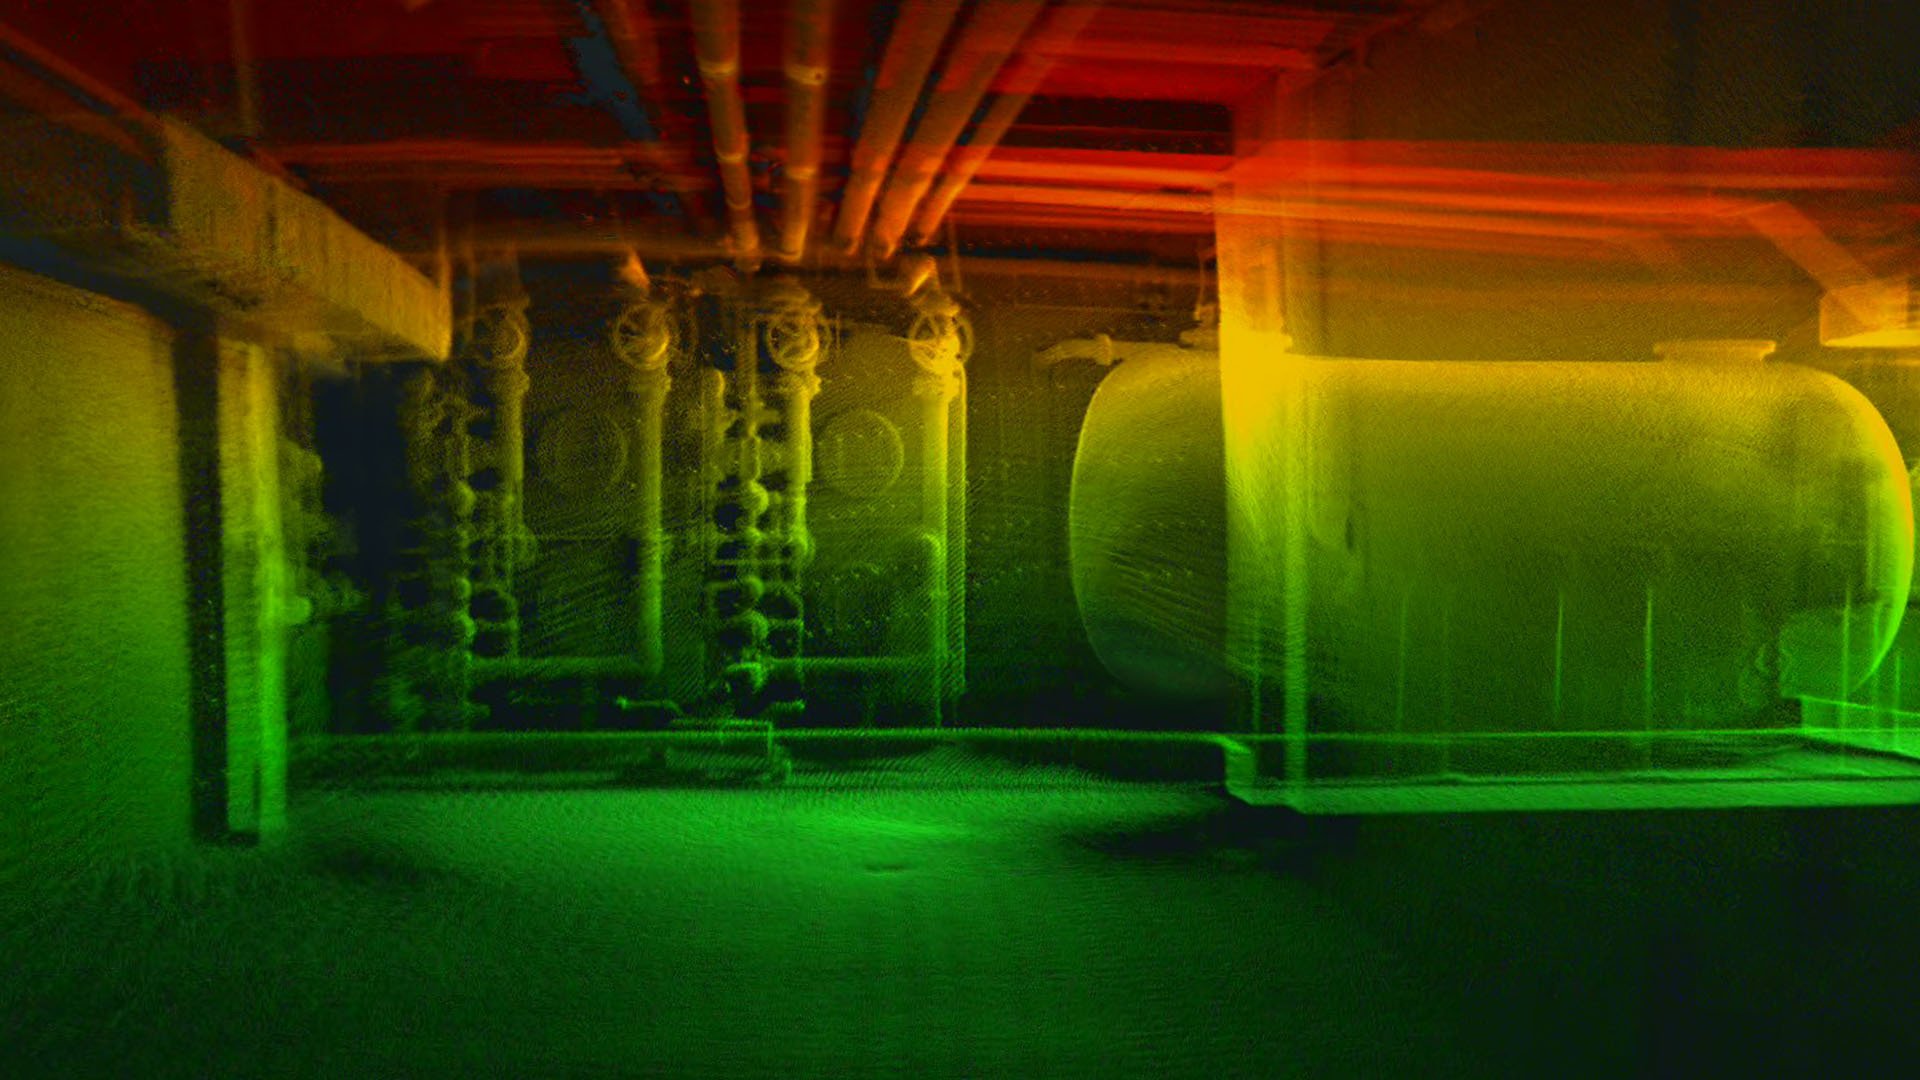
Inspecting 63 tanks with 2 drones in 2 weeks
Blog
|
Mining
|
General
Mining General
143595028225
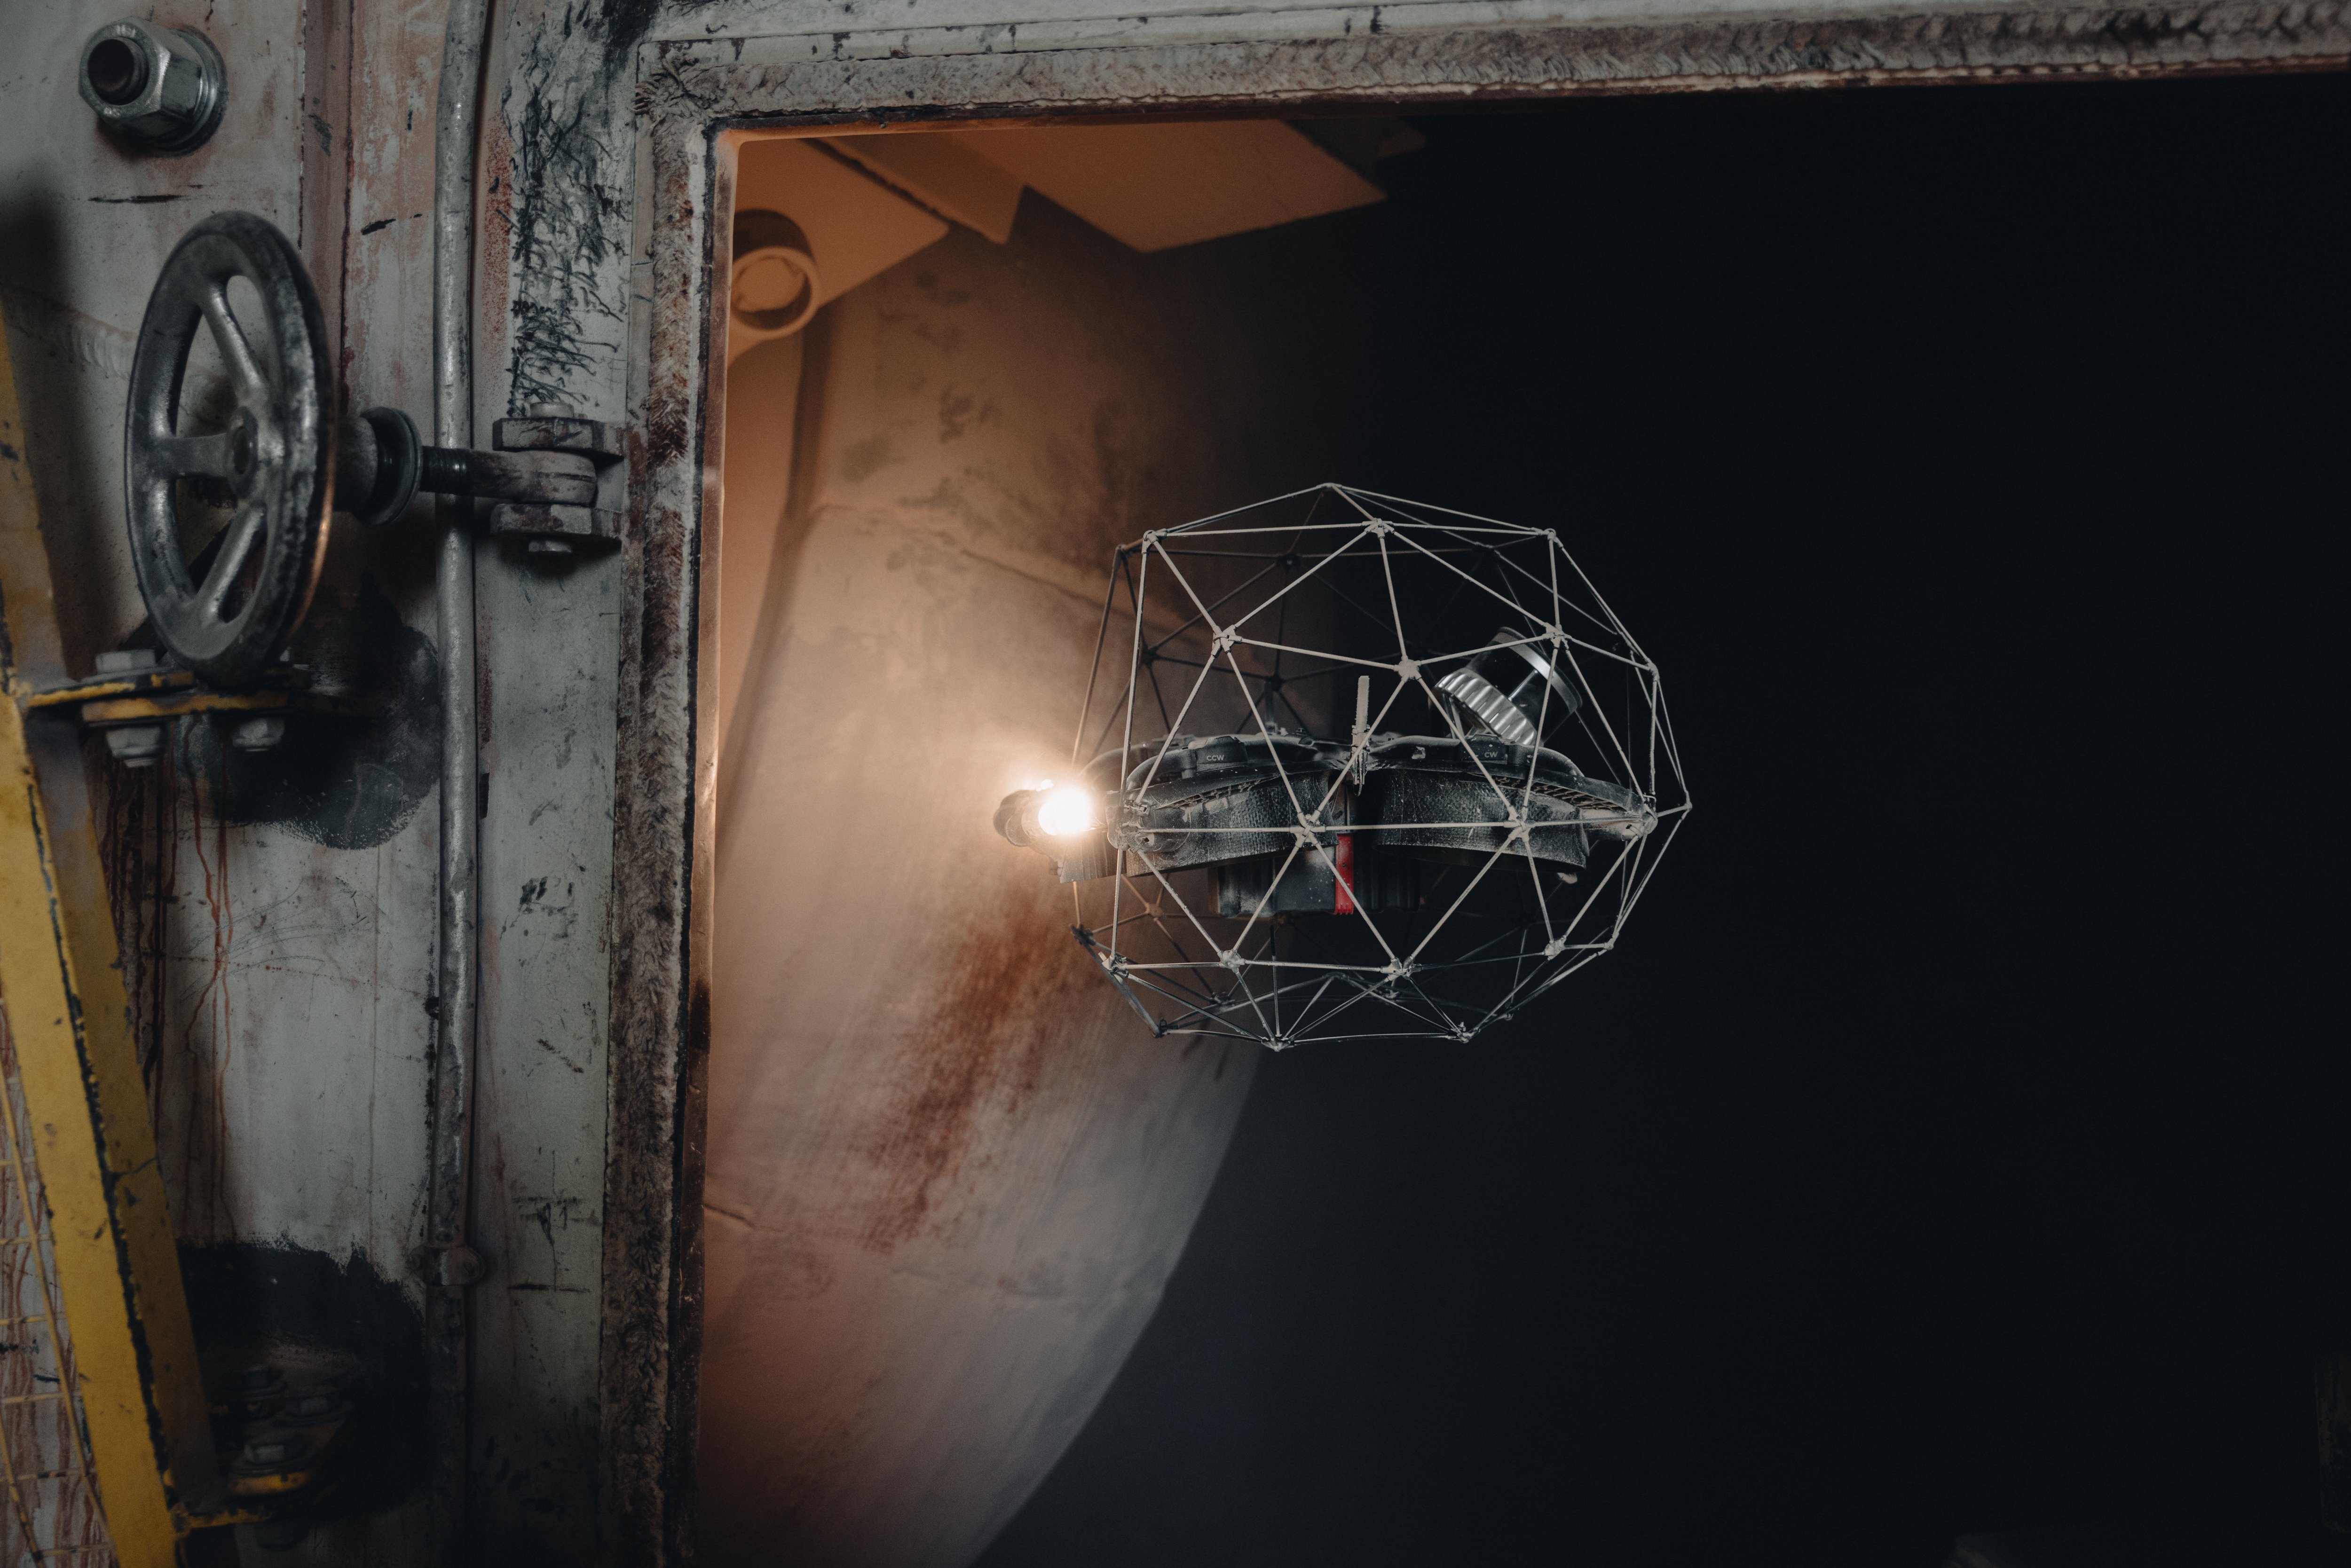
How to create a georeferenced 3D model
Case studies
|
Maritime
Maritime
142671208983
Remote Hull inspection saves $1 million with the Elios 3

Webinar
|
Mining
{name=Mining, label=Mining}
100011716008
How Drones Are Being Used in Mining: Addressing ATEX Issues...

Webinar
|
Cement
{name=Cement, label=Cement}
142276091564
Discover the Elios 3 Surveying Payload

Webinar
|
Cement
{name=Cement, label=Cement}
143712670045
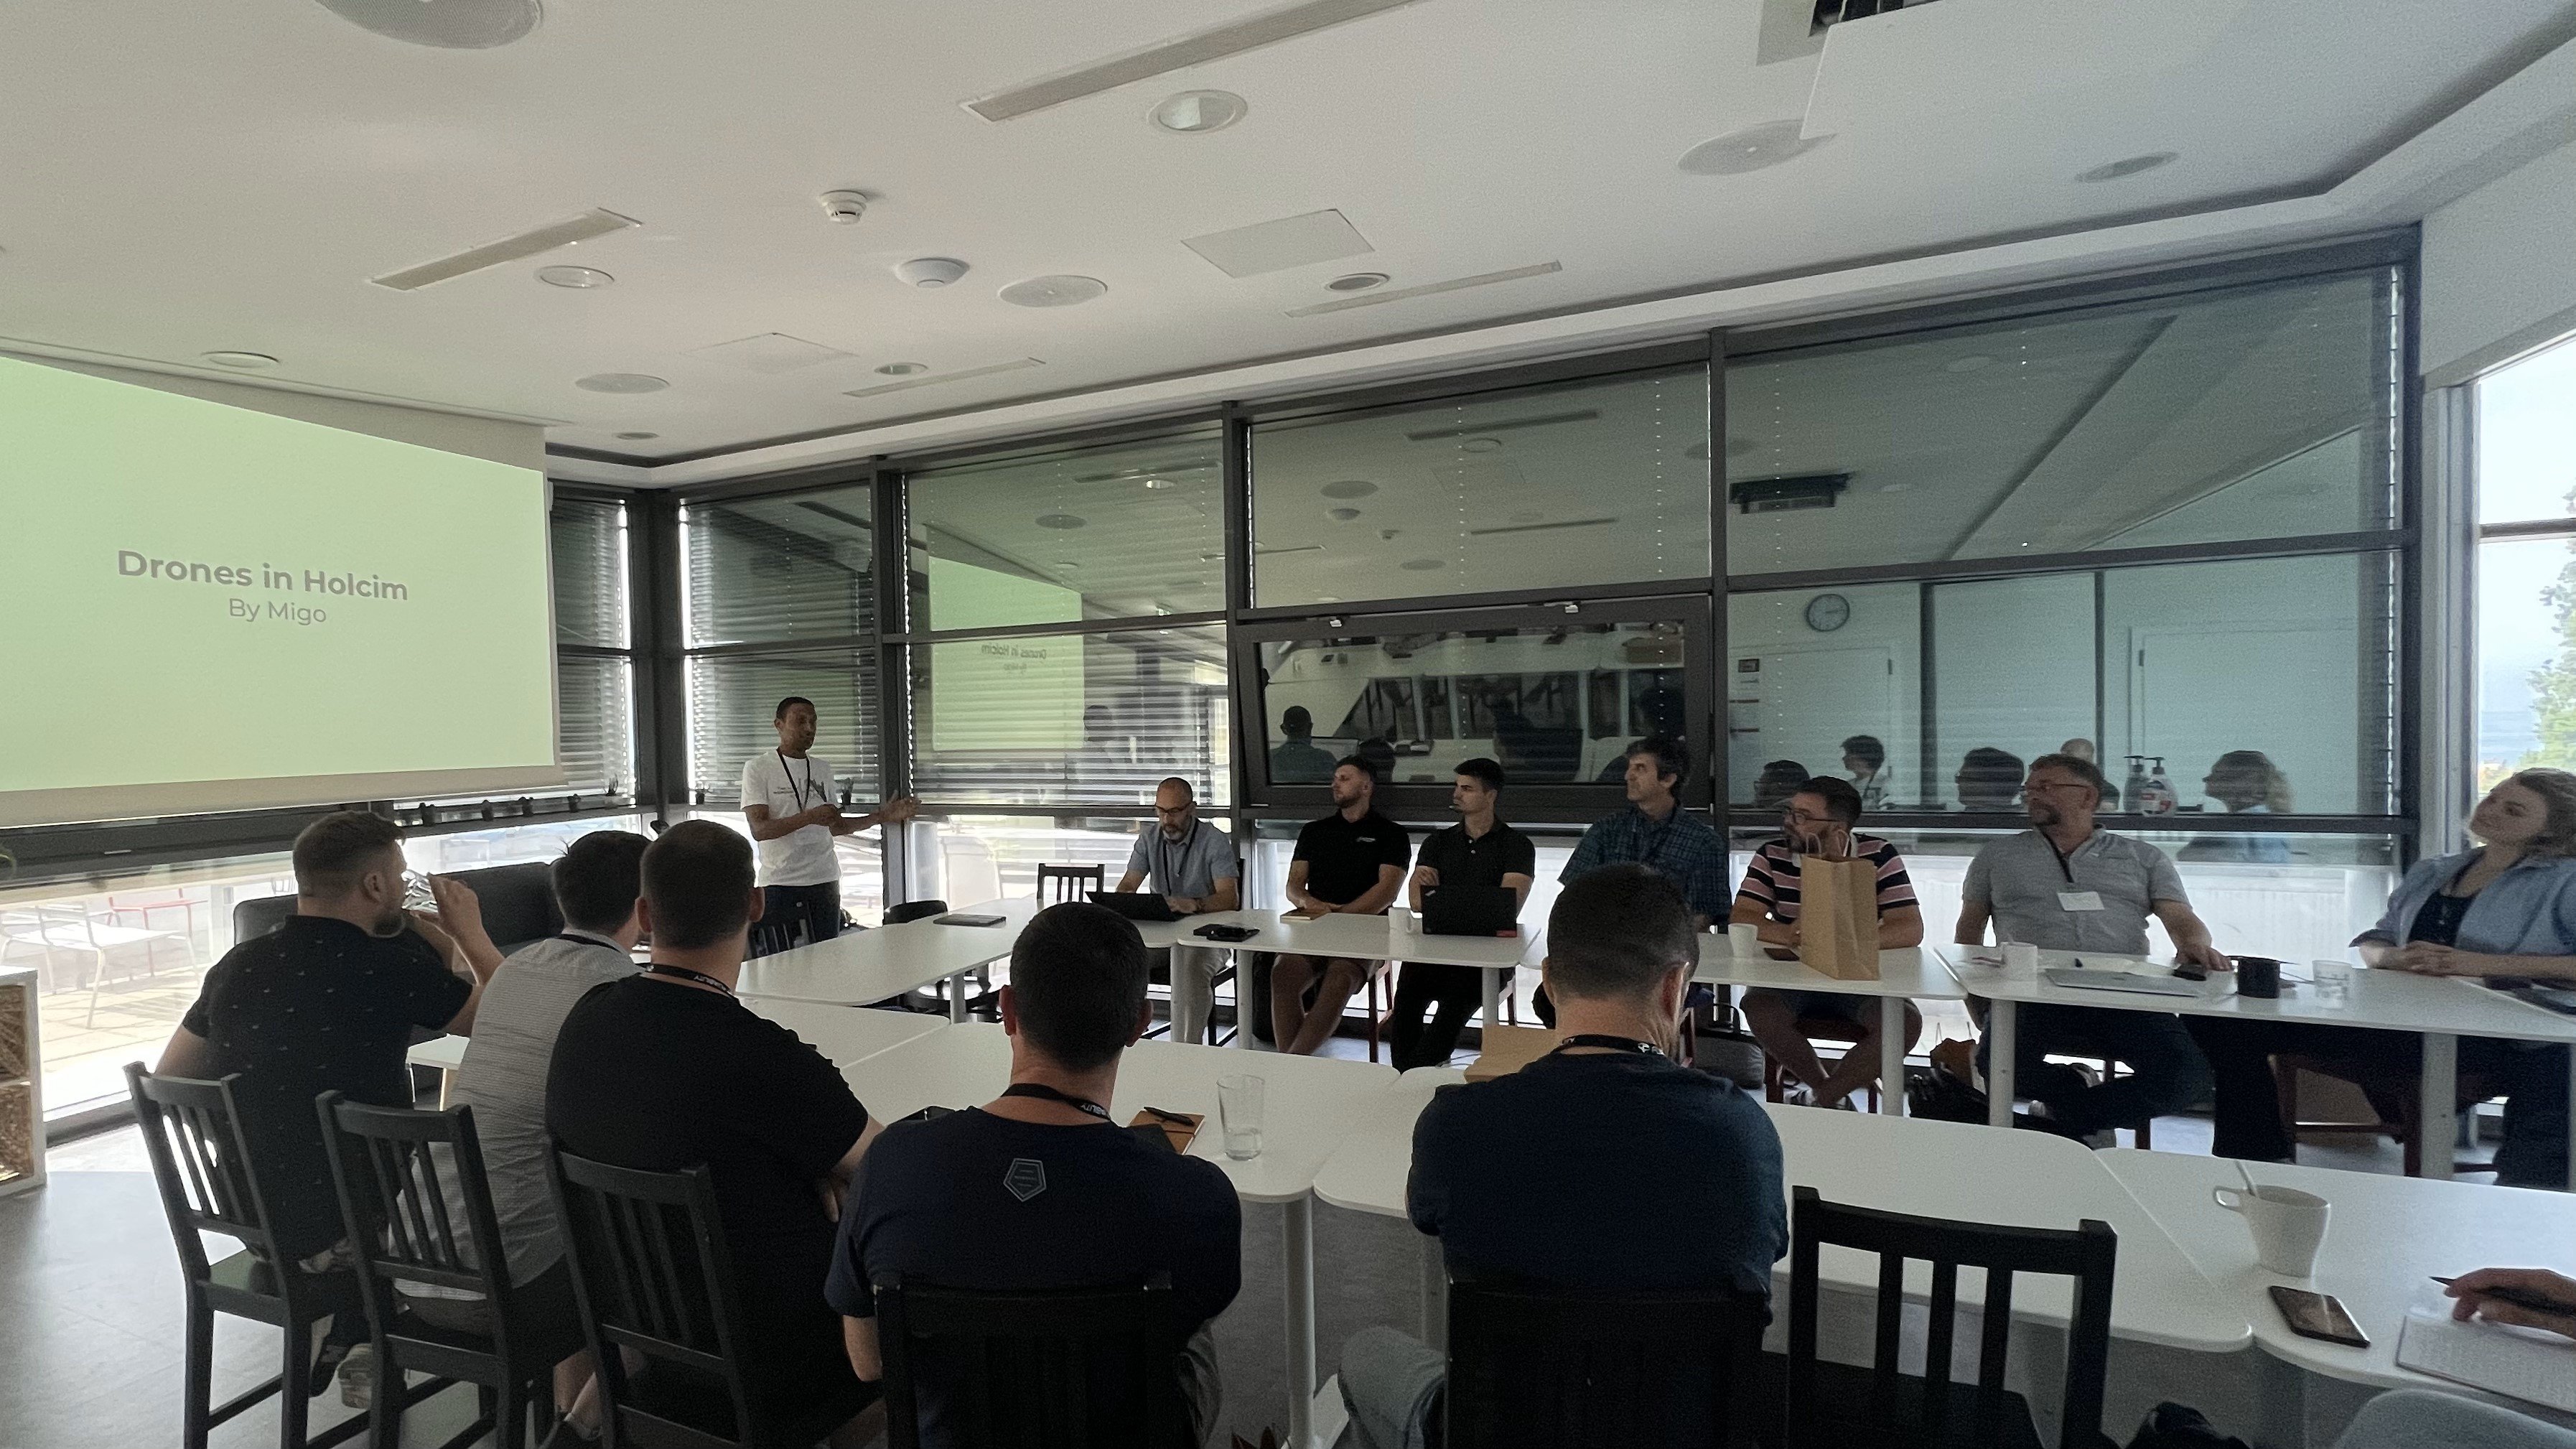
From 0 to Fleet: How Holcim adopted the Elios 3 for cement...
News
|
Cement
Cement
139845917464
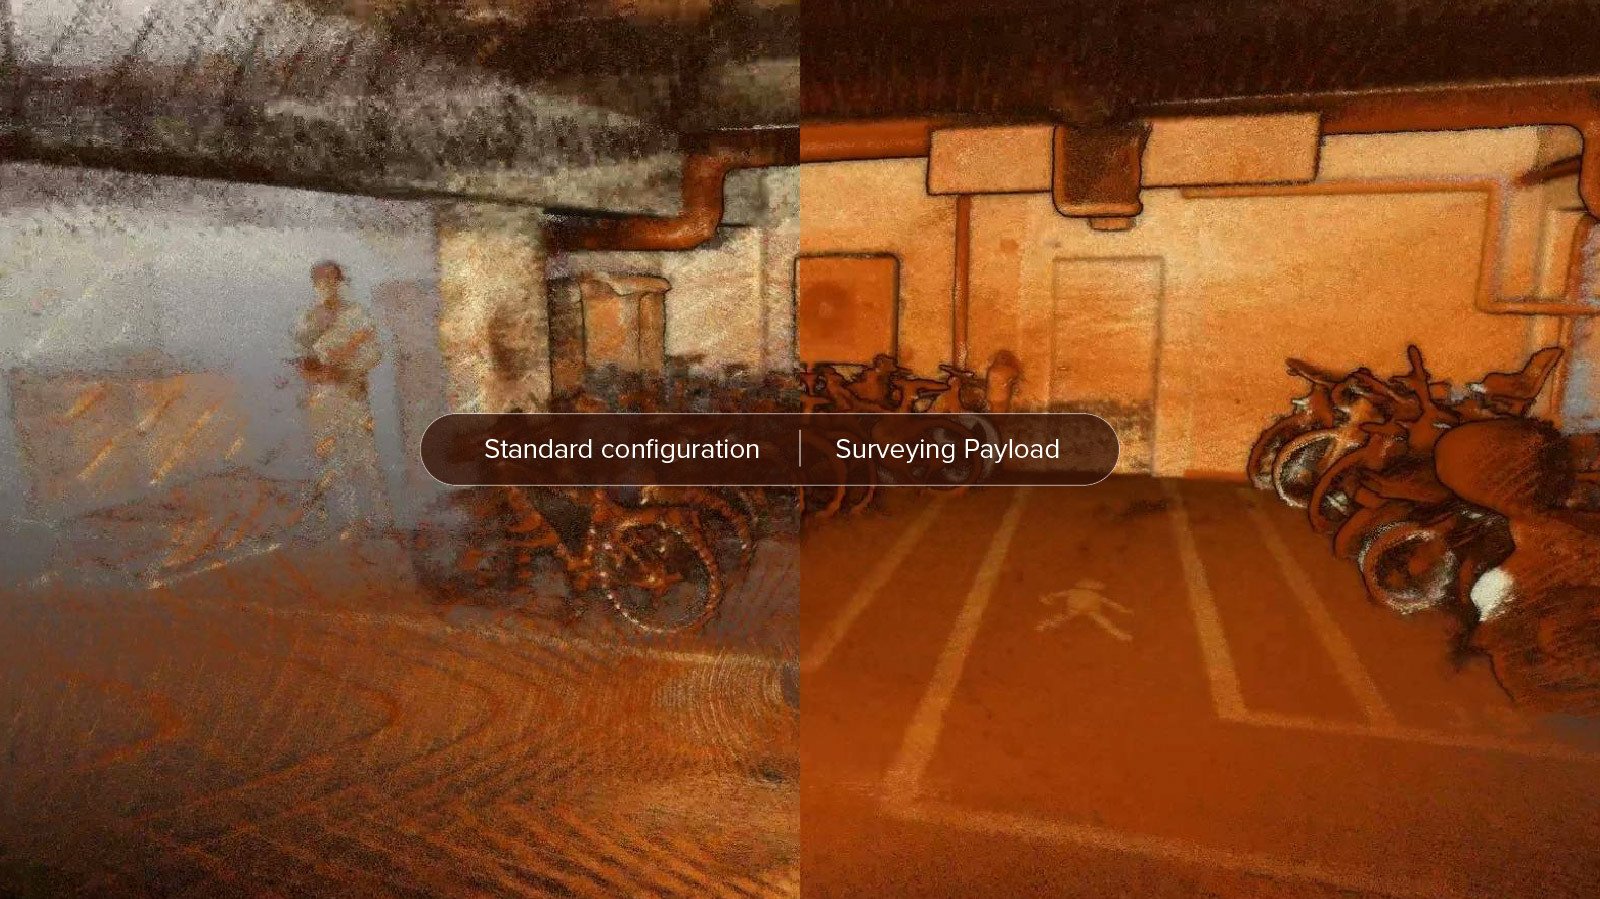
Plants of Tomorrow Drone Days: Advancing Innovation in...

Blog
|
Sewer
|
Oil & Gas
|
Mining
|
Cement
Sewer Oil & Gas Mining Cement
139324176498
Which Elios 3 LiDAR payload is right for you? The Standard...

Webinar
|
Power Generation
{name=Power Generation, label=Power Generation}
134533606488
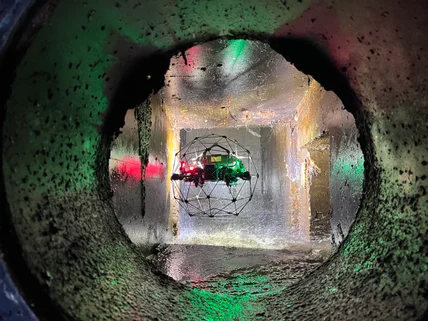
Radioactive: The Elios 3 for Nuclear Inspections
Case studies
|
Infrastructure
Infrastructure
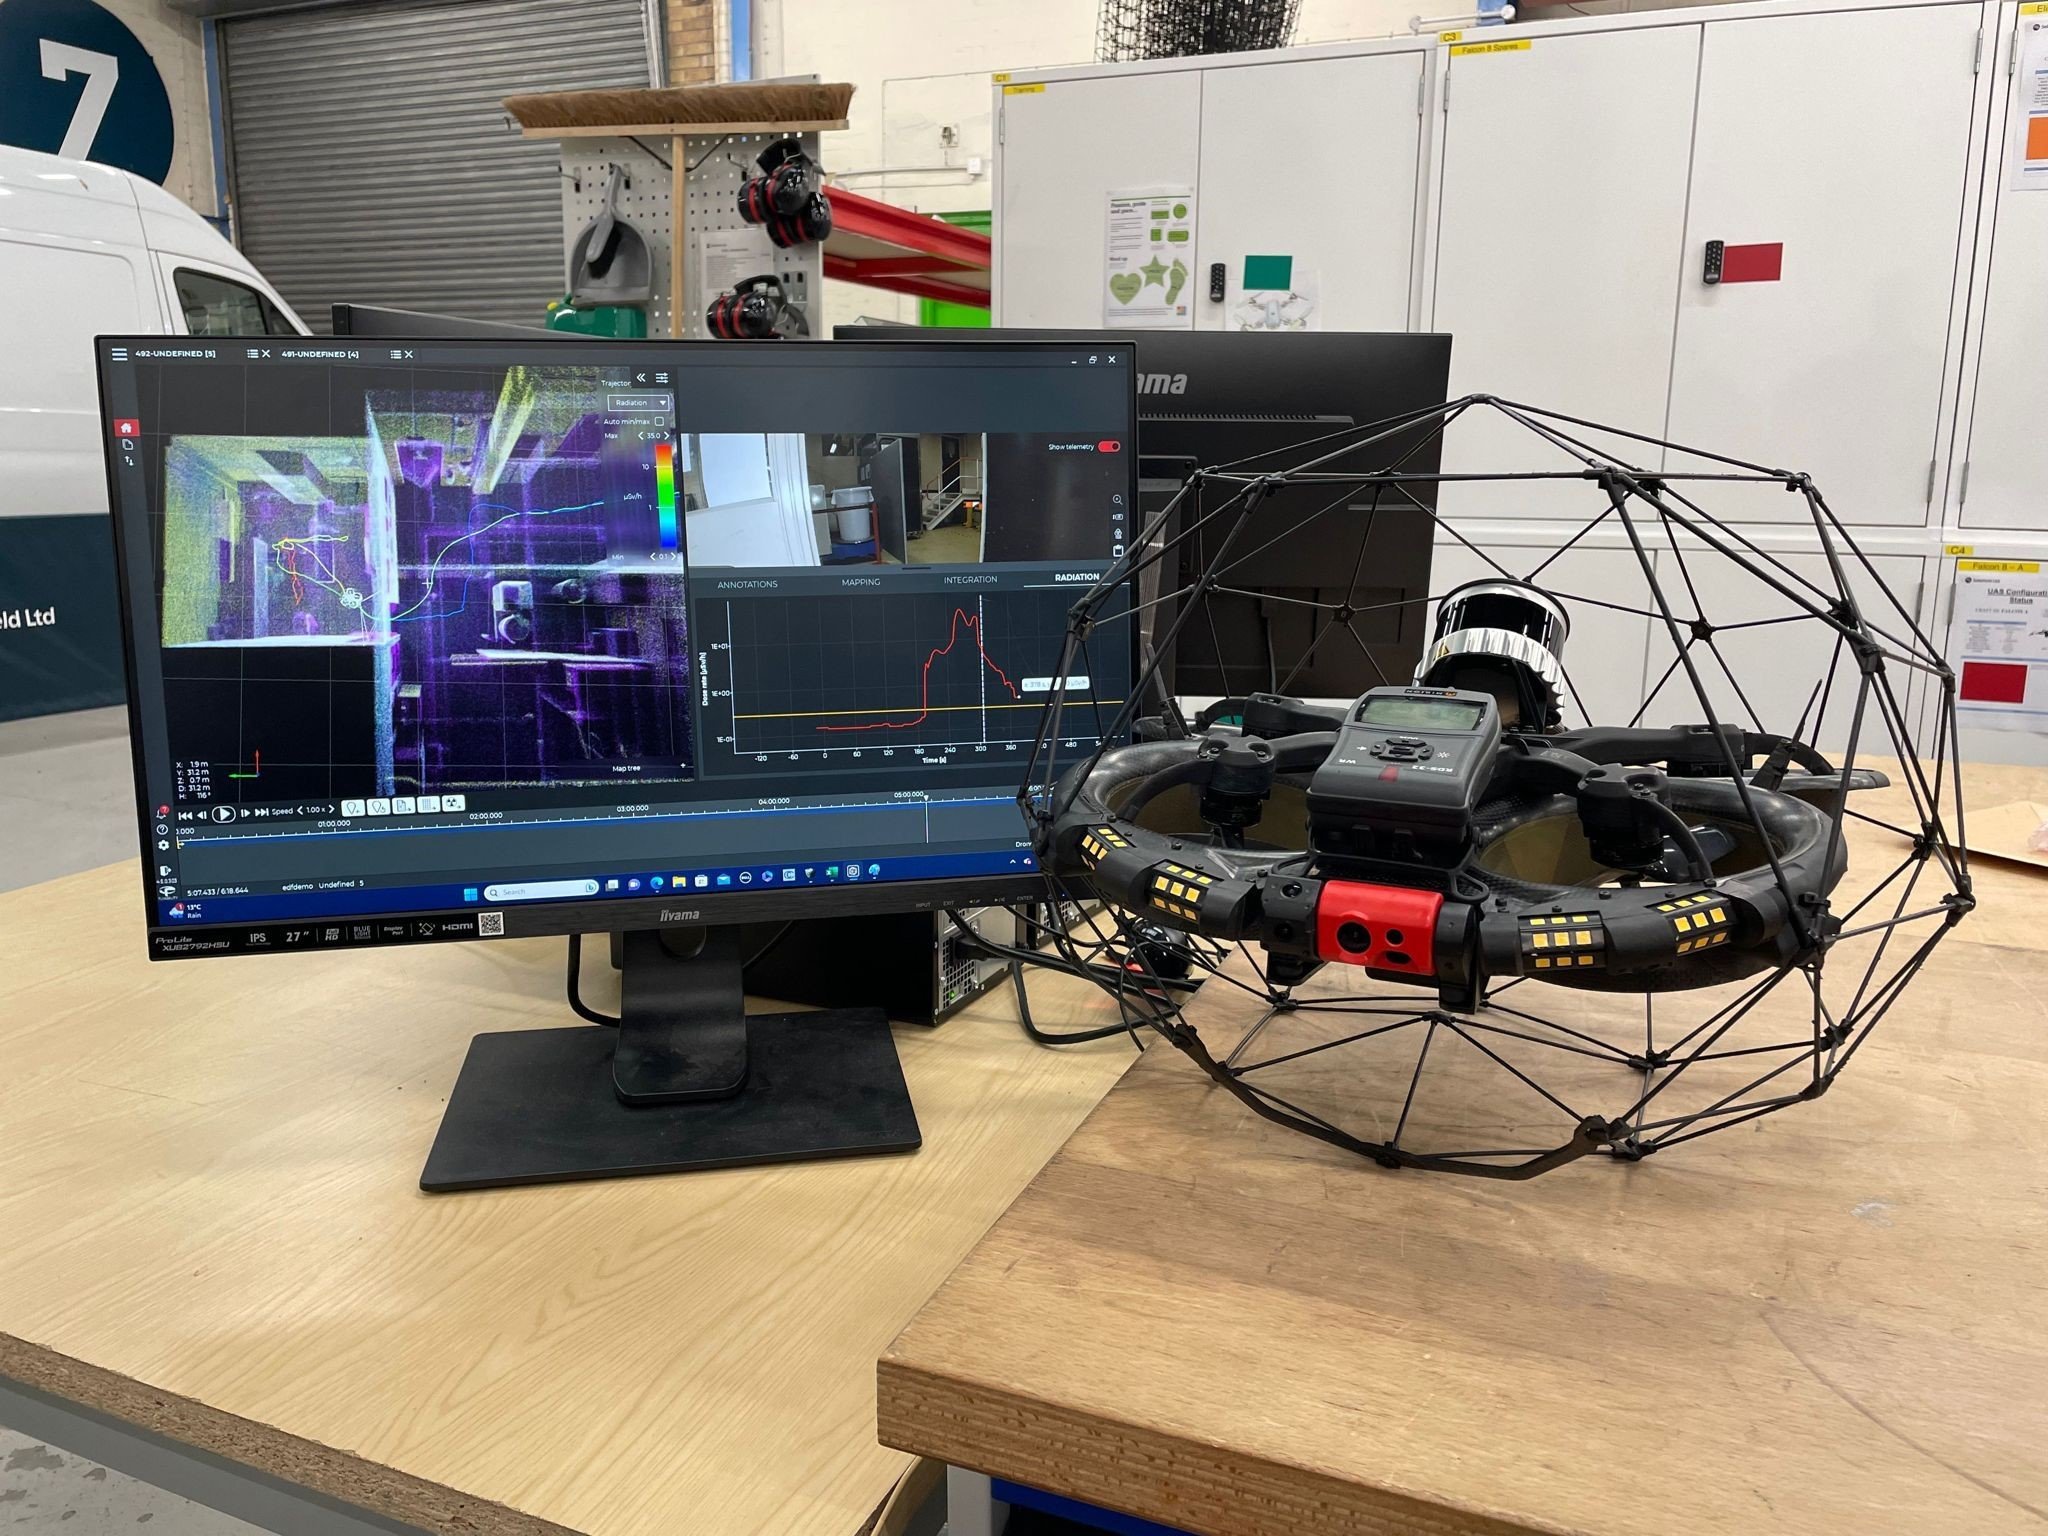
136096724512
Eliminating downtime for a train station roof inspection...

Case studies
|
Nuclear
Nuclear
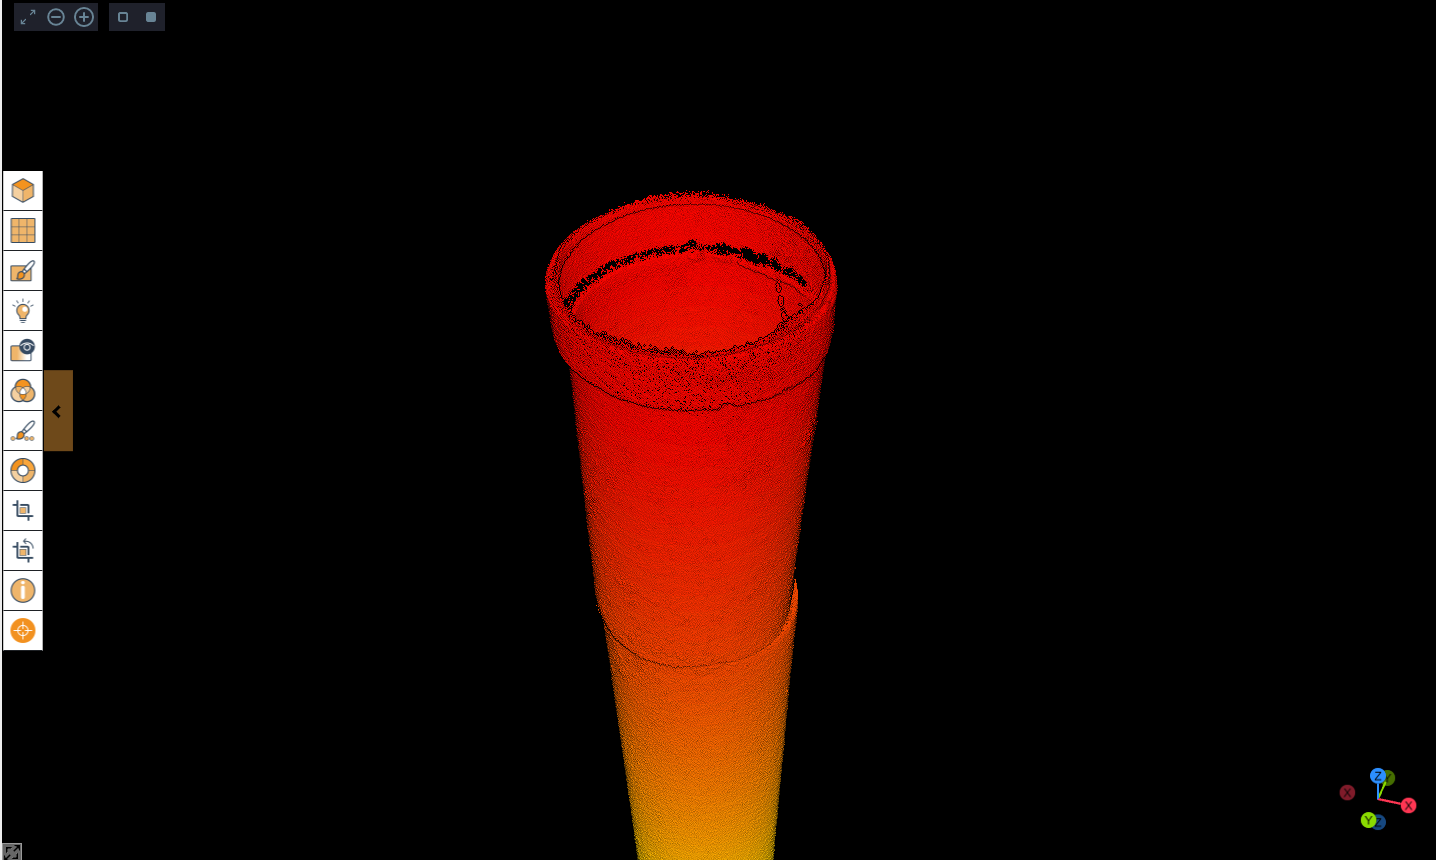
133210084904
Interview: Elios drones at Sellafield, Europe's largest...
Case studies
|
Cement
Cement
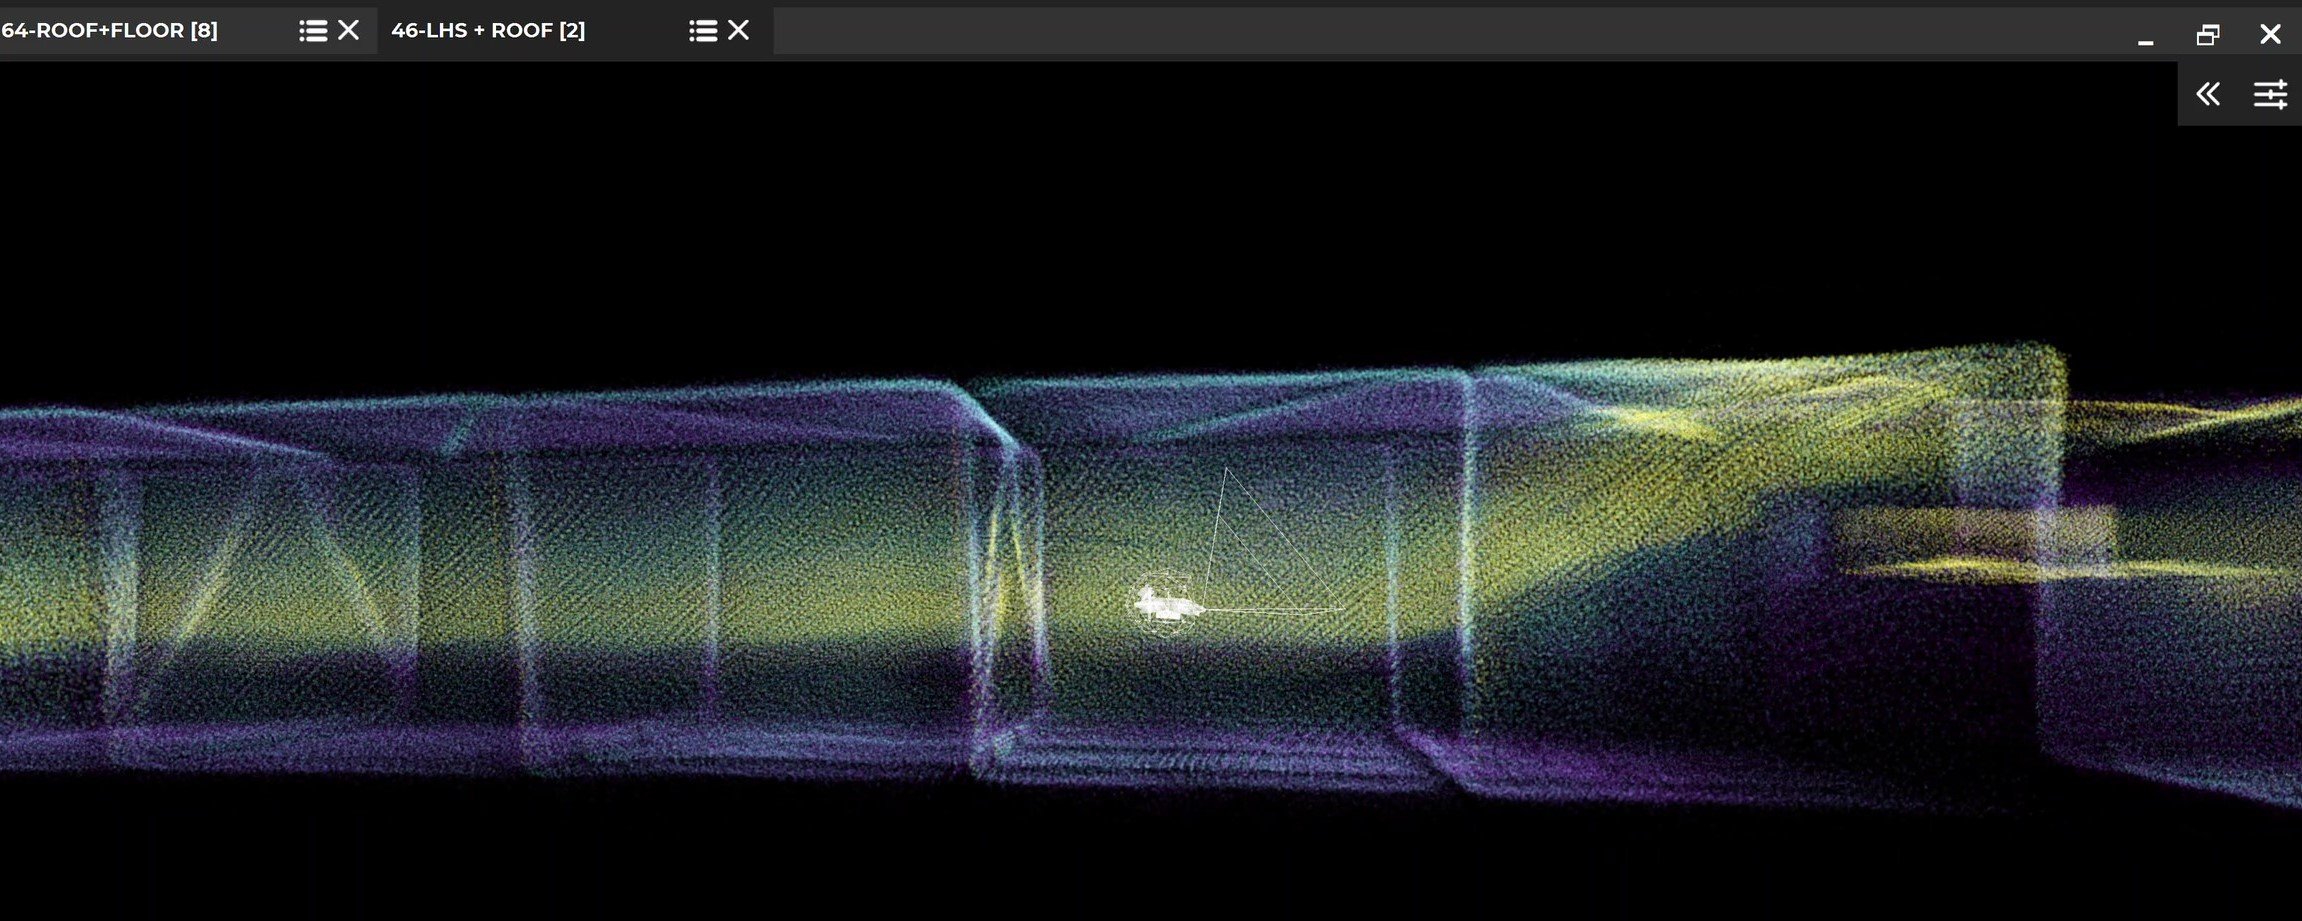
130581808237
Identifying chimney tower faults with the Elios 3 at a...
Case studies
|
Infrastructure
Infrastructure
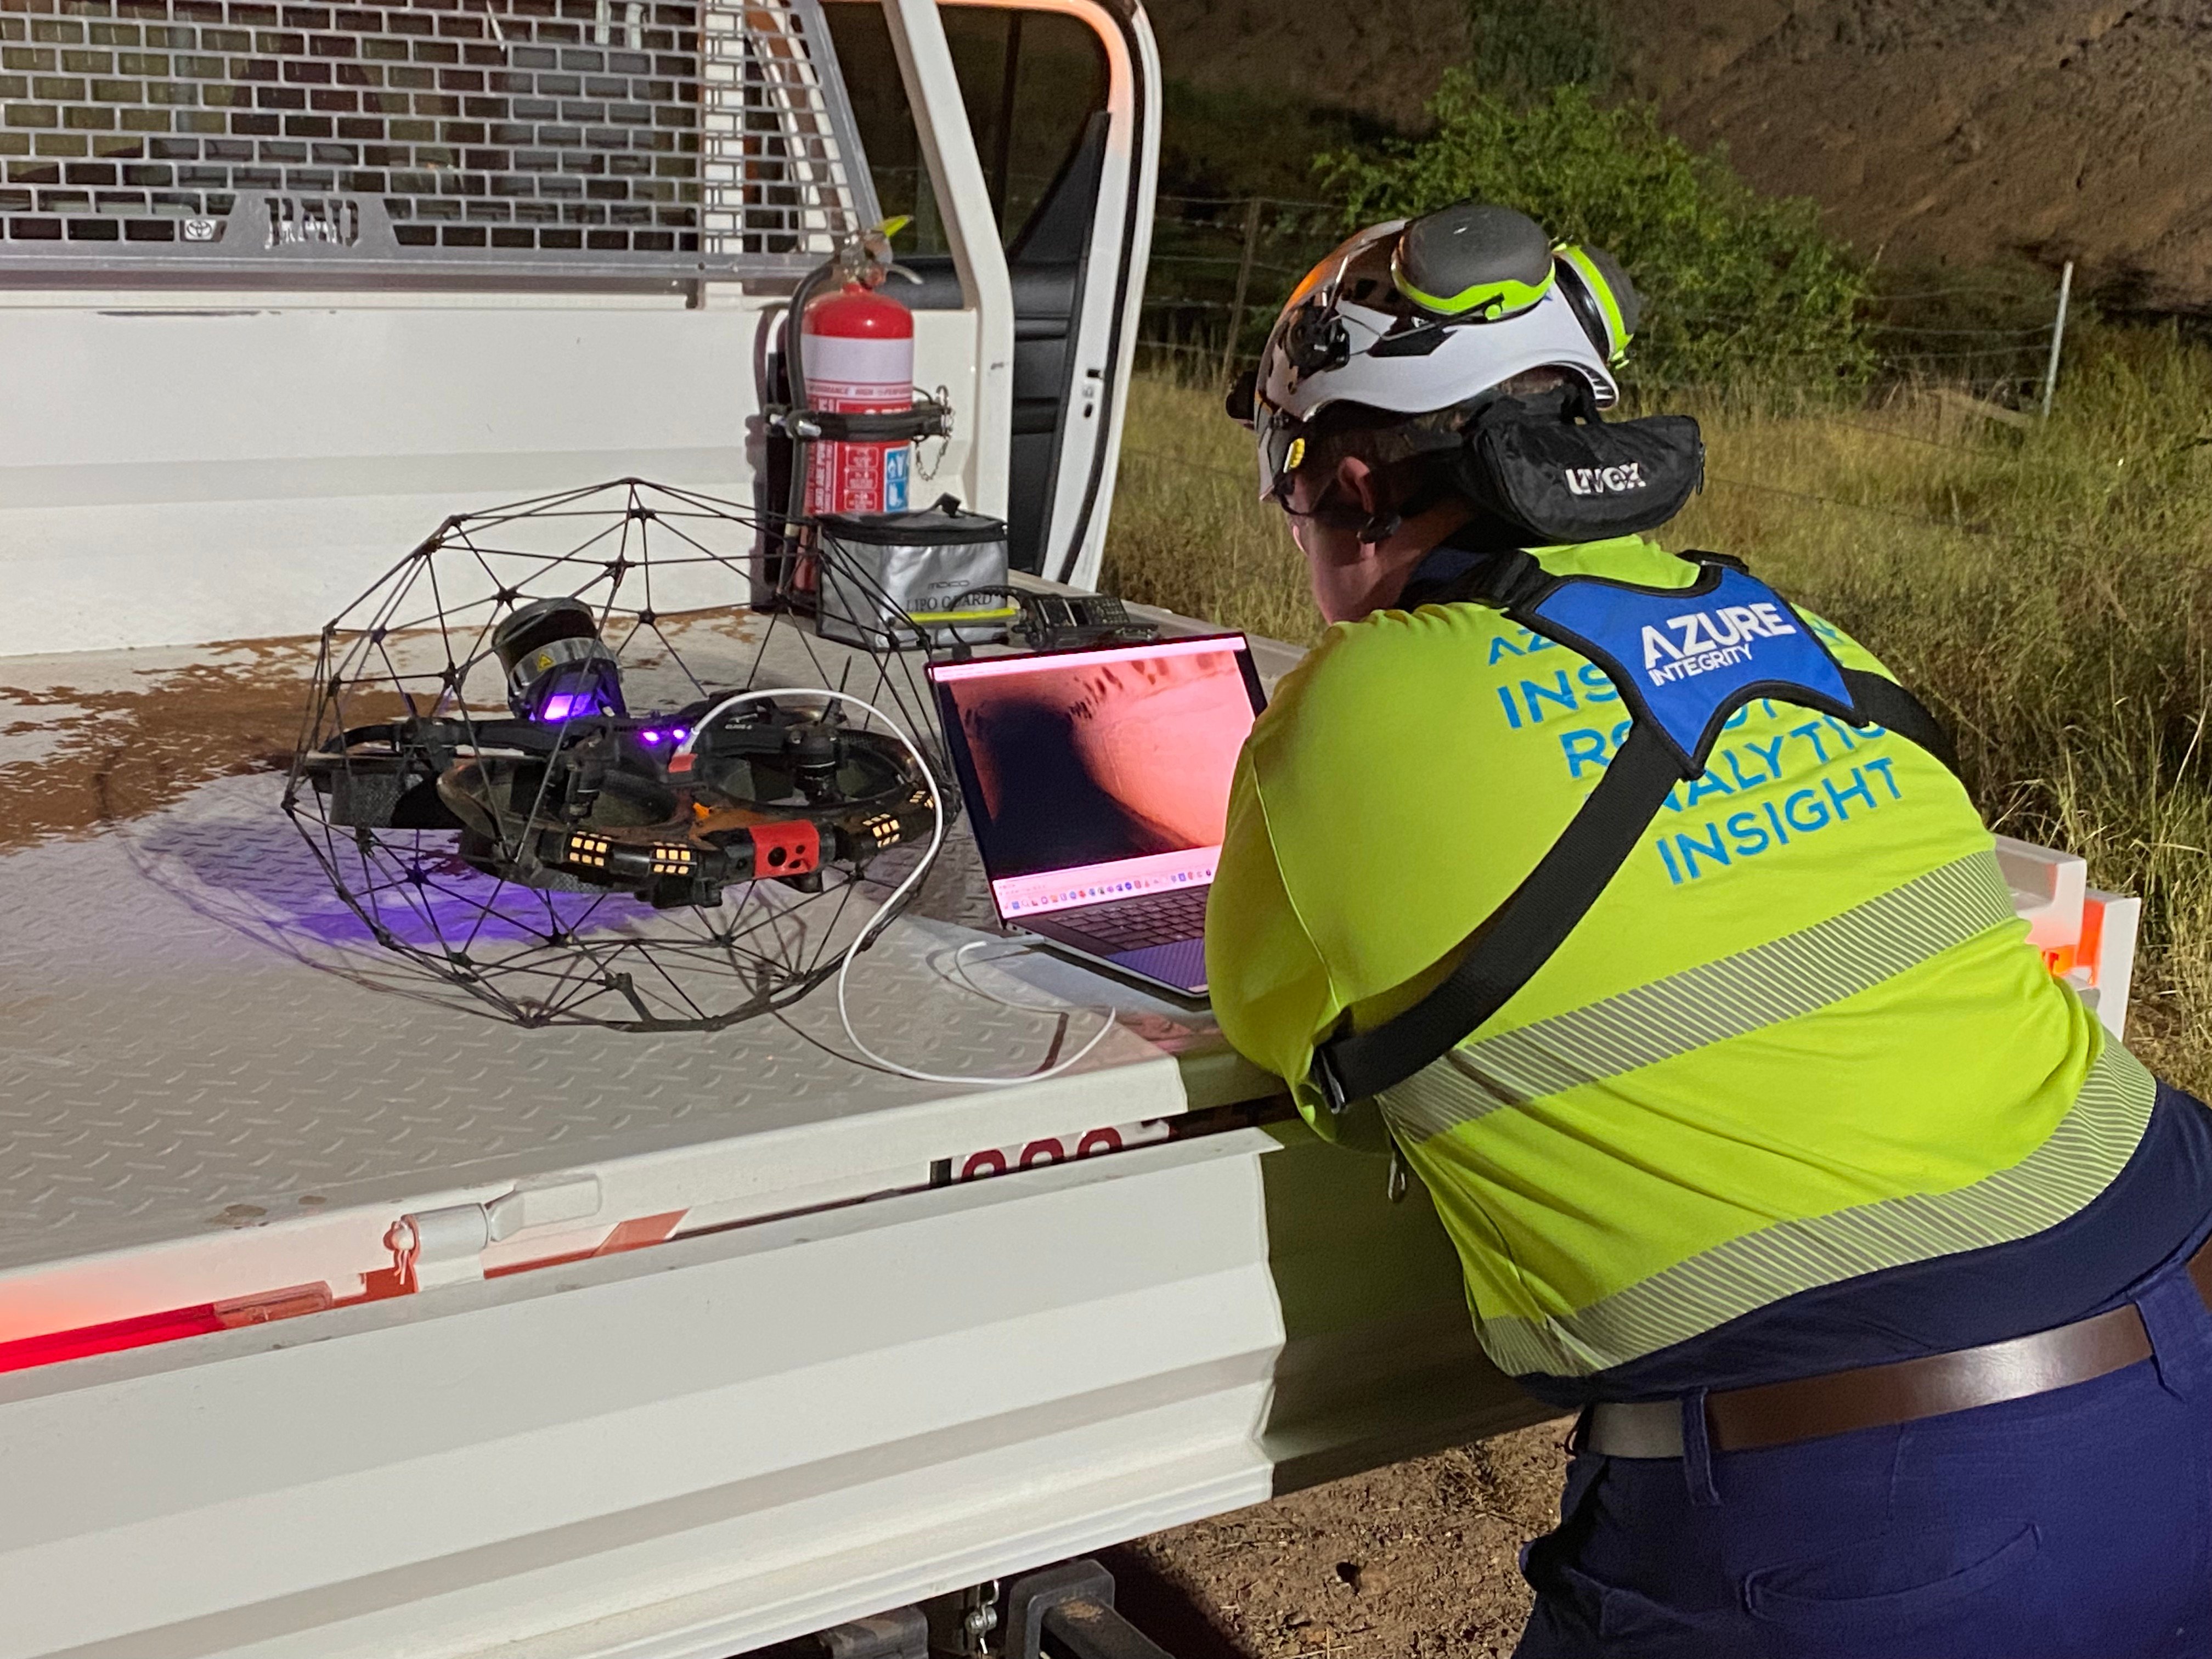
130436053279
Inspecting a railway bridge inside and out with the Elios 3

Case studies
|
Mining
Mining
125072056375
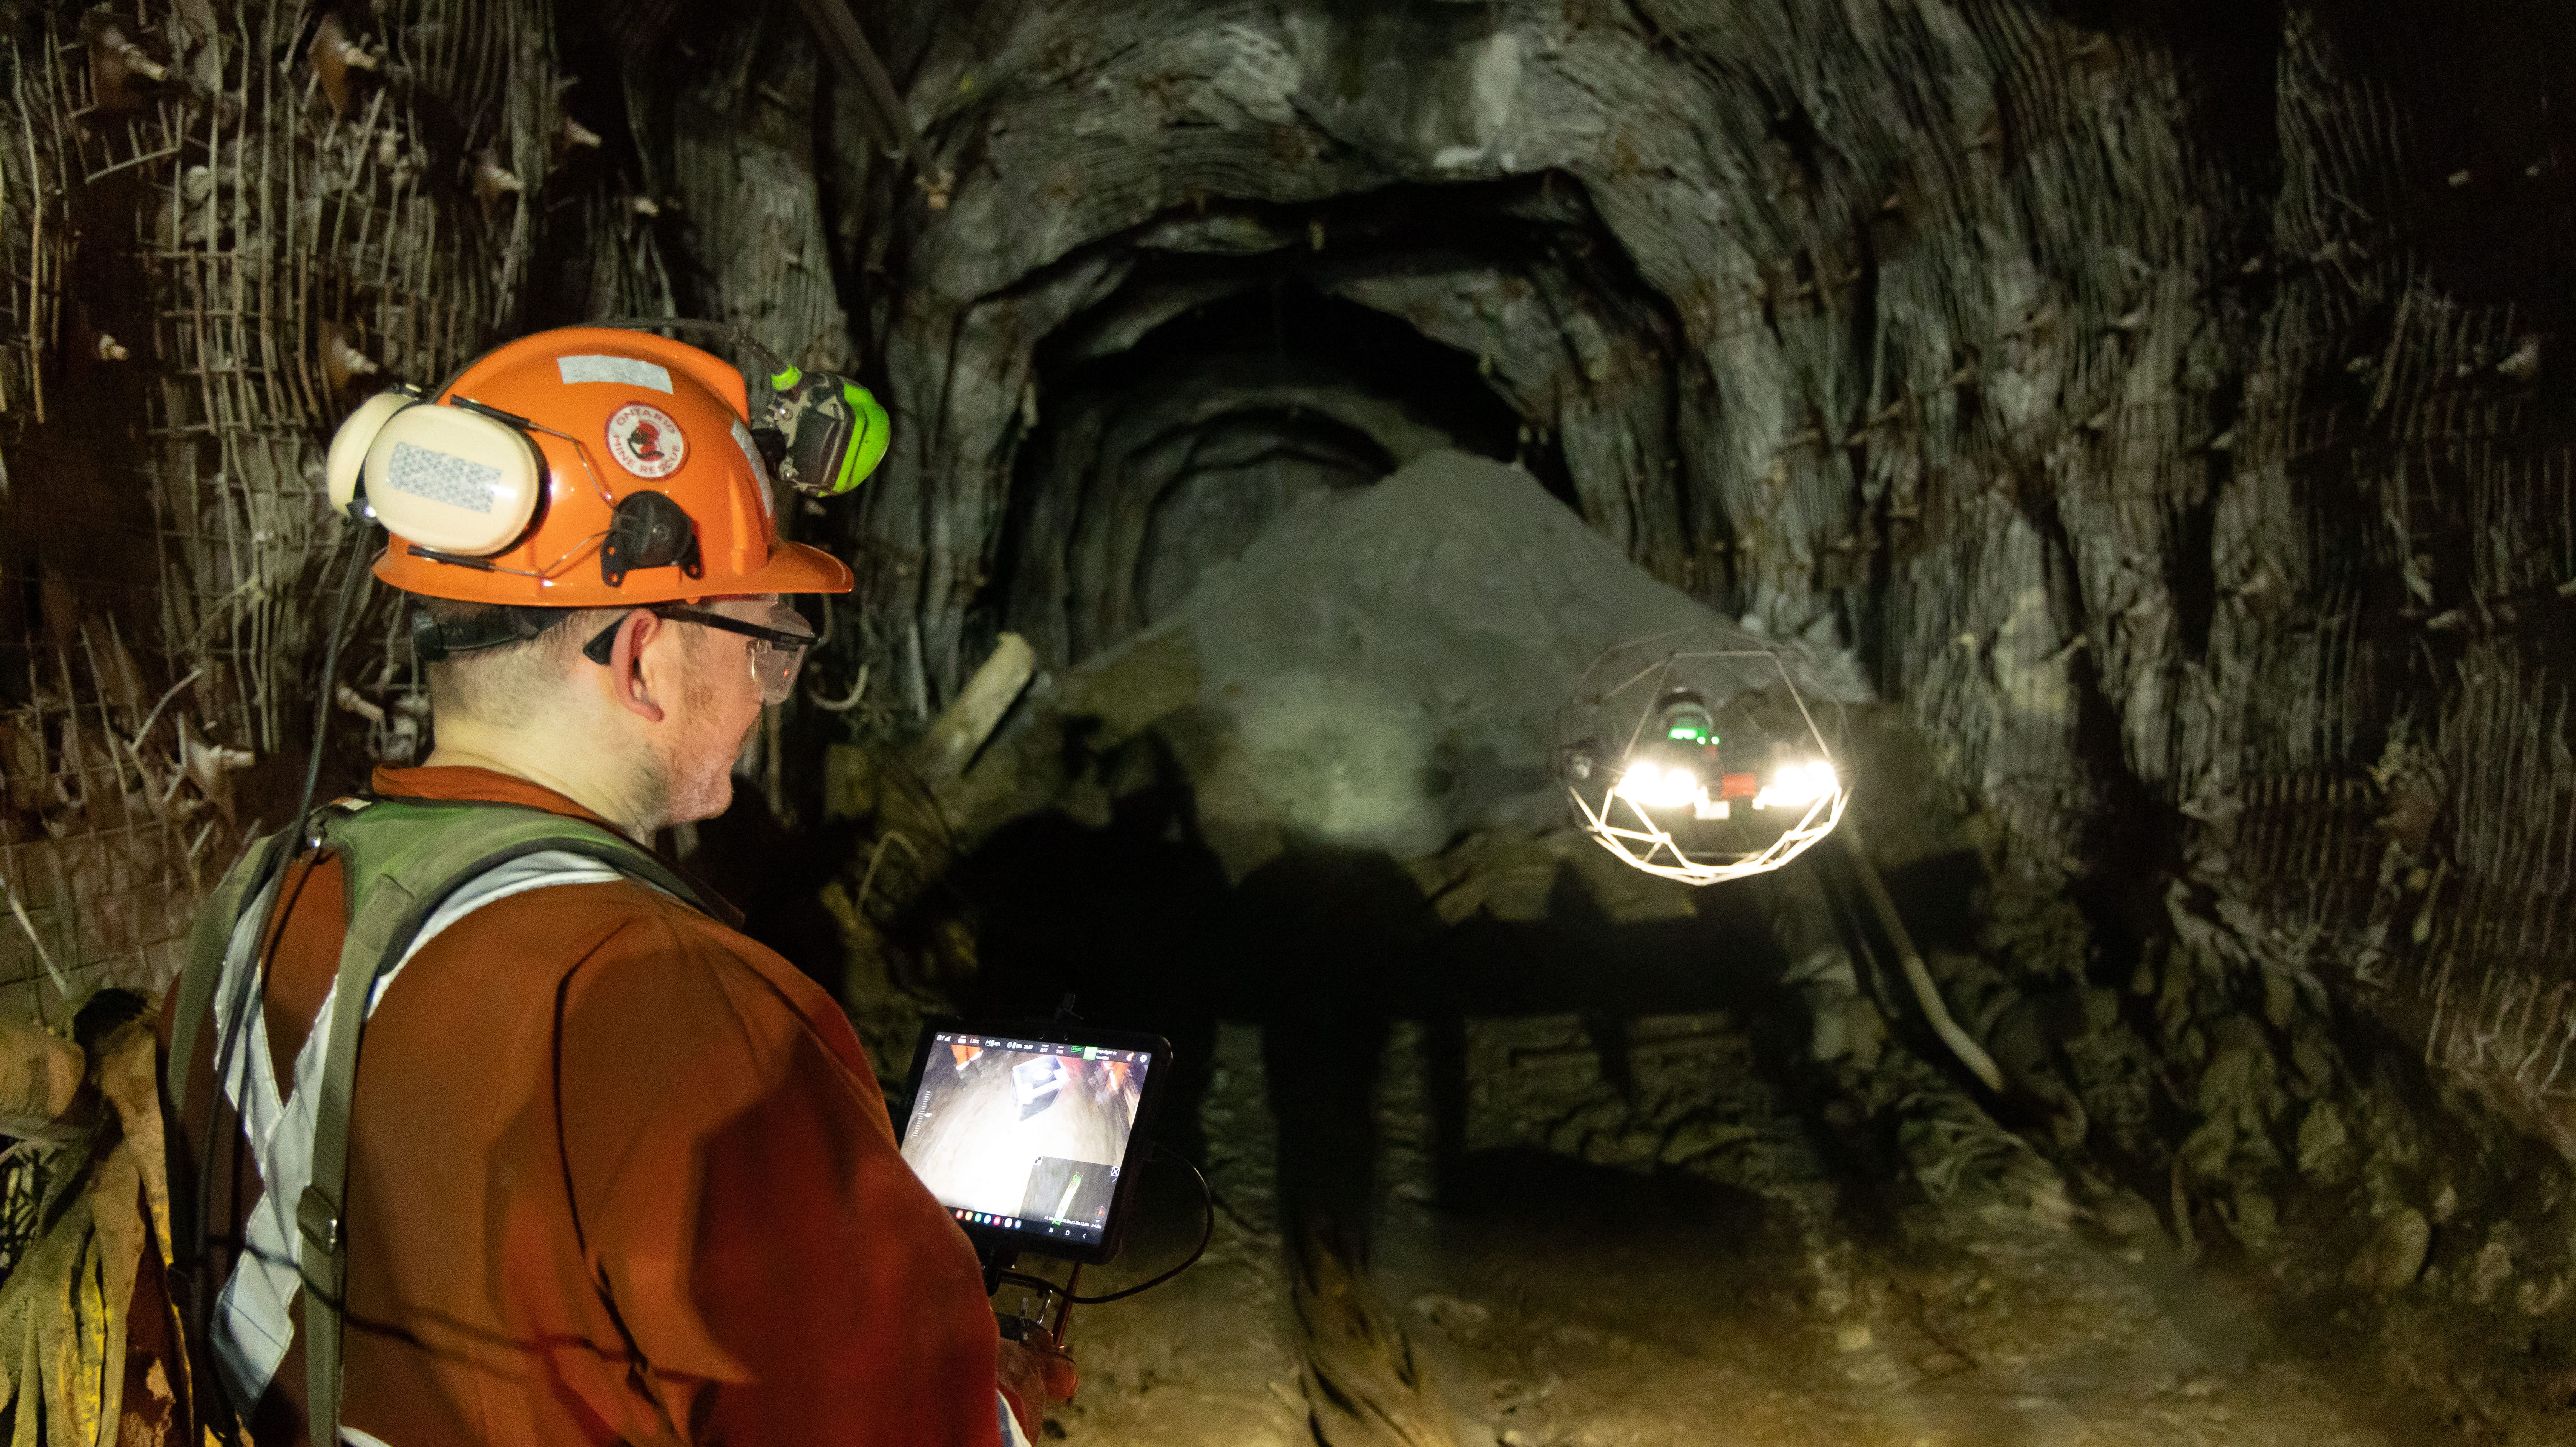
Using the Elios 3 to improve site safety on a mine in...
Case studies
|
Mining
Mining
124157182340
Mining More Efficiently at Glencore Kidd Operations With...

Case studies
|
Sewer
Sewer
123756979336
Veolia Water increase safety and efficiency of their...
Webinar
|
Oil & Gas
{name=Oil & Gas, label=Oil & Gas}
118083418243
Elios Drones in the Oil & Gas industry: Digitalizing Asset...

Case studies
|
Oil & Gas
Oil & Gas
116558412724
TEXO Case Study: Inspection of Oil Tanks on an FPSO
Case studies
|
Nuclear
Nuclear
115168022934
How the Elios 3 RAD payload is detecting radiation hotspots

News
|
Nuclear
Nuclear
115599057758
Flyability launches a radiation survey meter payload for...


News
|
Nuclear
Nuclear
104316492821
Flyability and Mirion Technologies announce collaboration...
News
|
Nuclear
Nuclear
99023789955
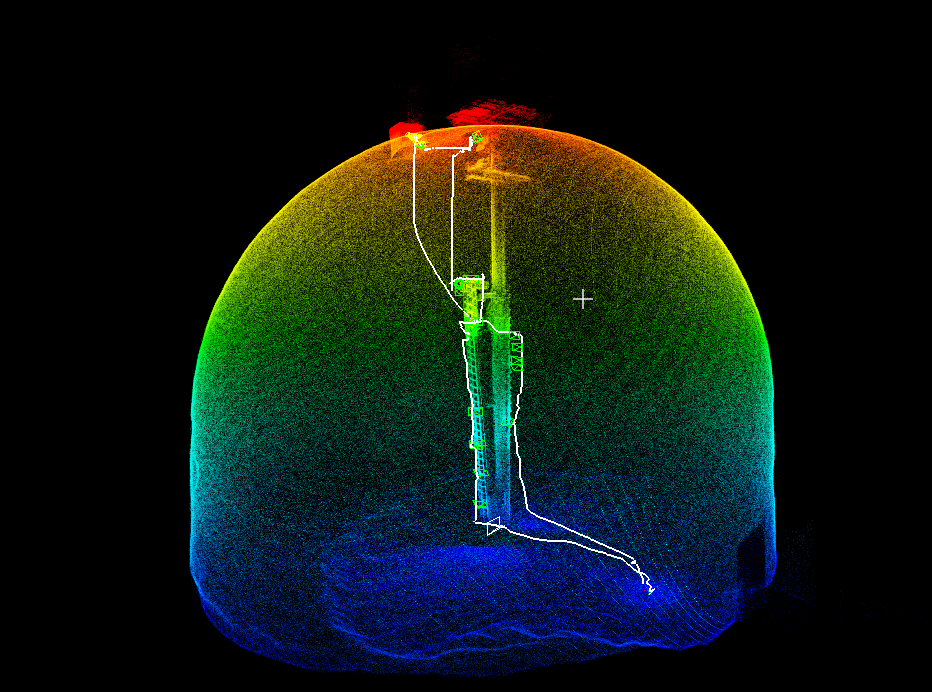
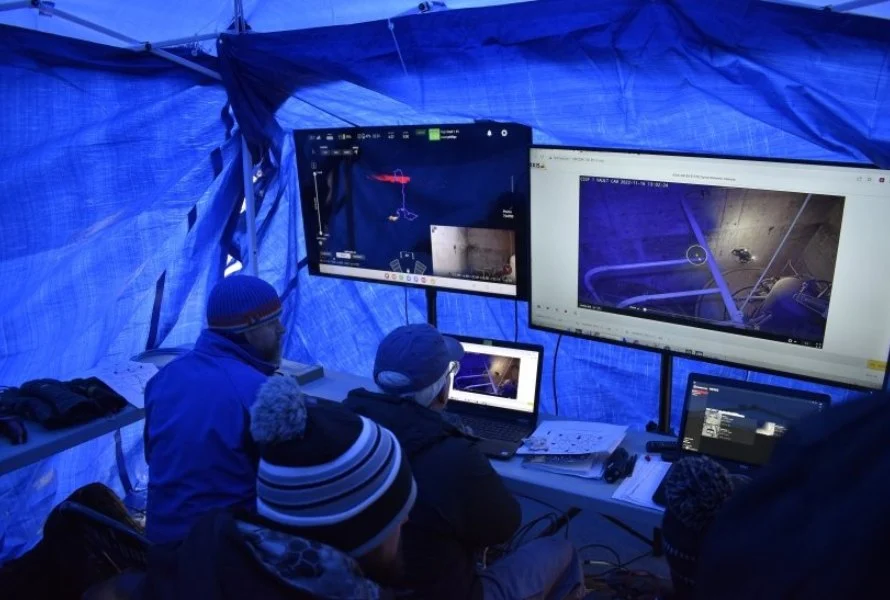
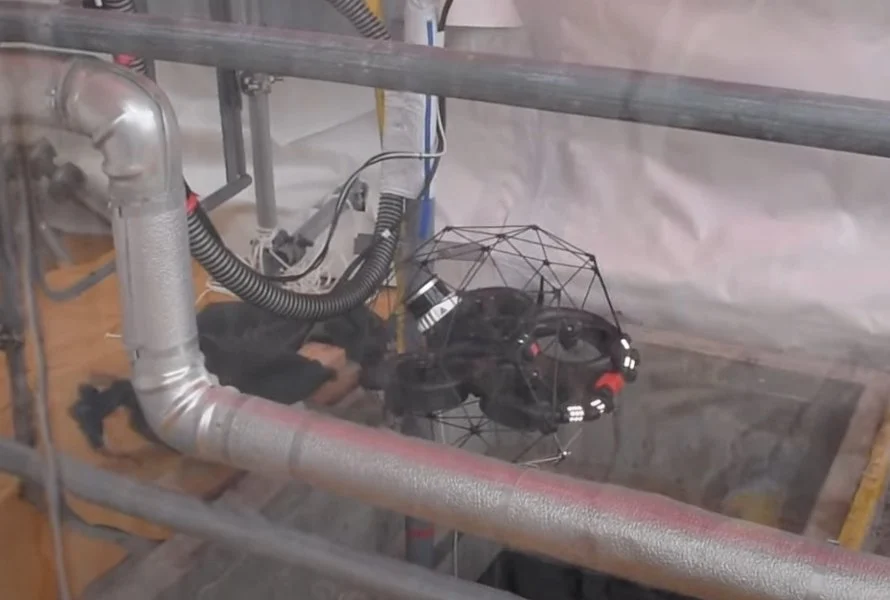
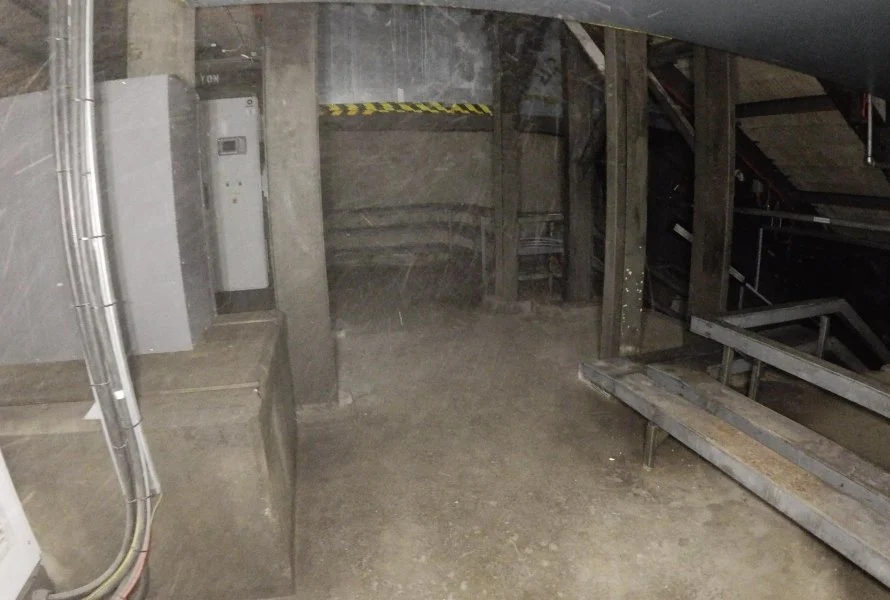
In Historic Mission, DOE Site Uses Elios 3 to 3D Map...
Case studies
|
Nuclear
Nuclear
99056168704
Elios 3 Used to 3D Map Irradiated Storage Vault at DOE Site
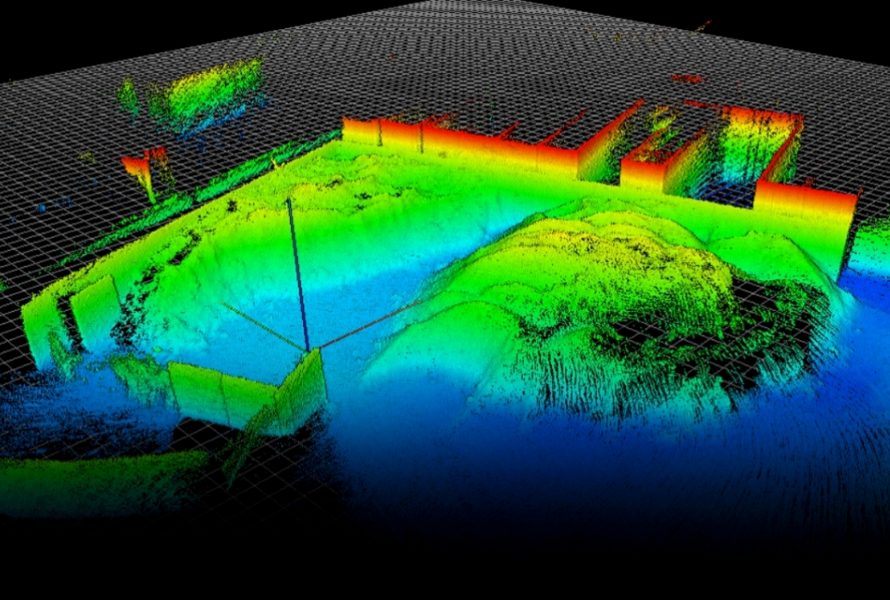
Webinar
79839535243
How to Make Survey-Grade 3D Models with the Elios 3 and...
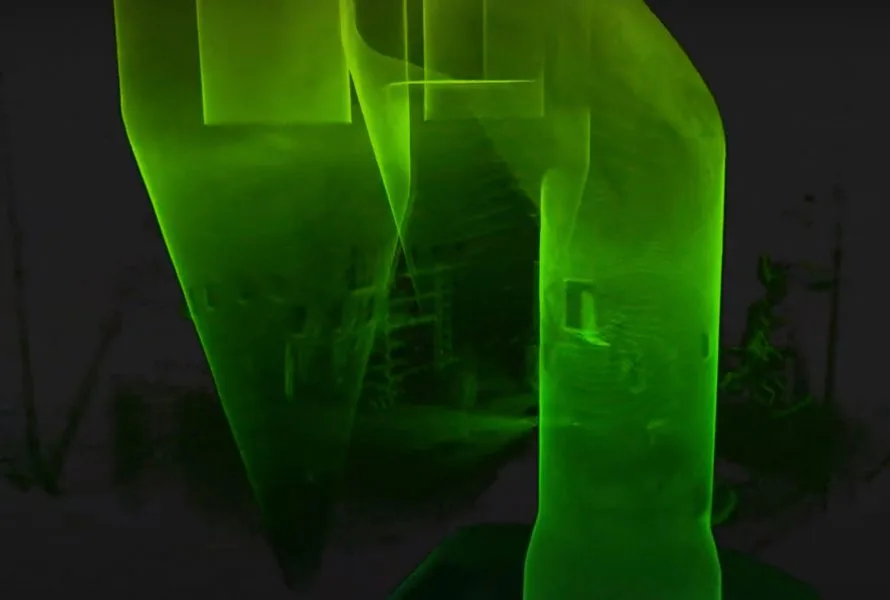
Case studies
|
Cement
Cement
86441577065
Elios 3 Makes Digital Twins of New Cement Plant to Track...
Case studies
|
Mining
Mining
83333686068
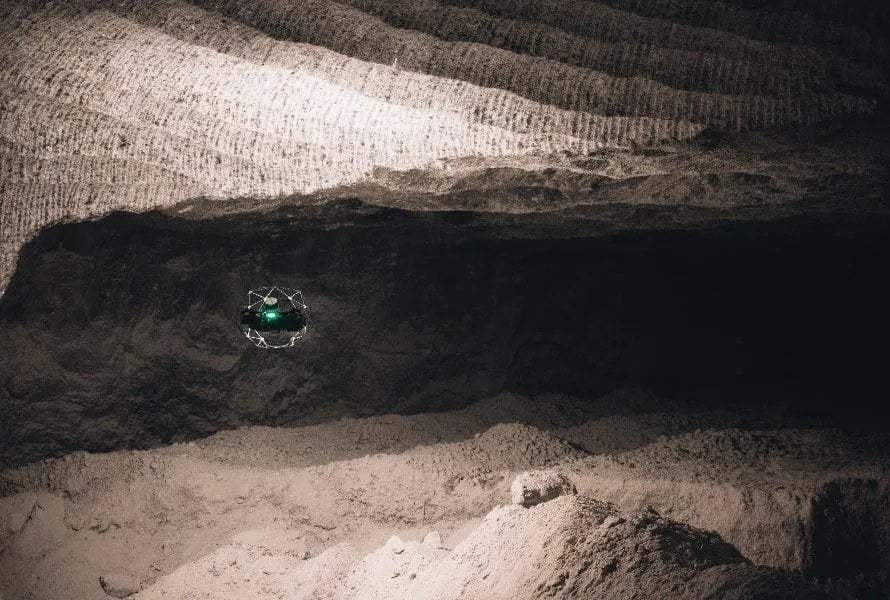
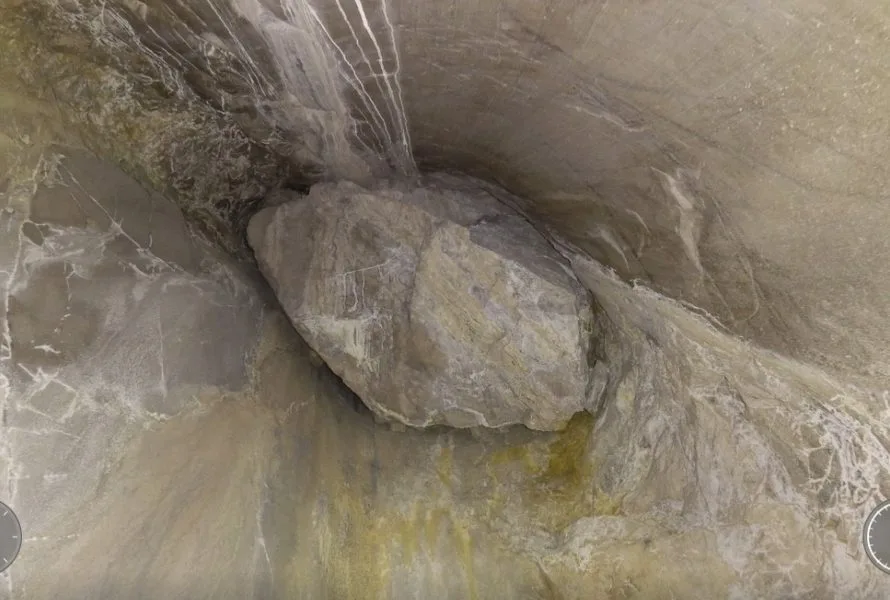
3D Maps from Elios 3 Help Mining Operation Find Cause of...
Case studies
|
Mining
Mining
72501121816
Elios 3 Helps Luxembourg 3D Map Slate Mine Turned into...
Case studies
|
Nuclear
Nuclear
72503766622
Vattenfall Uses Elios 3 to Map No Go Zones in...
Case studies
|
Cement
Cement
82147951626
Major Cement Company Improves Stockpile Measurement with...
Case studies
|
Mining
Mining
72526459443
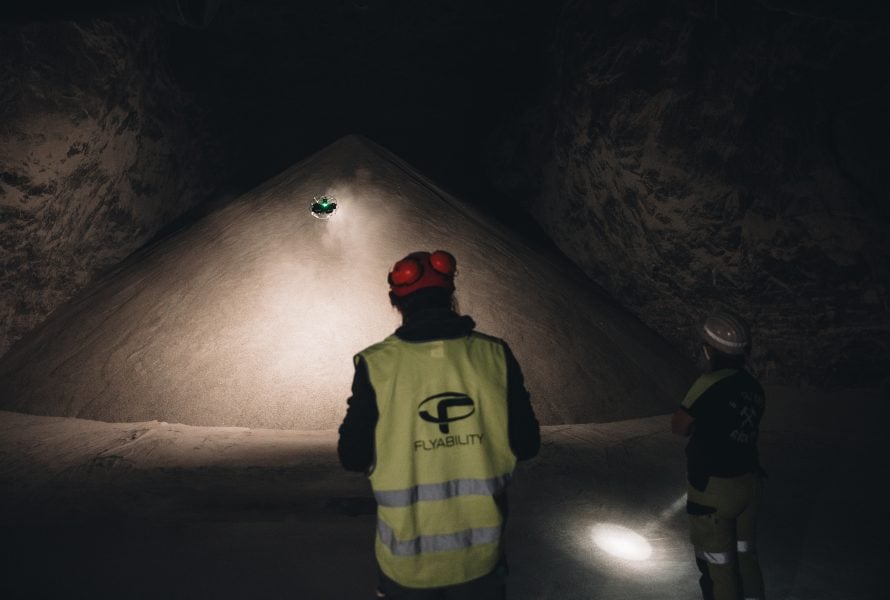
Elios 3 Stockpile Measurements Improve Safety & Accuracy at...
Webinar
79615074948
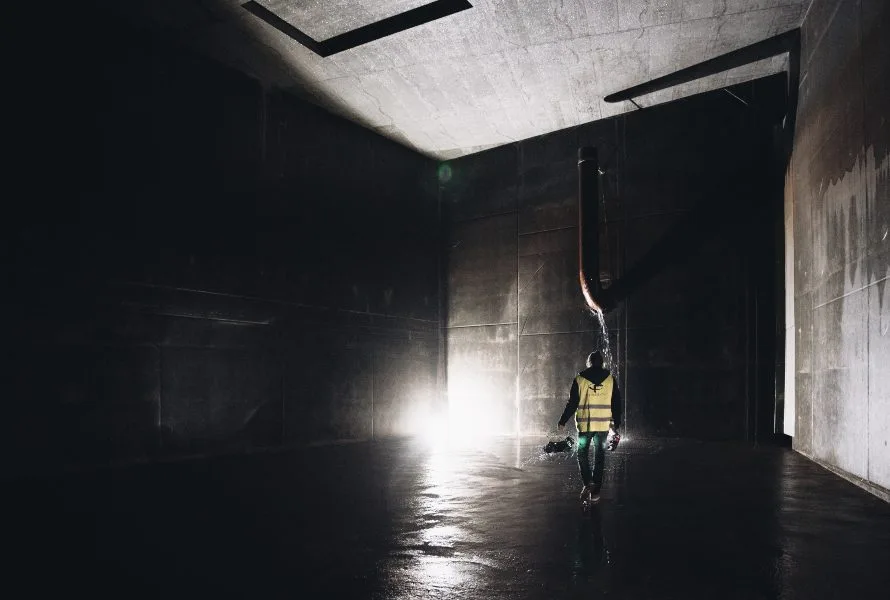
Remote Drone Inspections: How to Do an Inspection with a...

Case studies
|
Sewer
Sewer
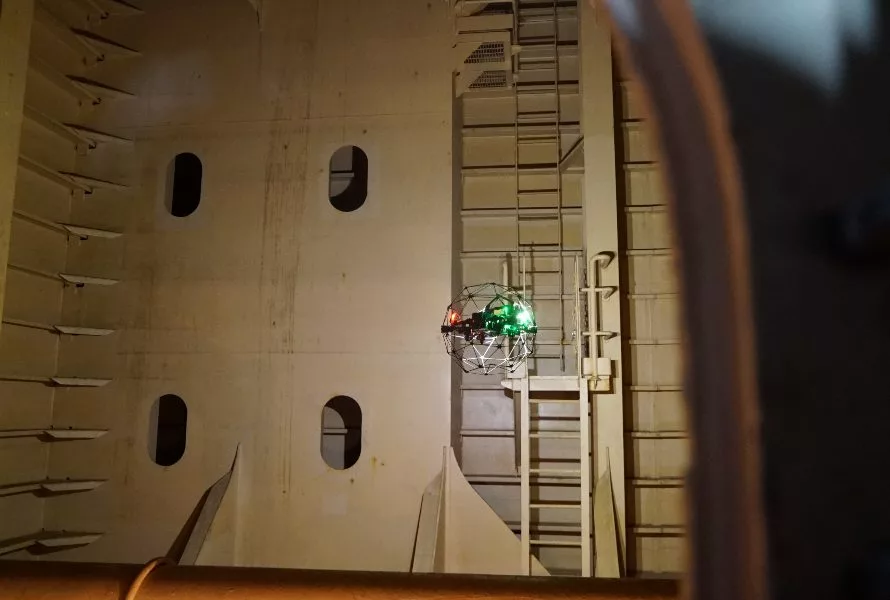
72486101850
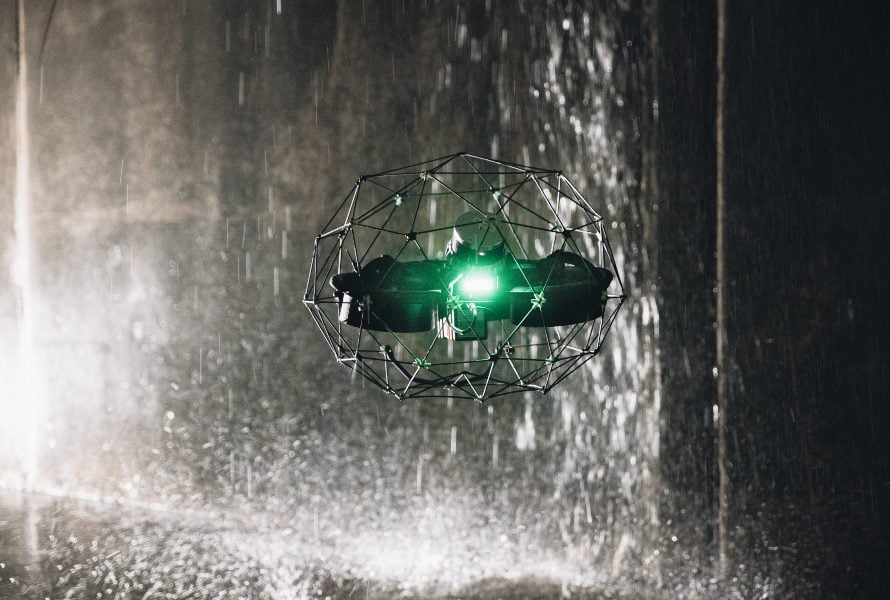
Elios 3’s Indoor 3D Mapping Helps City of Lausanne in Water...
Case studies
|
Maritime
Maritime
65866322606
Flyability's Elios Cuts Downtime by 80% in Drilling Rig...
News
|
Sewer
Sewer
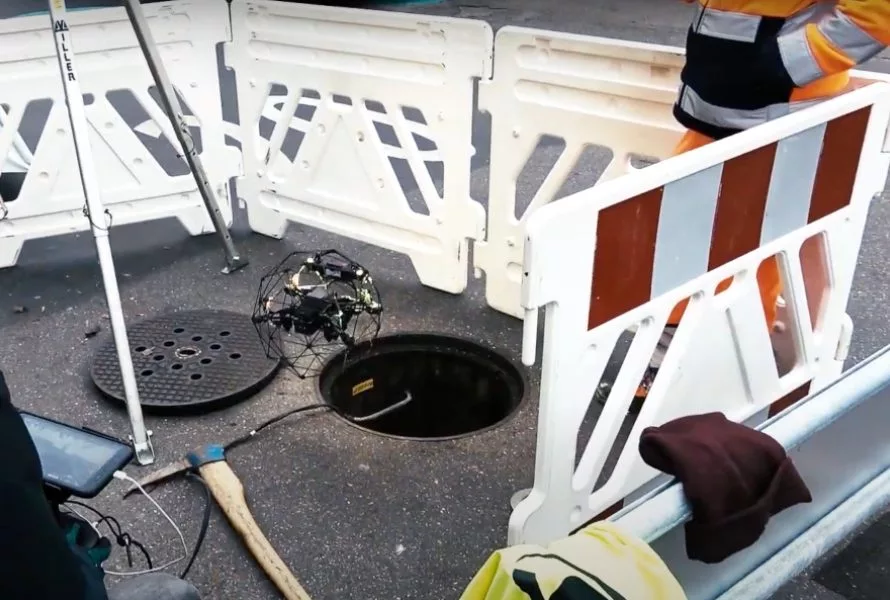
64331569520
WinCan and Flyability partner on end-to-end solution for...


Webinar
|
Power Generation
{name=Power Generation, label=Power Generation}
57047516306
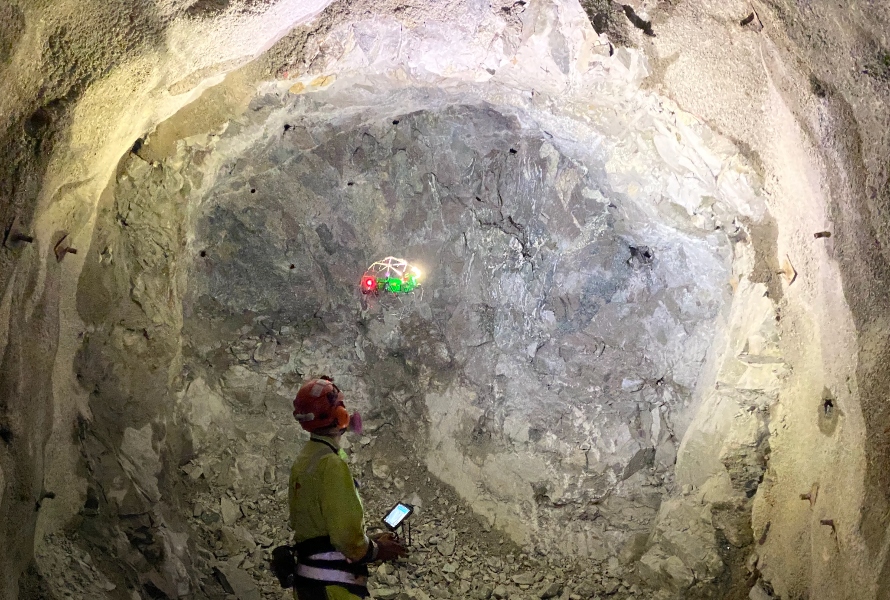
How Indoor Drones Help Reduce Radiation Exposure: New...
Case studies
|
Mining
Mining
57531353177
Testing the Elios drone at a High Altitude Mine Located in...




News
|
Mining
Mining
56282237259
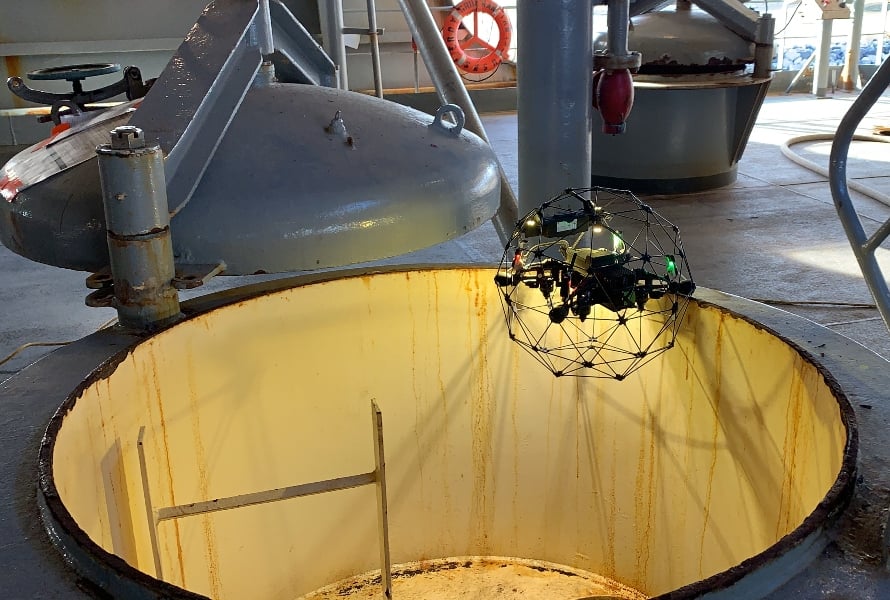
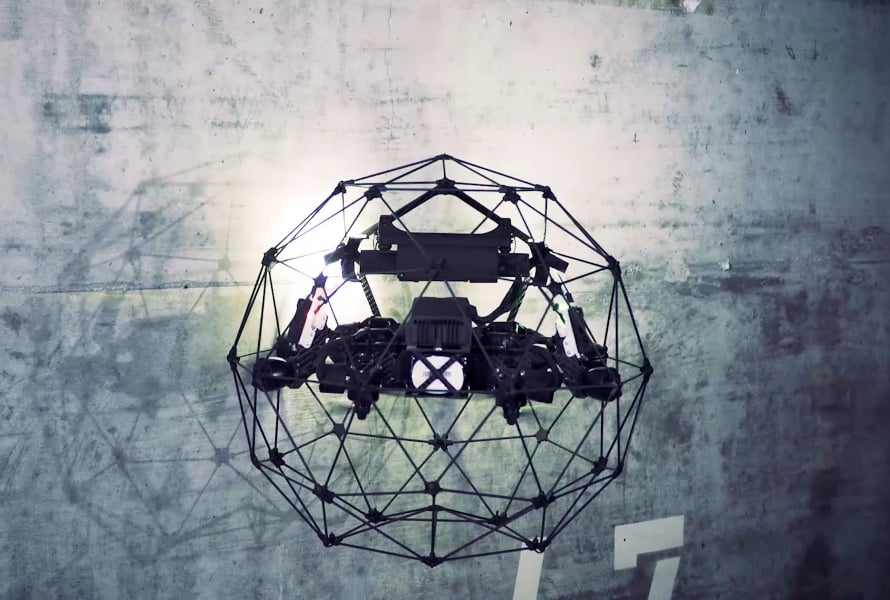
Team CERBERUS wins DARPA Subterranean Challenge, takes home...

Case studies
|
Maritime
Maritime
49959985240
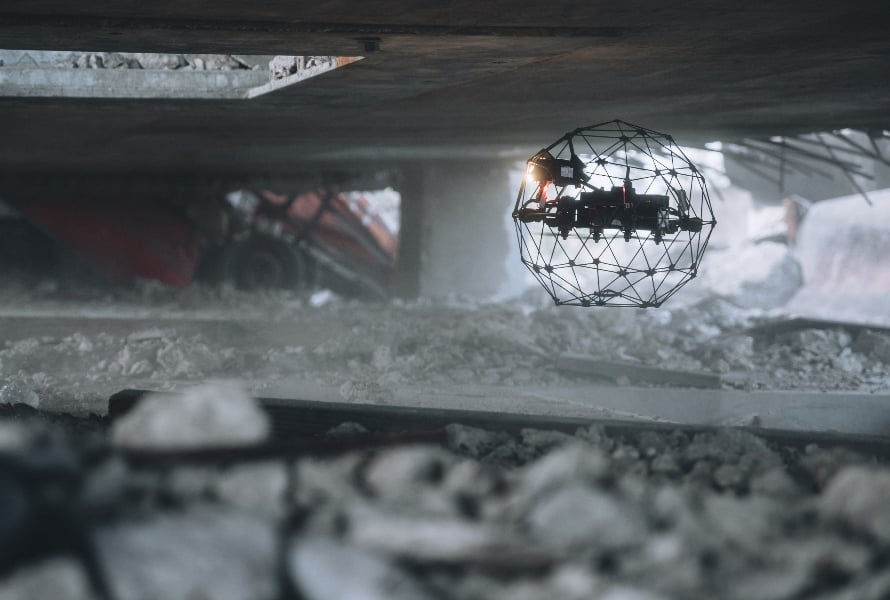
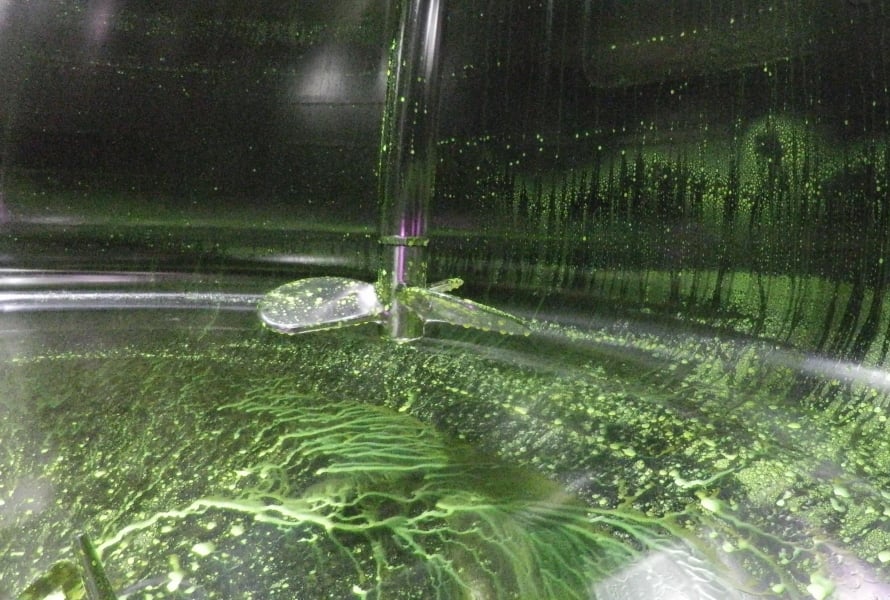
DroneUp Saves 700+ Hours in ABS Tank Inspection with Elios 2



Case studies
|
Pharmaceuticals
Pharmaceuticals
46457055268
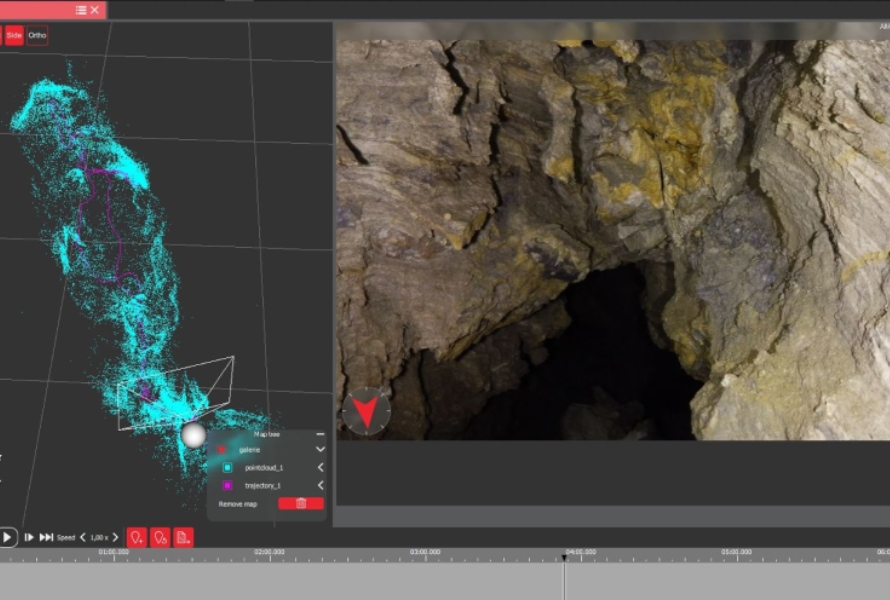
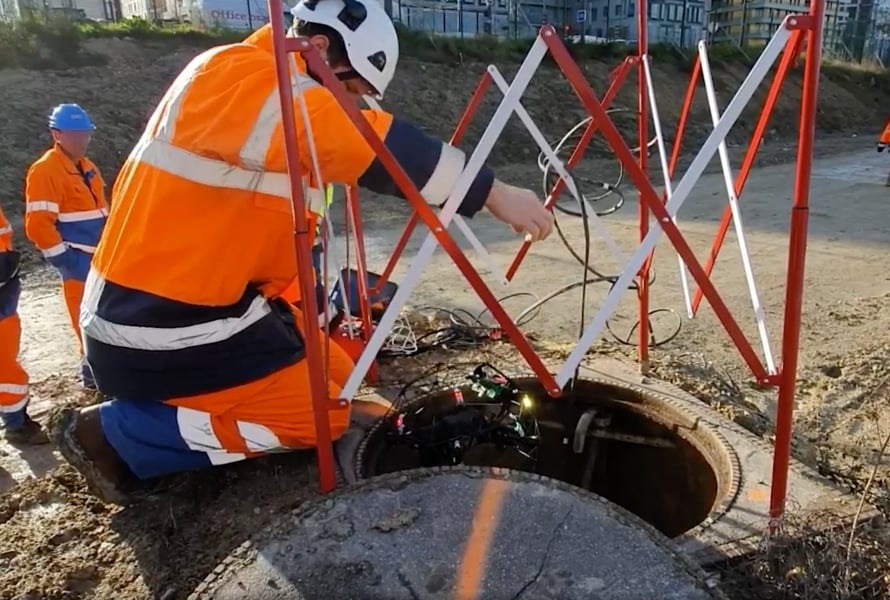
Major Pharmaceutical Company Saves Using the Elios 2 for...
Case studies
|
Sewer
Sewer
44997426538
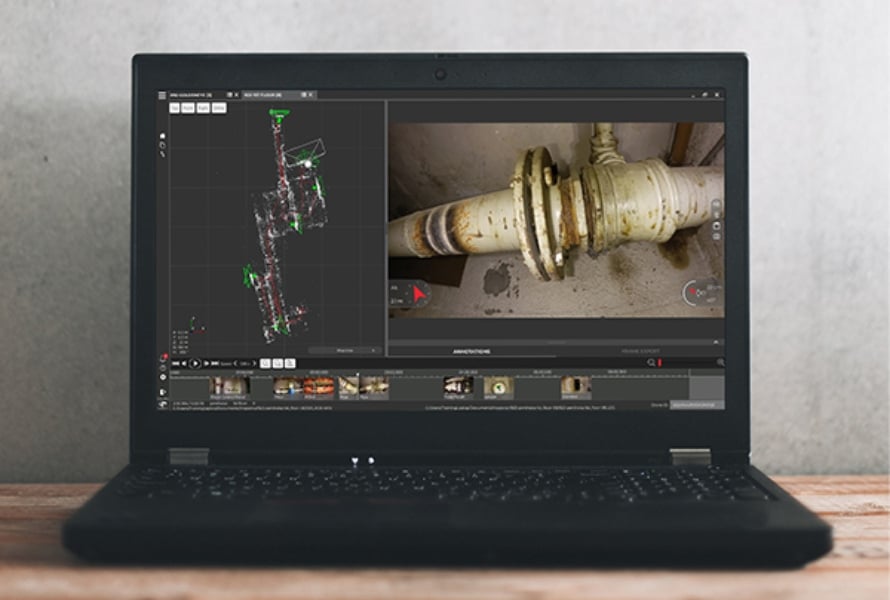
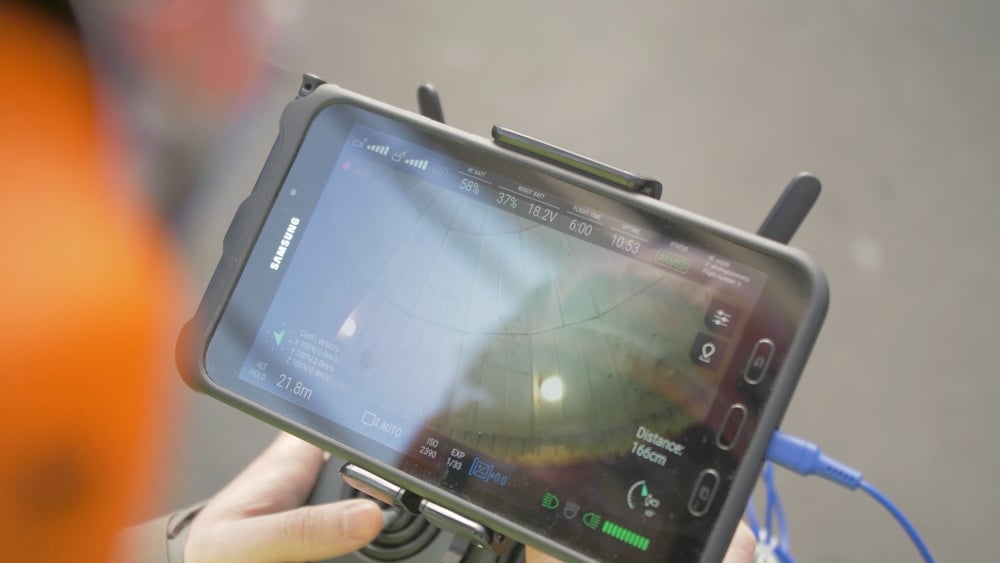
Sewer Inspections by Drone: How Suez RV Osis Uses the Elios...
Webinar
41020798670
Drone Inspections: How to Manage Data for All Stakeholders...

Webinar
41020798669
Outdoor Drone Inspections: Case Studies and Best Practices...
Case studies
|
Public Safety
Public Safety
43598557721
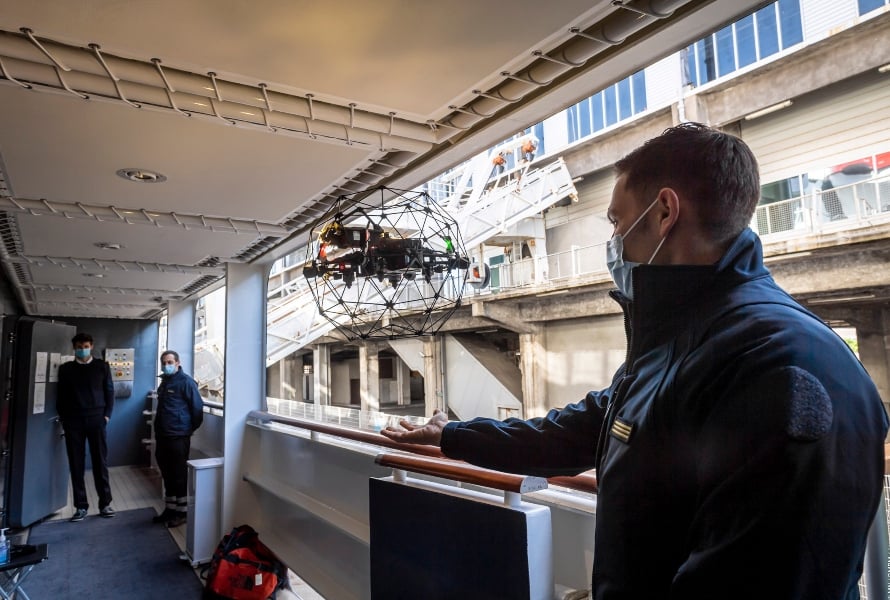
Marine Firefighters of Marseille Test the Elios 2 for Ship...
Webinar
41019254489
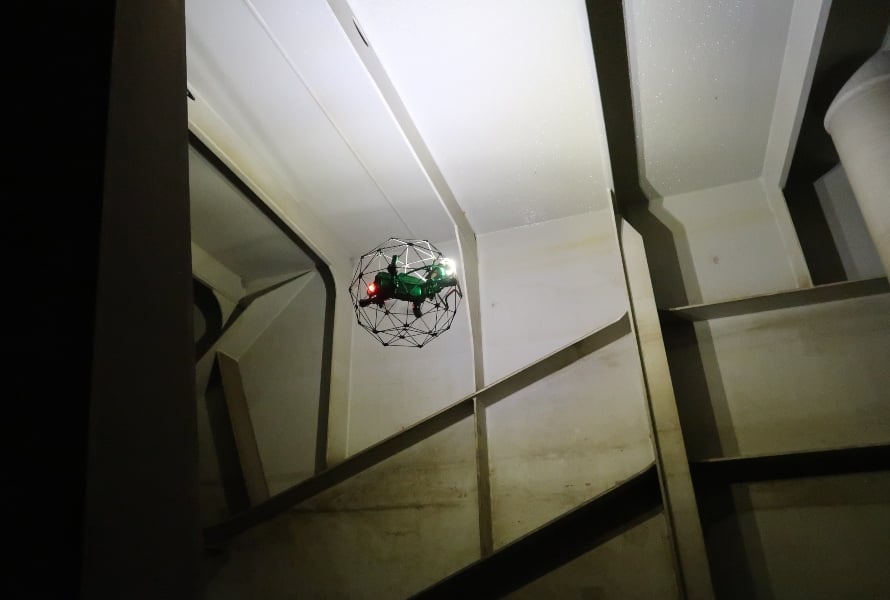
Indoor Drone Inspections: Case Studies and Best Practices...
Webinar
41020798668
Drone Inspections: Insourcing vs. Outsourcing Your Drone...


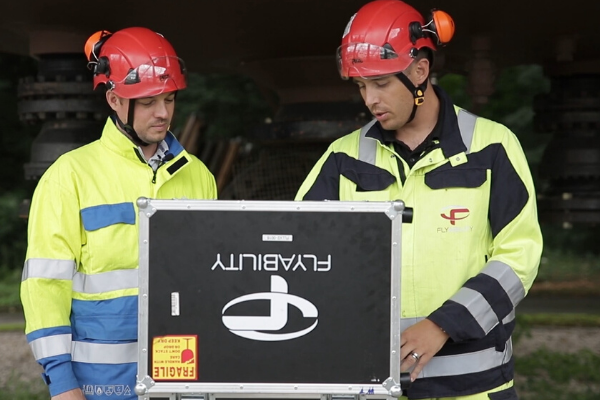
Webinar
41020798667
The Benefits of Drone Inspections: How Inspectors Are Using...


Webinar
38266946266
[SK] Elios 2 Use Cases in South Korea (Airsens Co LTD) -...
Webinar
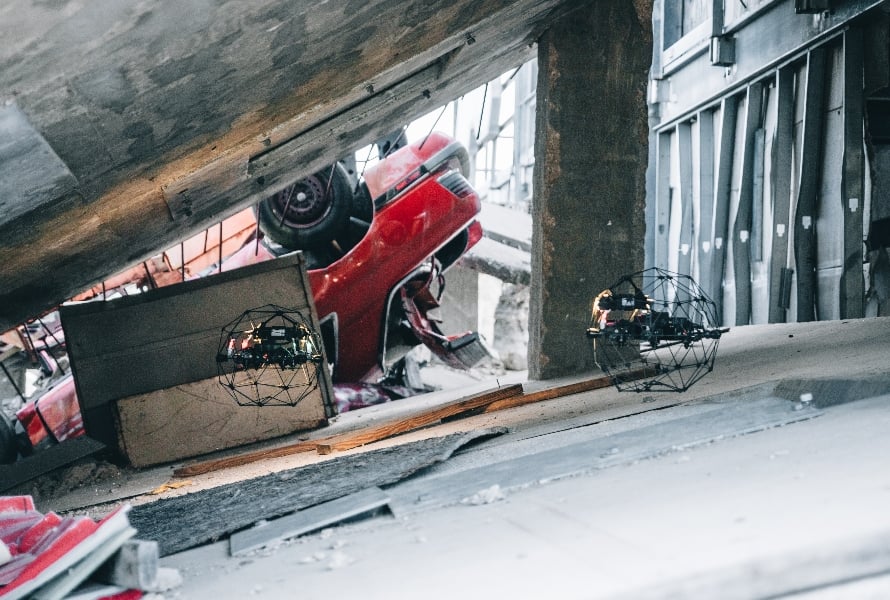
38461011305
Discover How Inspector 3.0 Will Change The Way You Look At...
Webinar
37617369207
How to Conduct Inspections in High Risk Environments—2 of 2
News
|
Nuclear
Nuclear
37373600133
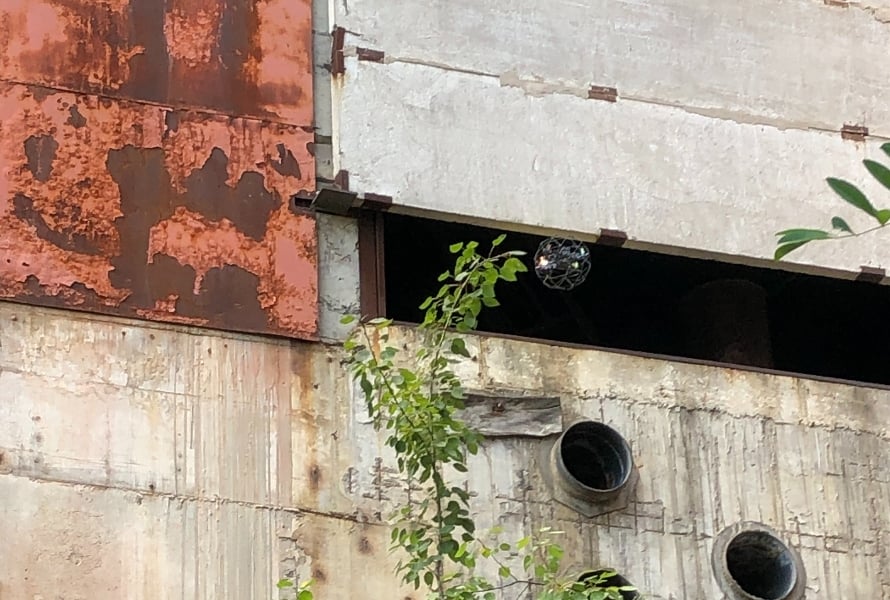
Elios Drone Tested at the Chernobyl Nuclear Power Plant

Webinar
36301190647
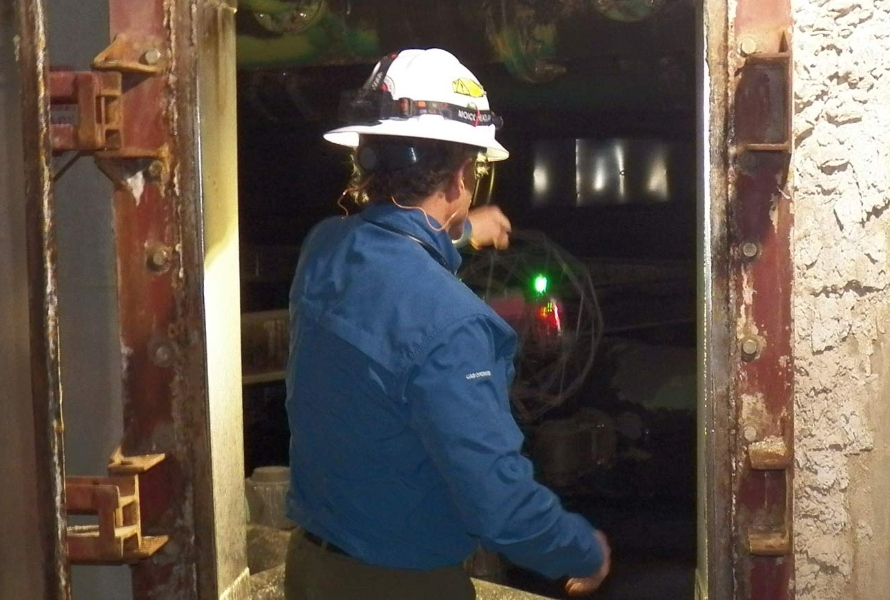
How to Conduct Inspections in High Risk Environments—1 of 2
Case studies
|
Power Generation
Power Generation
36162191521
Drone Reduces Time Needed for Scrubber Inspection by 98%,...

Webinar
36415259434
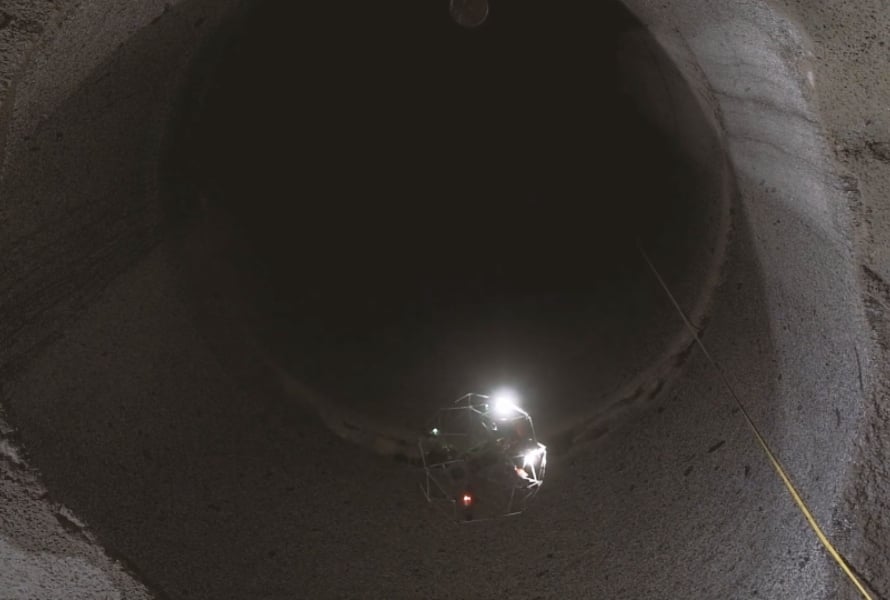
[FR] Comment réaliser des inspections en milieux confinés...
/featured-diesel-tank-inspection.jpg)


Webinar
34303338813
HOW TO GET THE MOST OUT OF YOUR DRONE'S BATTERY LIFE—ADVICE...
Case studies
|
Food & Beverage
Food & Beverage
33505264514
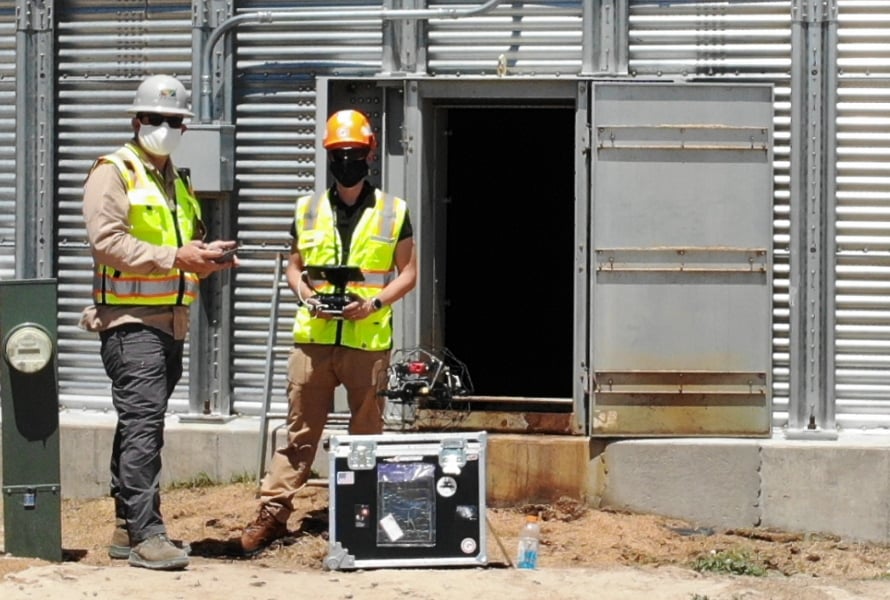
Grain Bin Inspections See Improved Safety, 95% Cost...

Webinar
30895349173
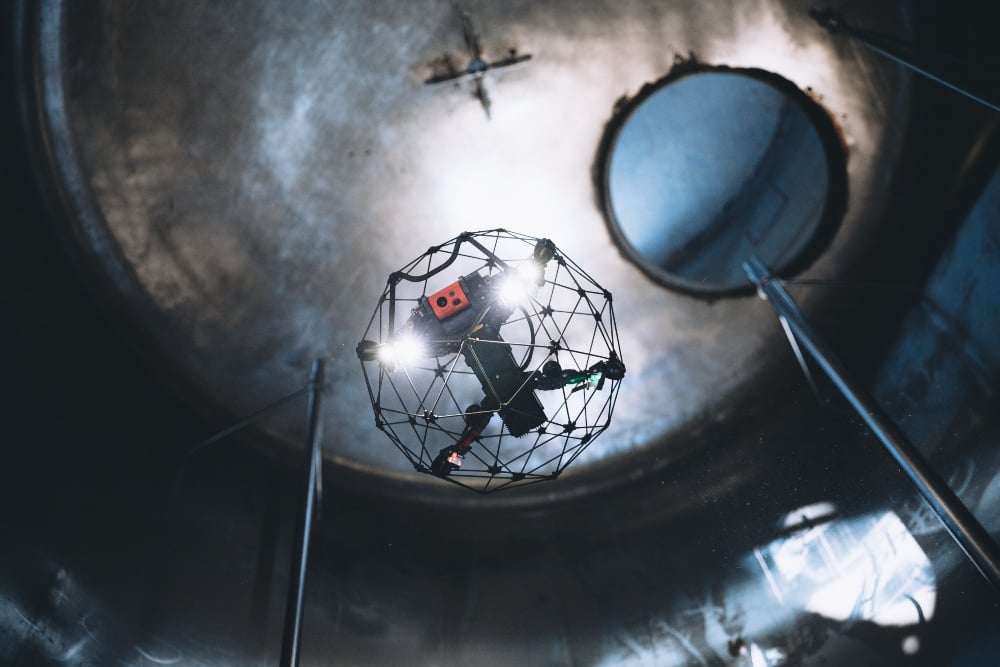
DRONES IN MARINE & OFFSHORE: IMPROVING SAFETY AND REDUCING...
Webinar
|
Oil & Gas
{name=Oil & Gas, label=Oil & Gas}
30443935200
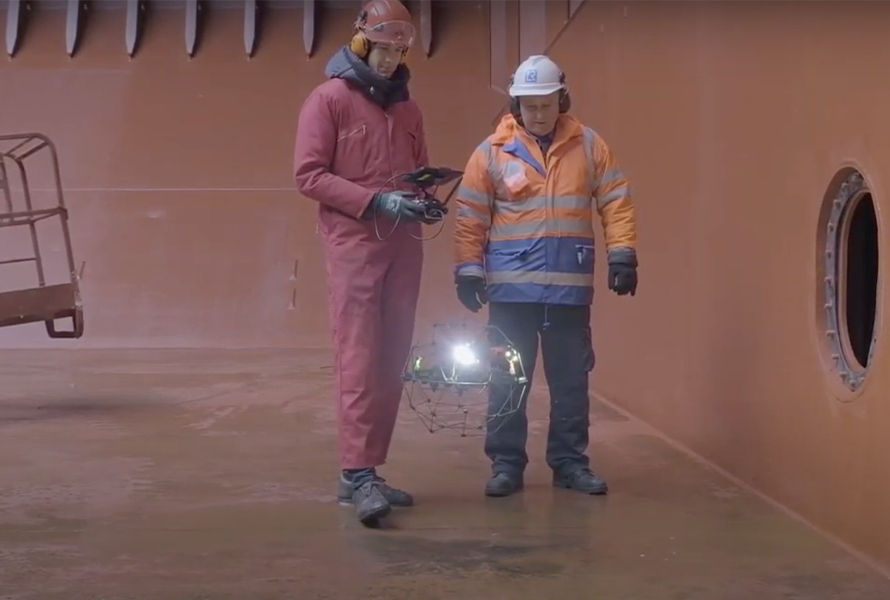
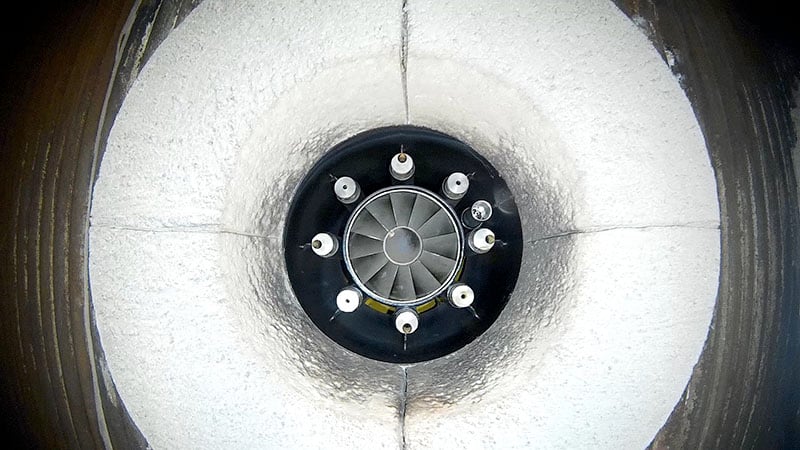
How to Mitigate Intrinsic Safety


Webinar
|
Power Generation
{name=Power Generation, label=Power Generation}
28944780058
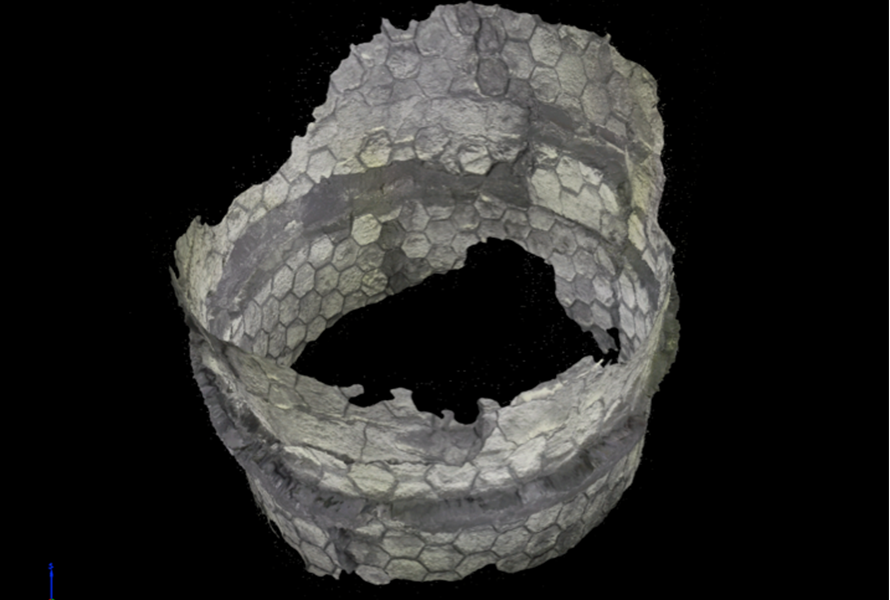
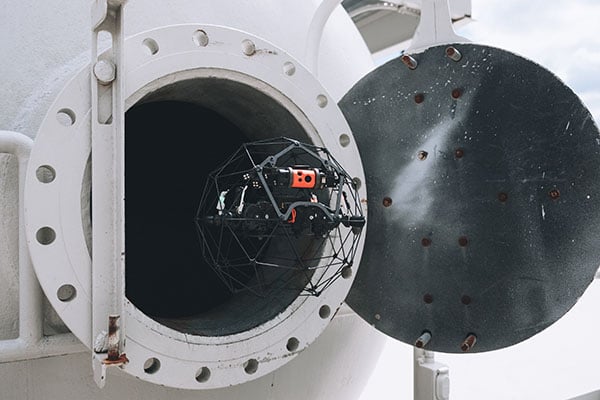
Drones in Power Generation: How Exelon Clearsight Uses...
Webinar
|
Oil & Gas
{name=Oil & Gas, label=Oil & Gas}
28419143347
DRONES IN OIL & GAS: HOW CHEVRON USES DRONES TO IMPROVE...

Webinar
28178284817
[IT] - COME EFFETTUARE ISPEZIONI SICURE IN SPAZI CONFINATI...

Webinar
28168774149
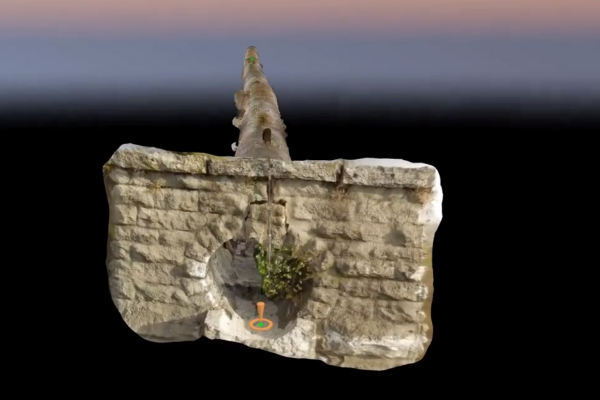
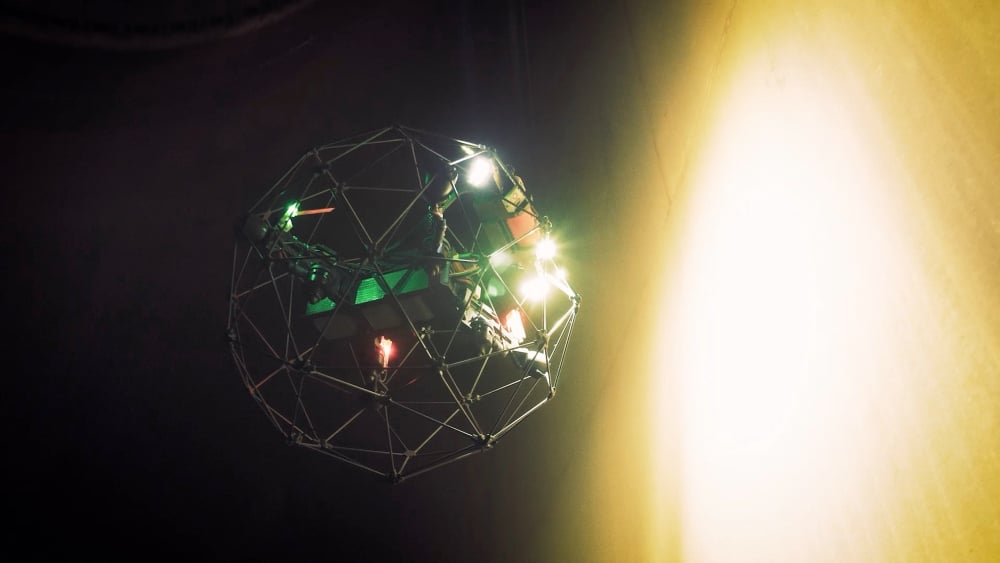
[DE] - WIE MAN IN SCHWER ZUGÄNGLICHEN BEREICHEN SICHERER...

Webinar
28203529759
LEARN HOW API AND ASME EXPERTS ARE WORKING TO EXPAND DRONE...


Webinar
28168774118
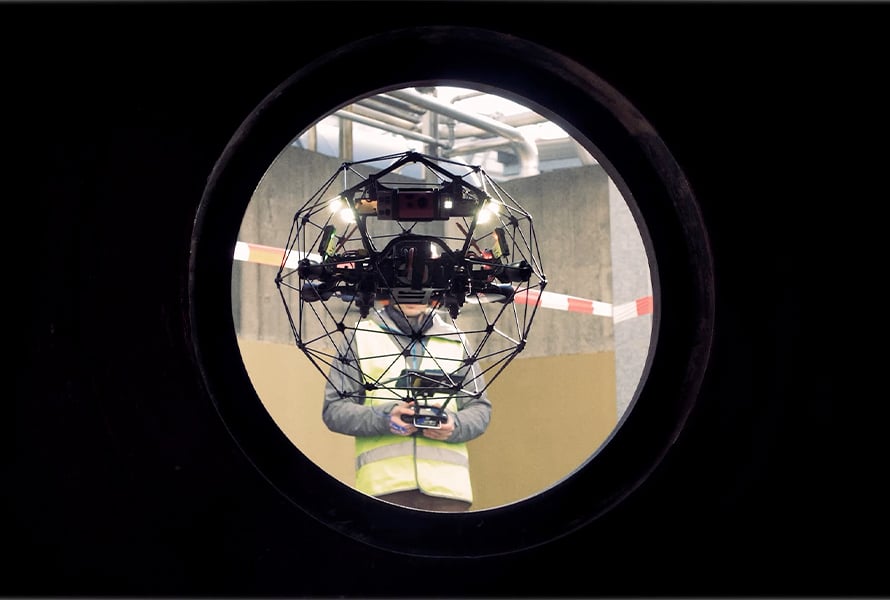
[ES] - CÓMO REALIZAR INSPECCIONES DE ESPACIOS CONFINADOS...
Case studies
|
Power Generation
Power Generation
24381357273
$420,000 Saved in Elios Test by Argentinian Energy Company








Case studies
|
Infrastructure
Infrastructure
8352842433
Amusement Park Inspections: Faster, Safer, and More...
Case studies
|
Public Safety
Public Safety
6842075110
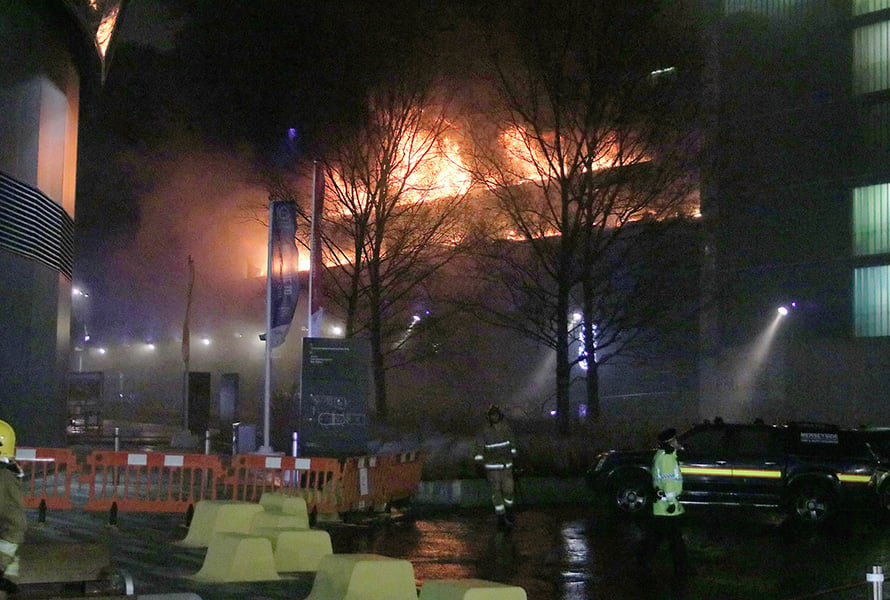
Safe Forensic Investigation in Liverpool Parking Lot...


Case studies
|
Public Safety
Public Safety
6823772291
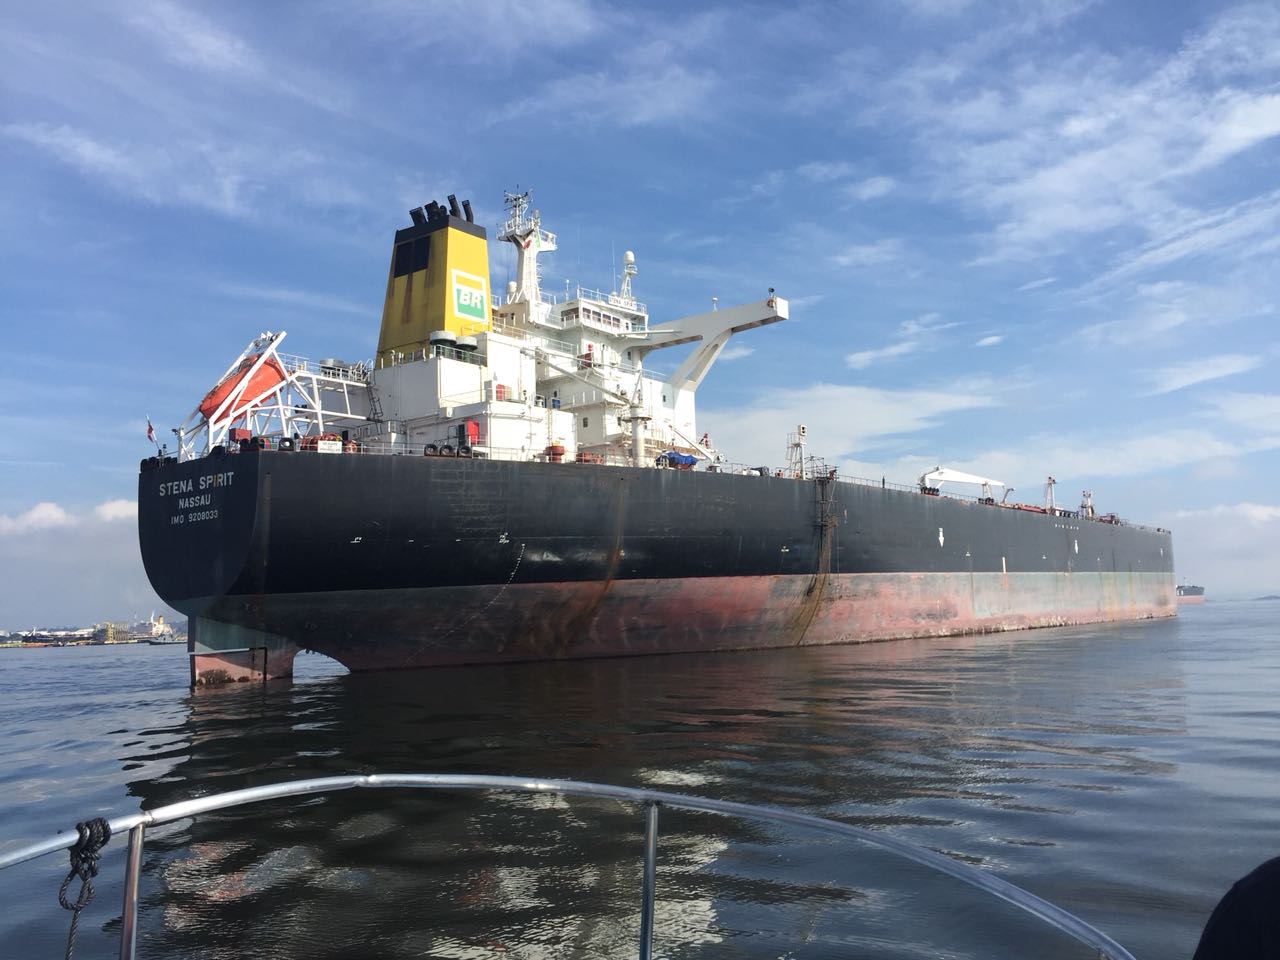
Security inspection reaches new heights at China-ASEAN Expo
Case studies
|
Maritime
Maritime
6629570251
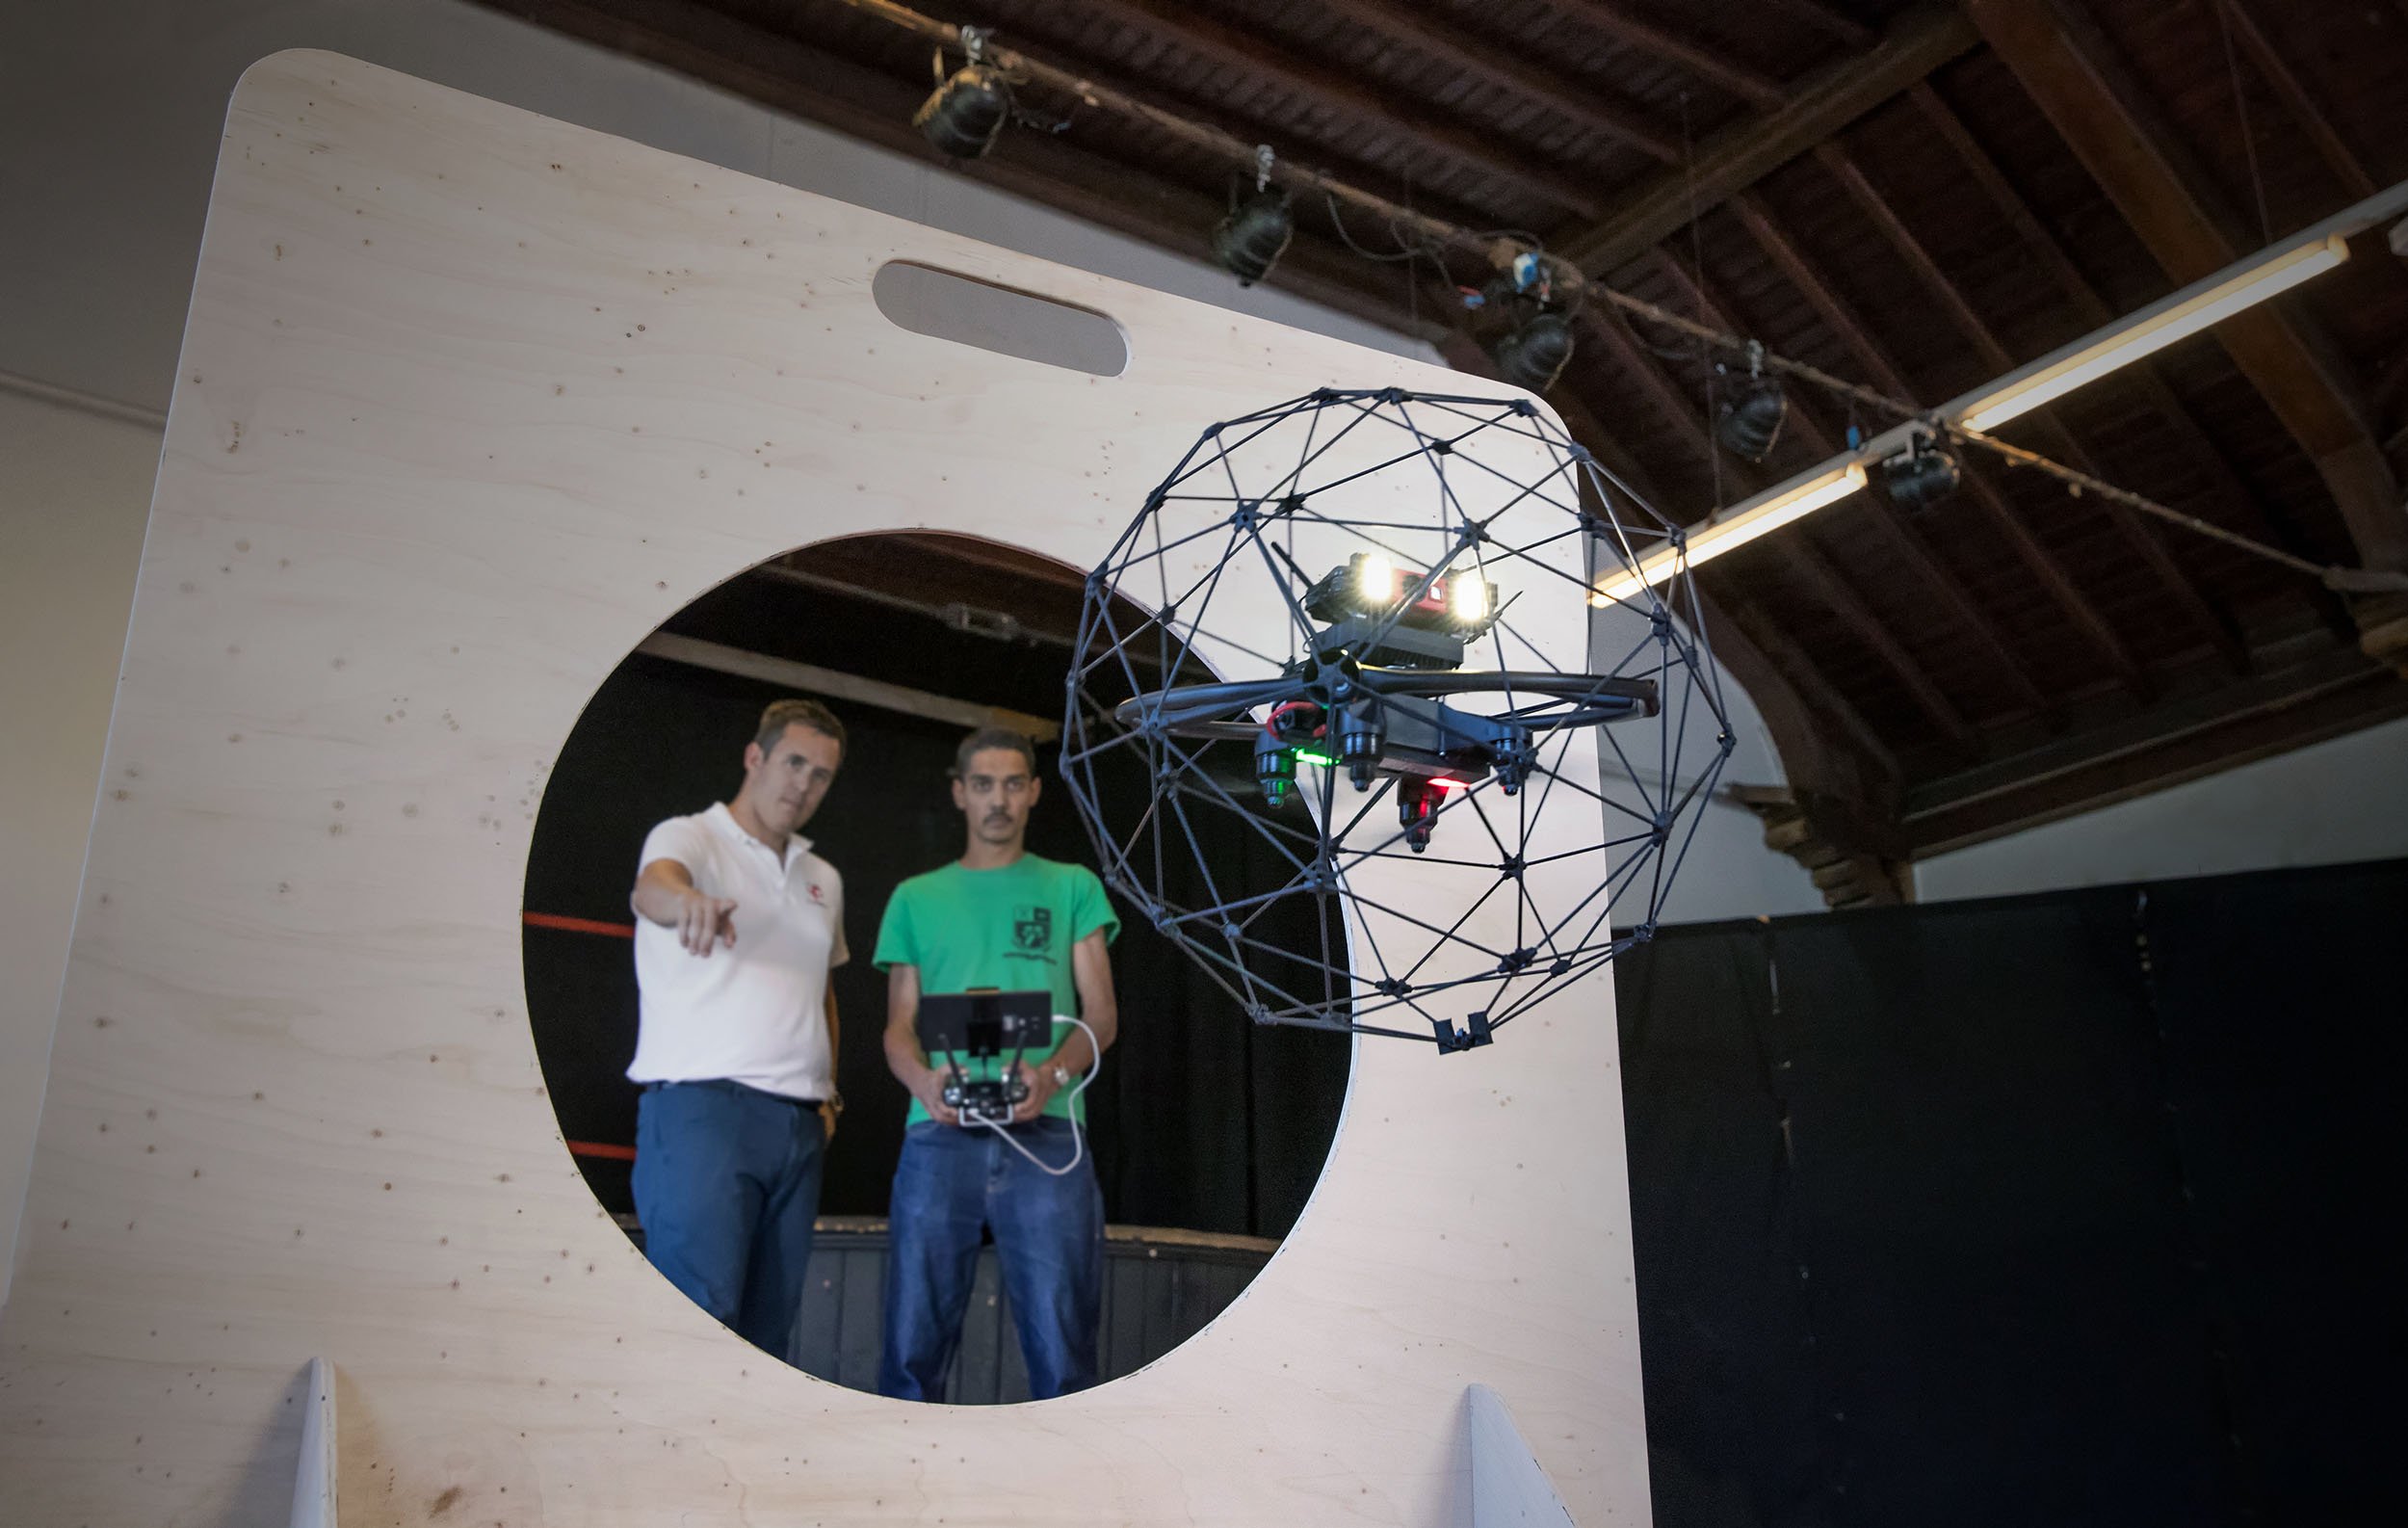
Shipping Inspections Smooth Sailing with Drone Technology



Case studies
|
Sewer
Sewer
6103334755
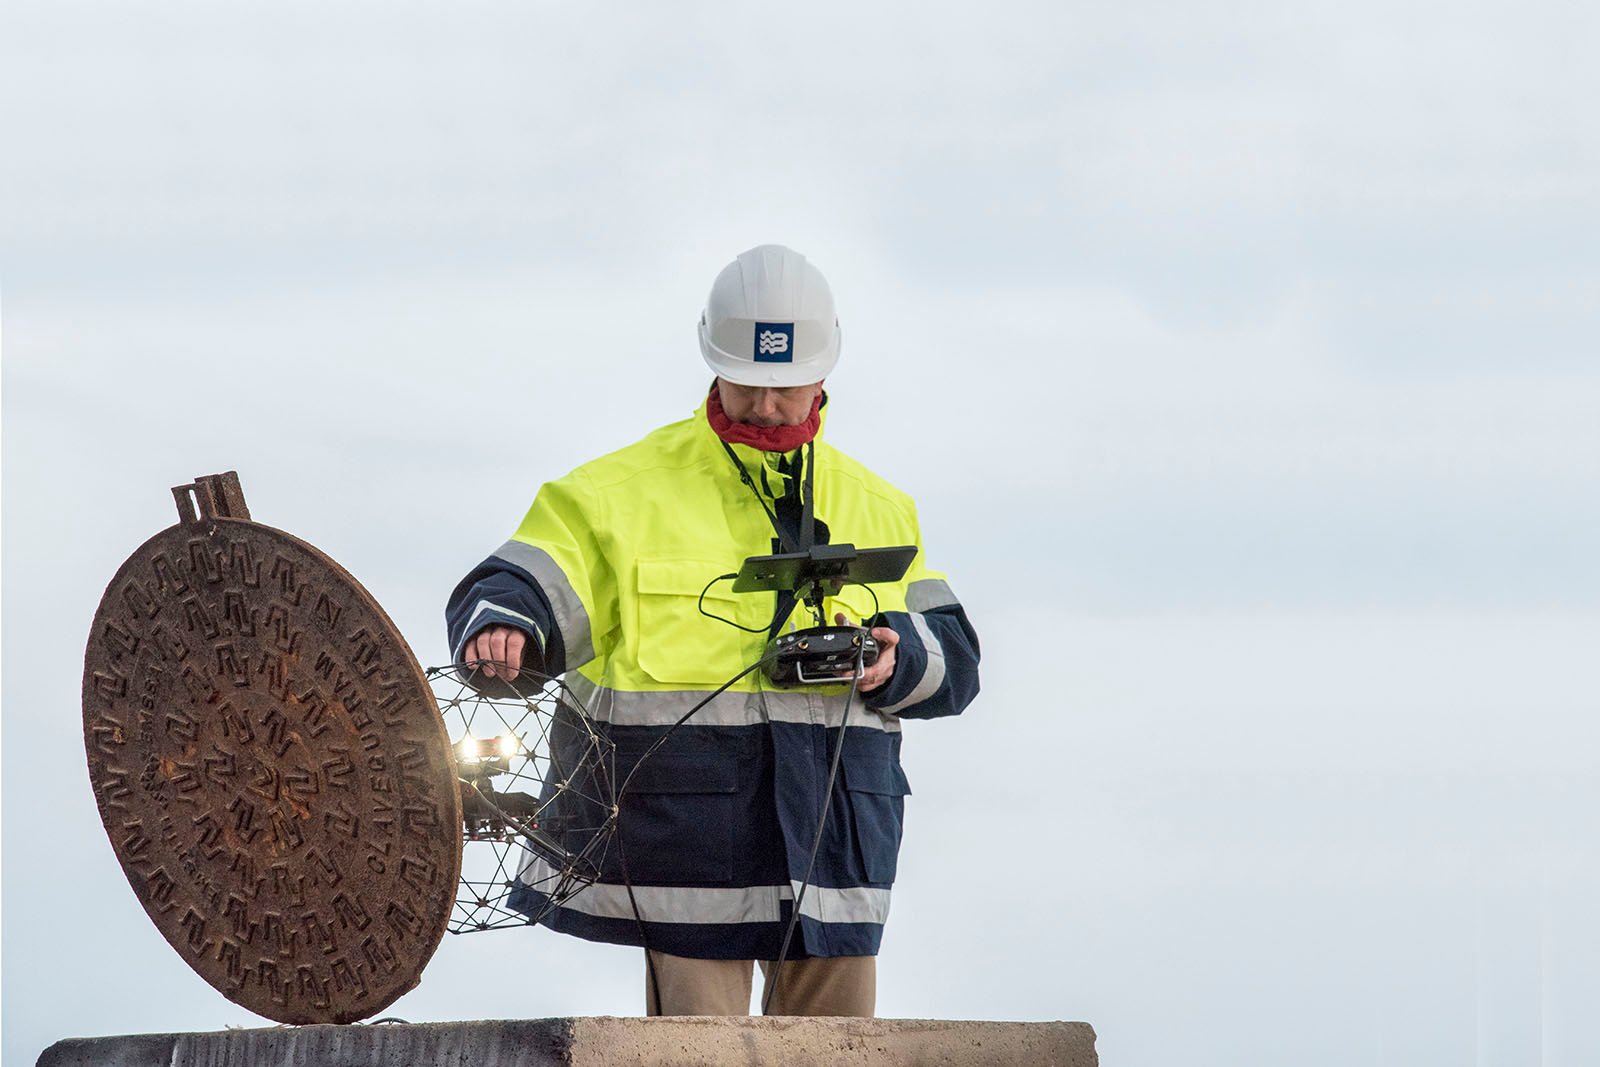
Inside Barcelona's Sewer System: Drone Inspection Is the...

News
|
Food & Beverage
Food & Beverage
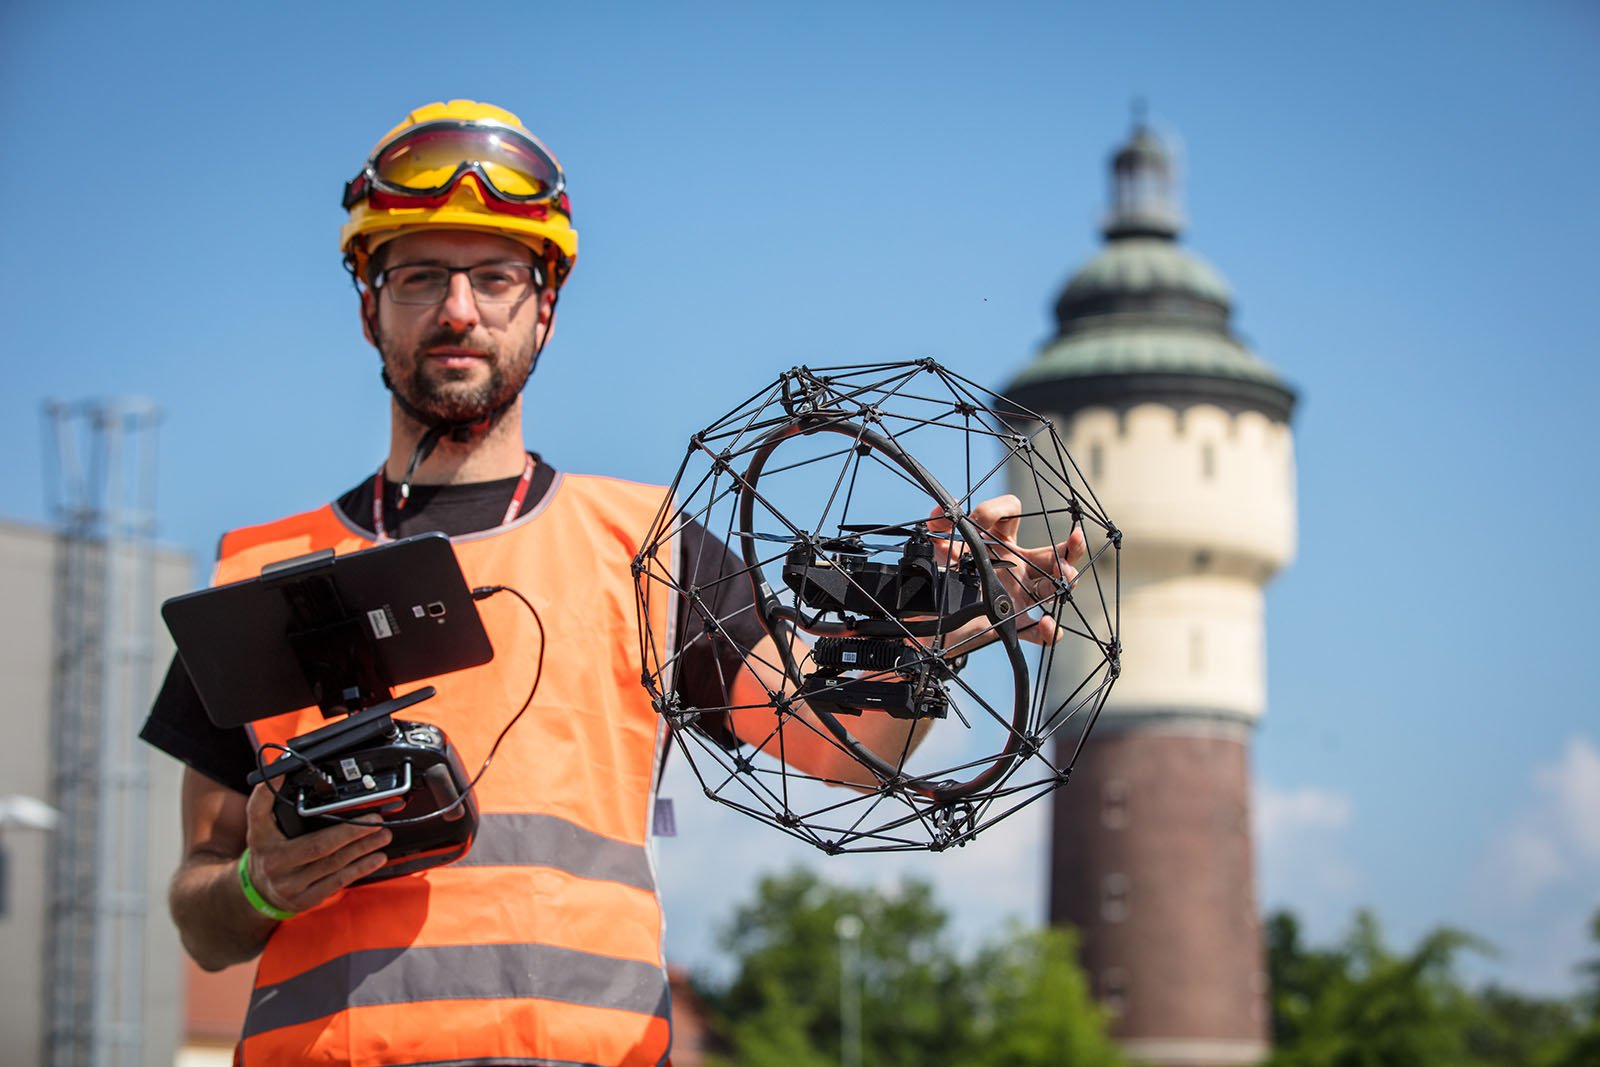
5947952137
60,000 Bottles of Beer per Hour: This Collision-Tolerant...
Case studies
|
Food & Beverage
Food & Beverage
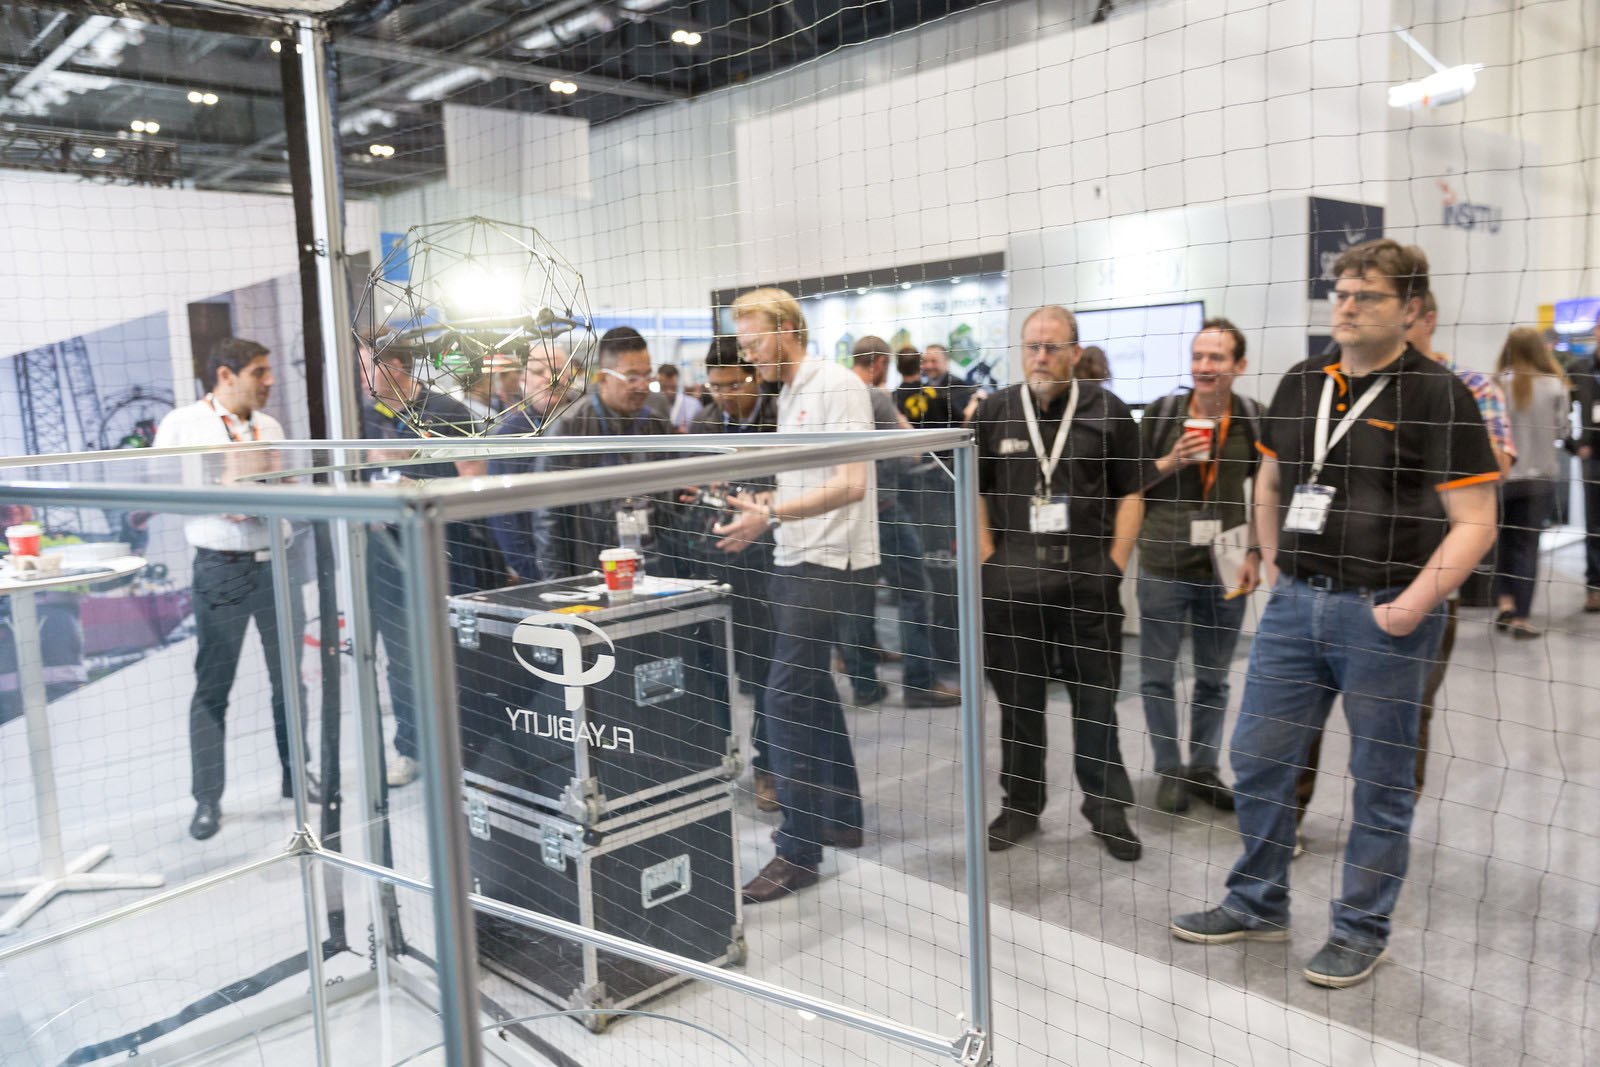
5945106275
Pilsner Urquell Keeps Production Running During Inspection...









Case studies
|
Infrastructure
Infrastructure
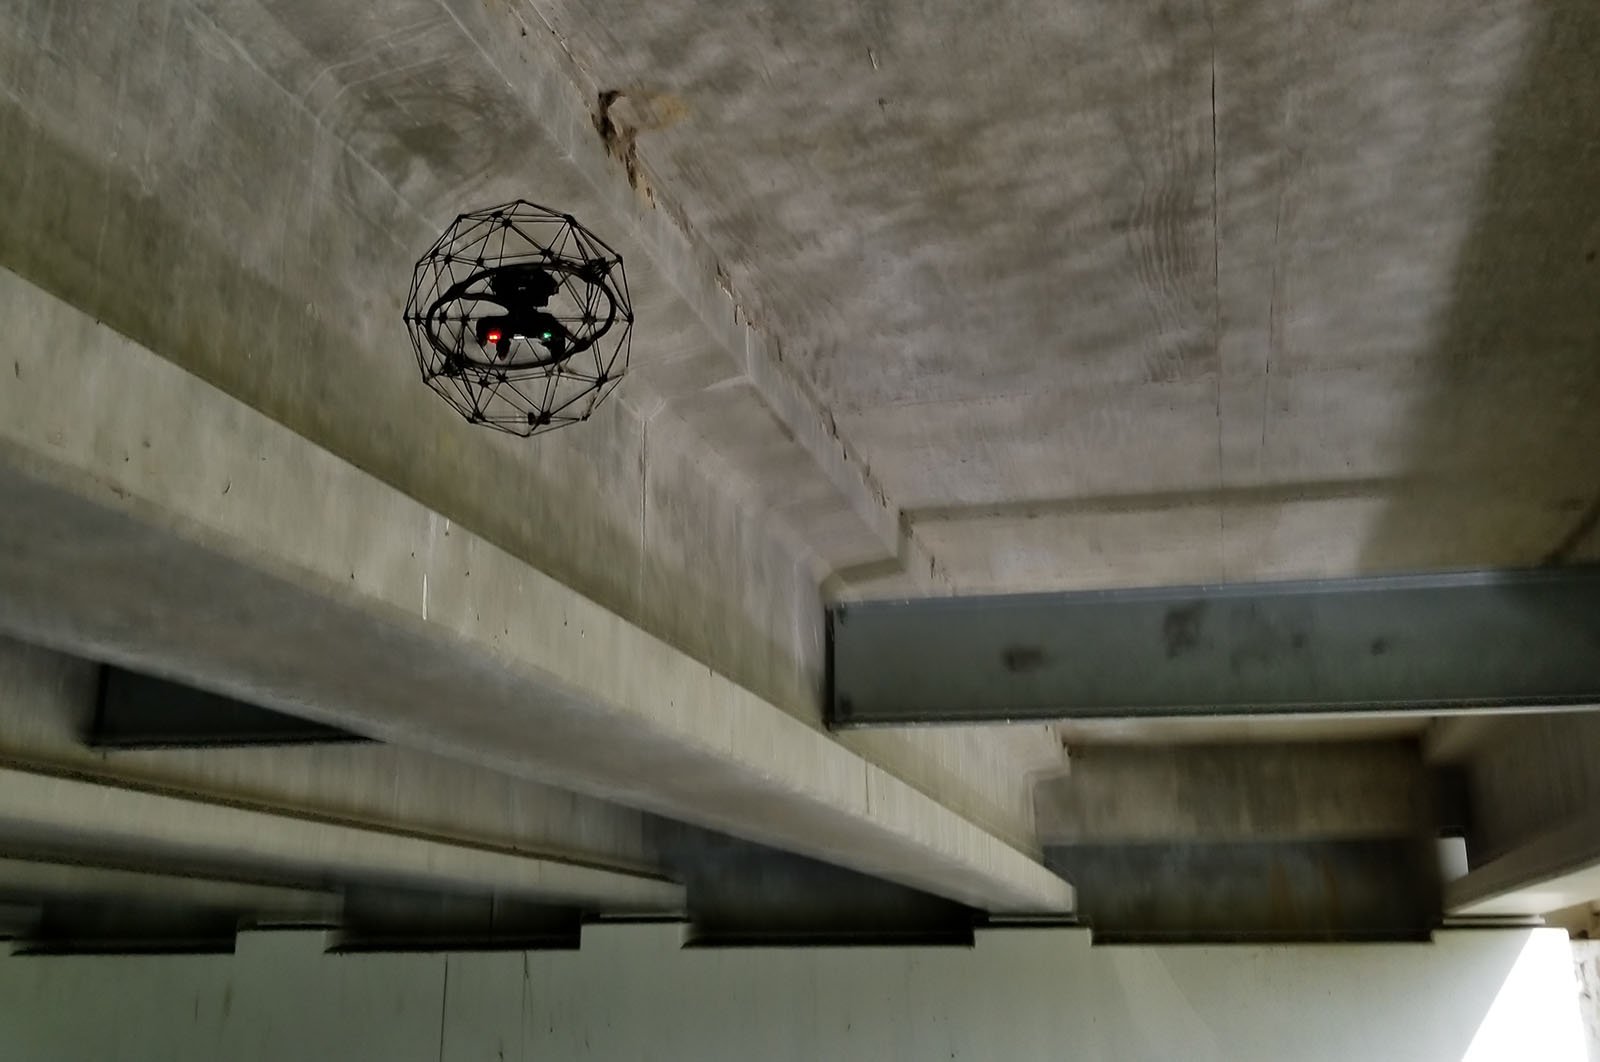
5531676195
Indoor Drones in Bridge Inspection: Between Beams and...
Case studies
|
Mining
Mining
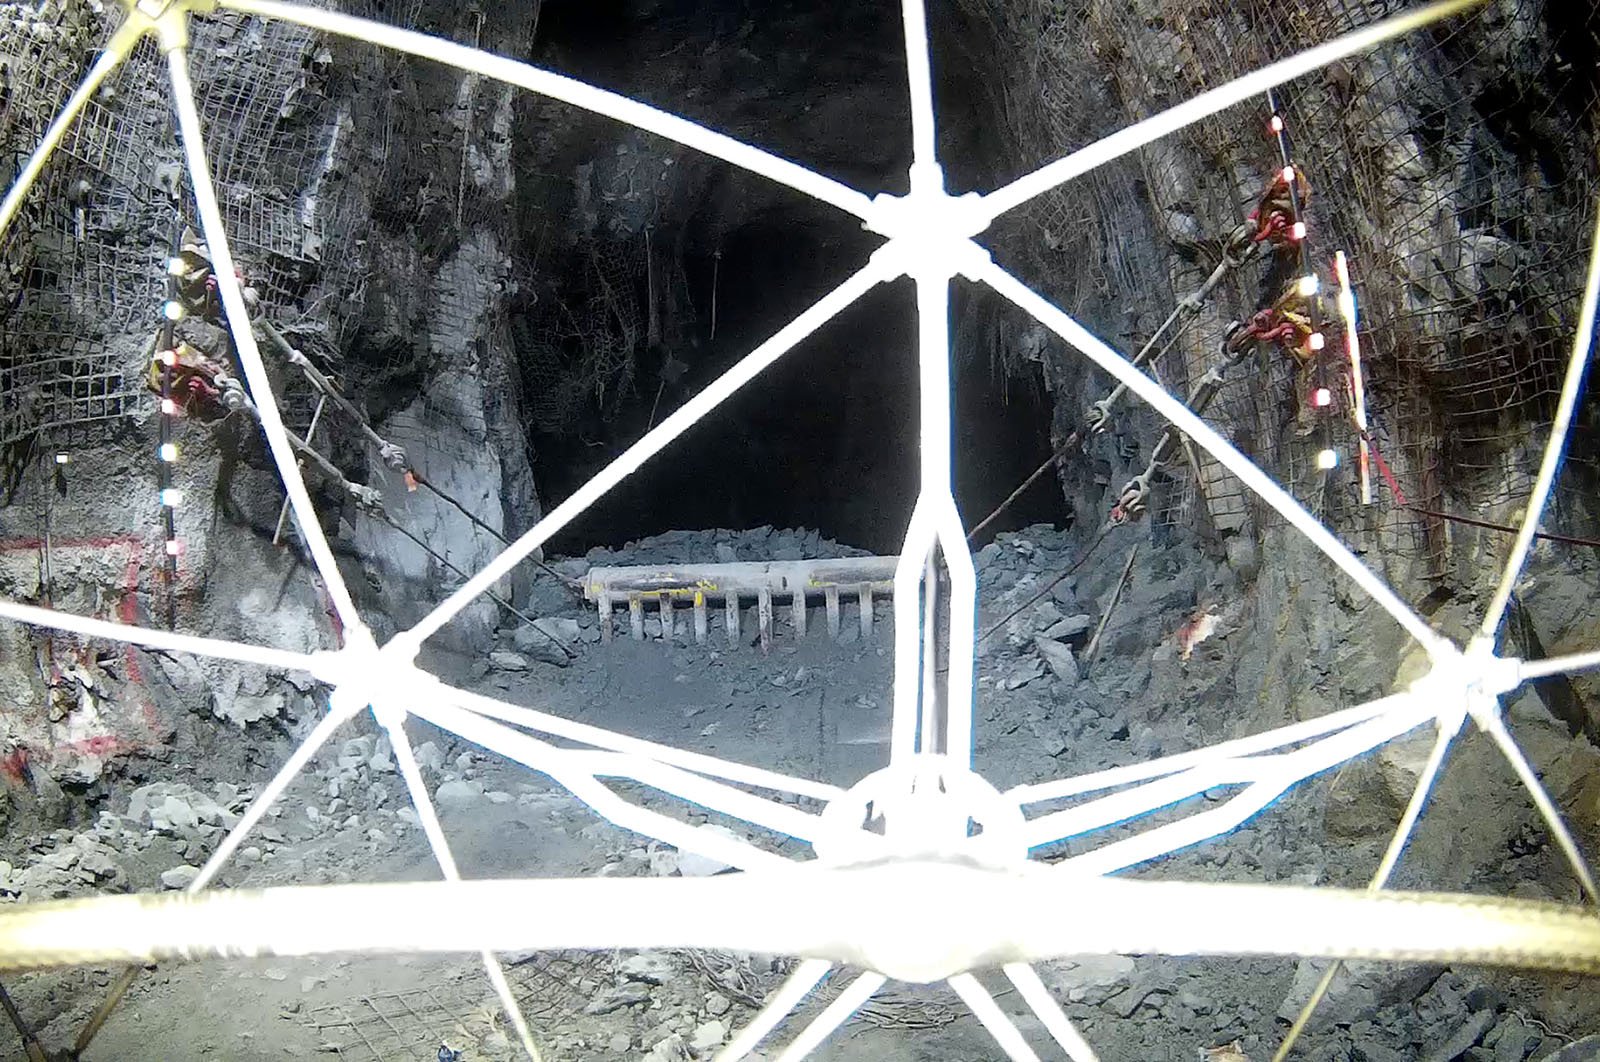
5531400207
Indoor Drone in Underground Mining: Accessing the...
Case studies
|
Infrastructure
Infrastructure
5531390572
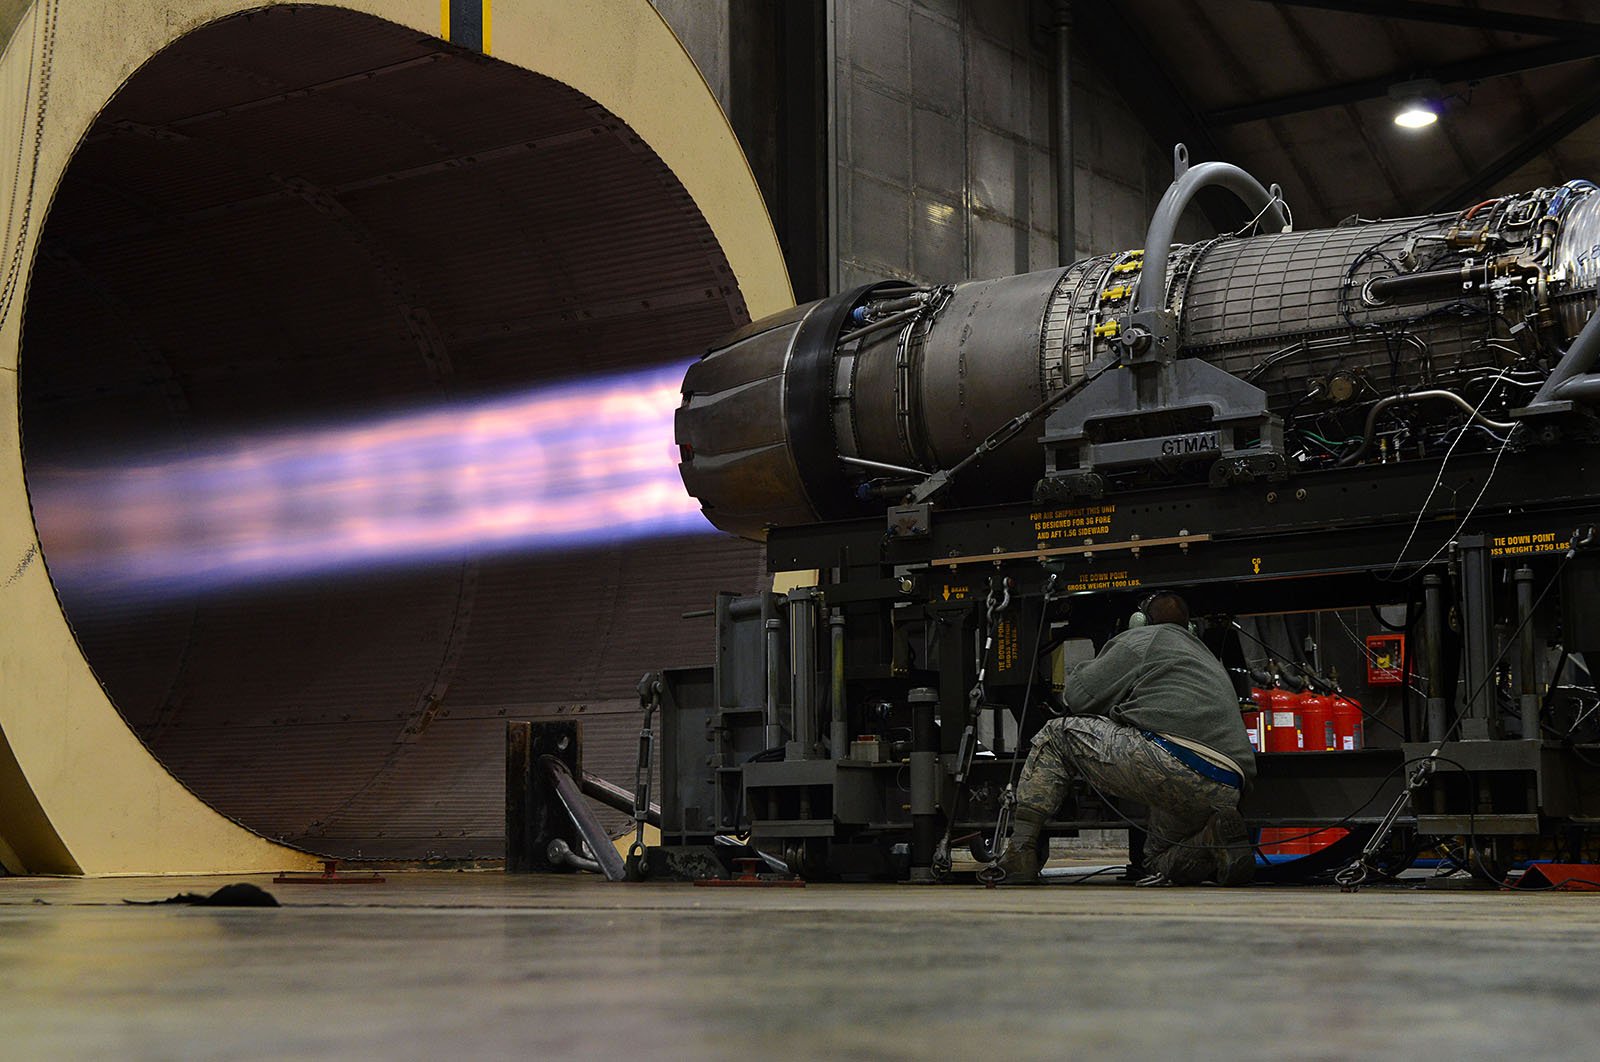
Inspection of a jet engine test facility

Case studies
|
Maritime
Maritime
5531385620
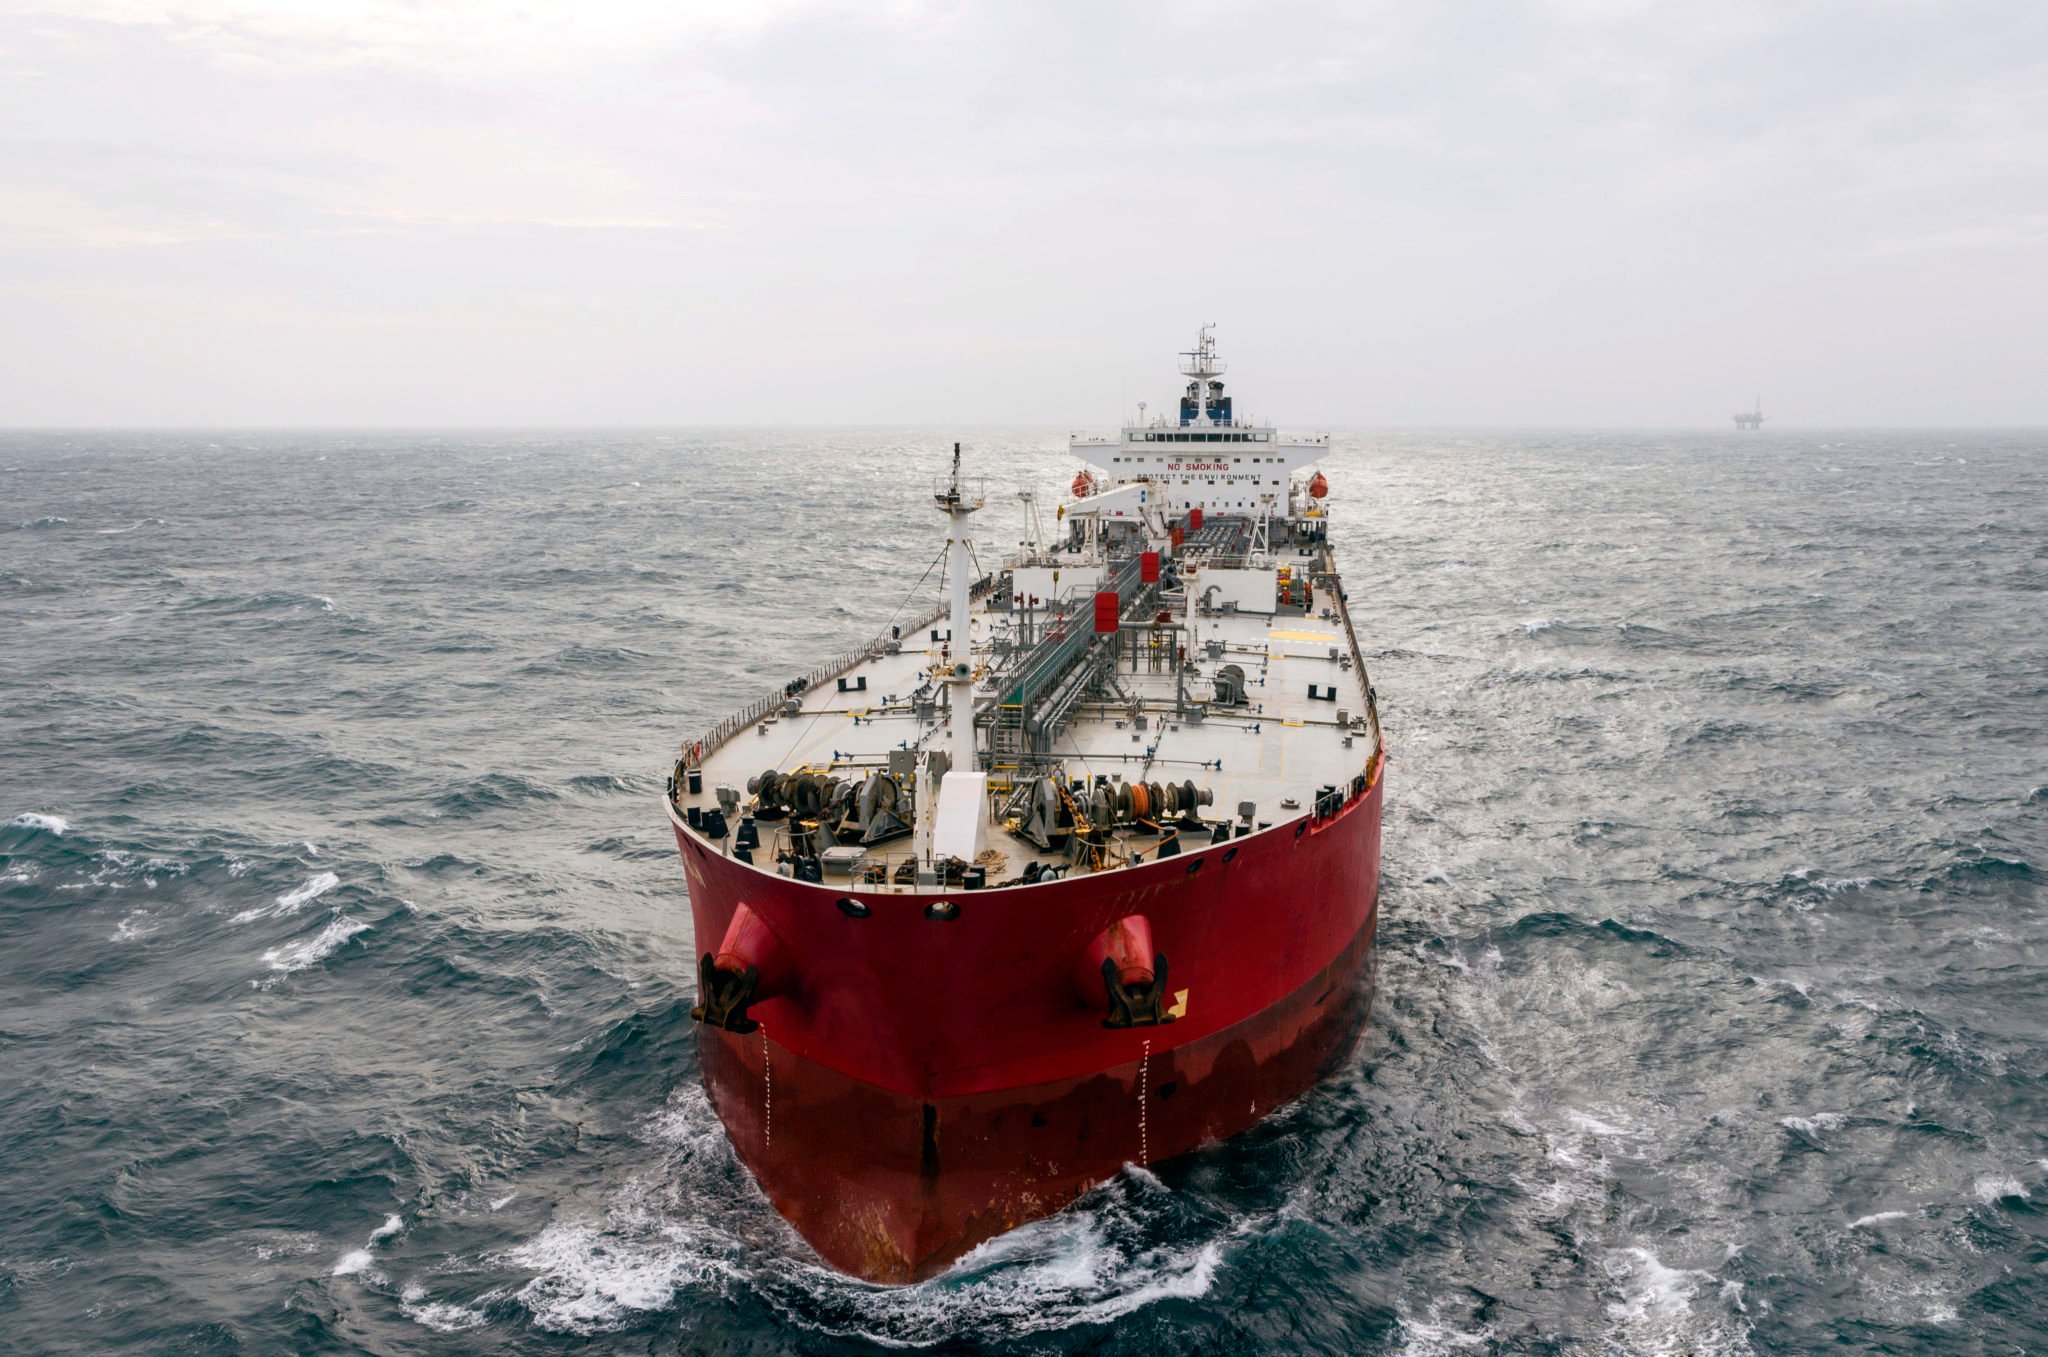
Inspecting the ballast tank of a container ship

.jpg)

